Project 1 re:use |
Project Guidelines |
Our first term project was reuse. Our goal was to take an old traditional house type and transform it by adding more space to mimic an artists painting style. We all analyses and artist and then deconstructed one of their paints. Next we crafted 3 house designs with scale plans.That lead us into merging the two had making our final product.

|
|
Artist fernand leger and shout gun house style
Step 1 Artist Analyses
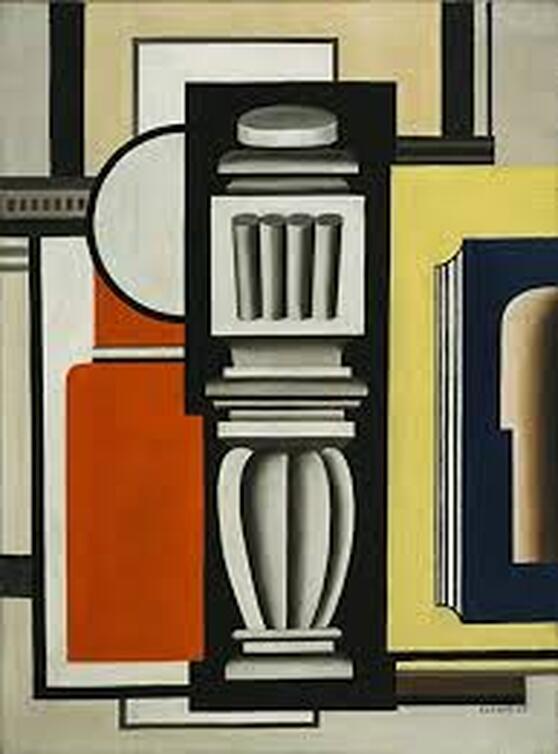
My painter was Fernand leger a french painter/sculptor born in the late 1800s. He started out as a draftsmen and then moved to painting repair. Soon after he became a paint and as well as serving in the world war. He was a strong advocate of cubism and several similar movements being a main player if most of them. His late work reflected more of his time in the military and industrialization.
|

|
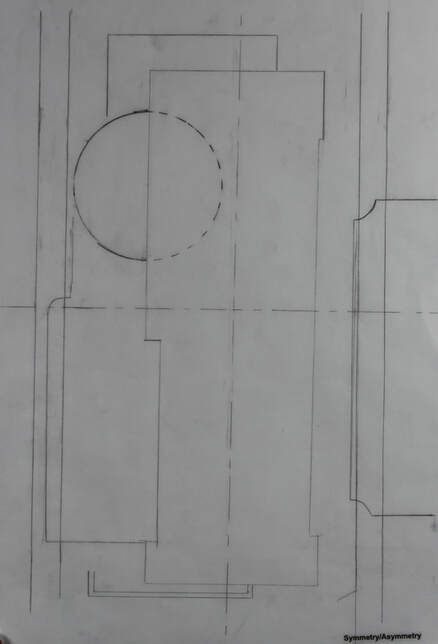
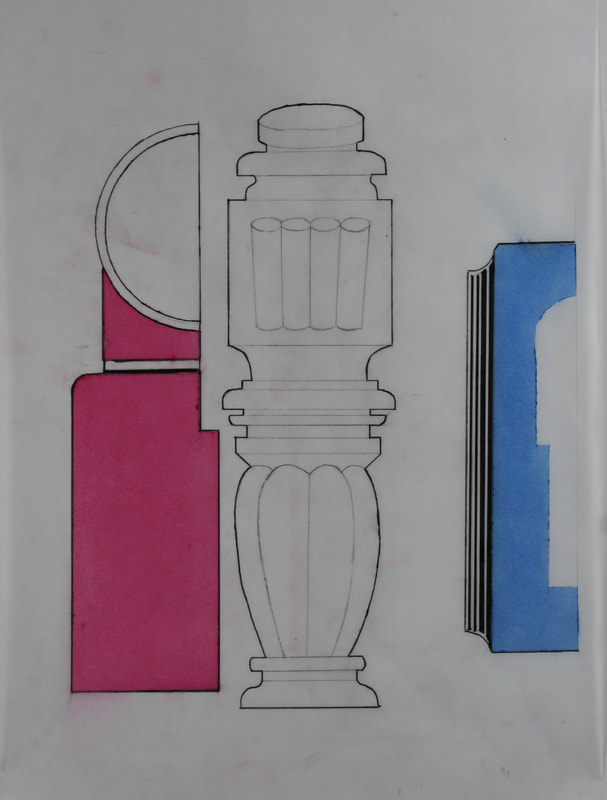
Form my painting analysis I choose to look at the major lines, forms, shapes, and the symmetry/ asymmetry. I found these four elements to be the most critical in the painting because of how much they connect and how much of the painting they are. The lines provide a strong foundation the crosses over into the shapes and forms by defining their location. Thought the location you get the asymmetry the forms and the shapes. In the end I threw the asymmetry and the lines together to get strong asymmetrical areas.

|
|
Step 2 House Type
|
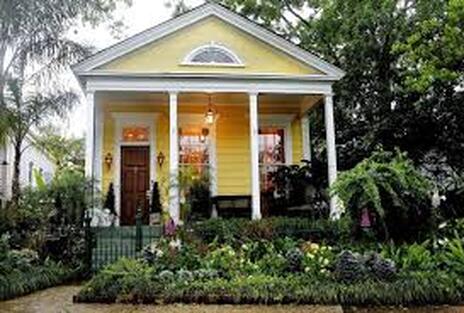
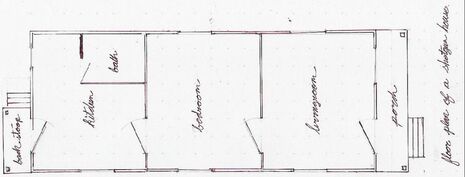
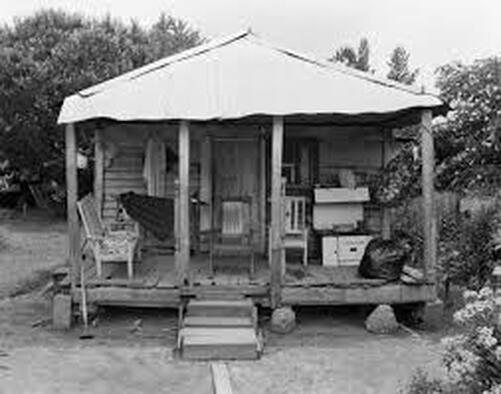
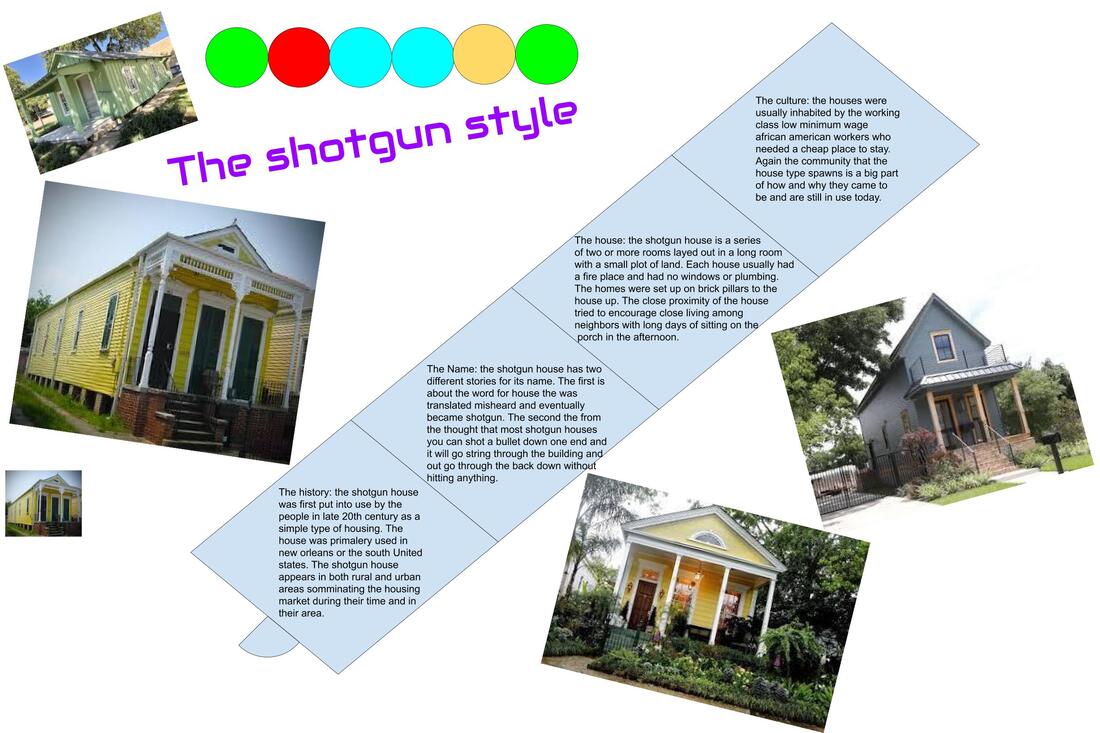
The historic shotgun house originated from new Orleans. it was made on long narrow plot of land but the house was elevated off the ground for the area and climate. the house consisted of several rooms in a straight line all with the same door placement so you could walk all the way down it passing through all the rooms like a hallway. this is how it got its name as it is said you could shoot from one end to the other without hitting anything.
|
Step 3 Revit and Development
|
|
|
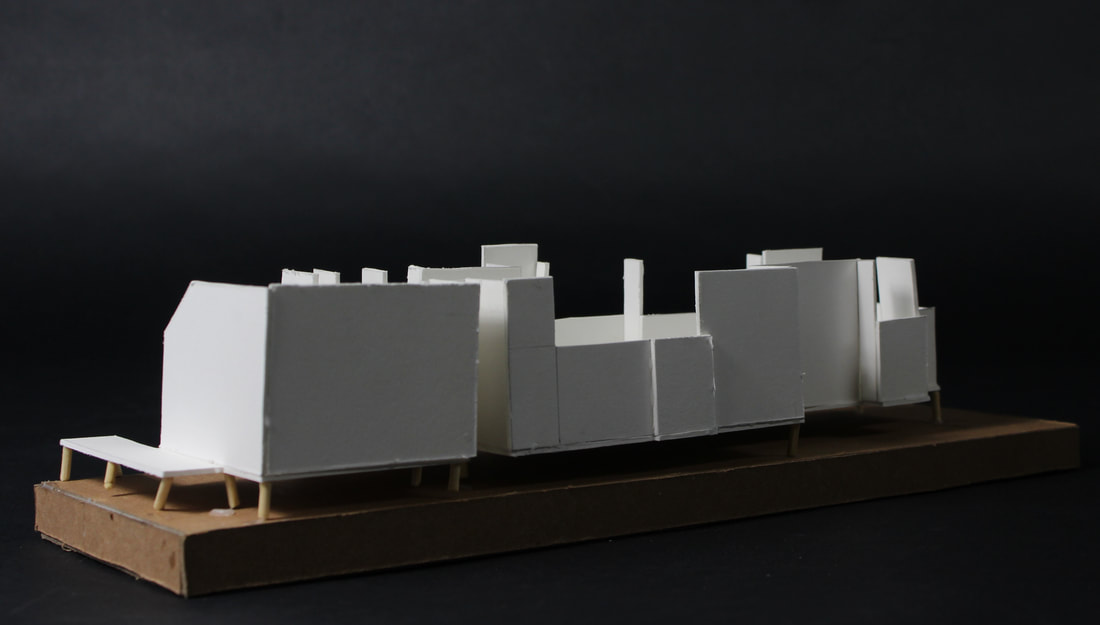
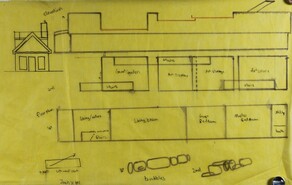
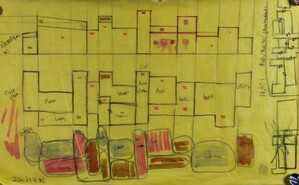
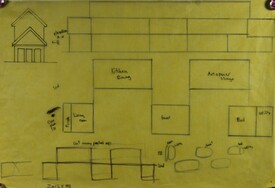
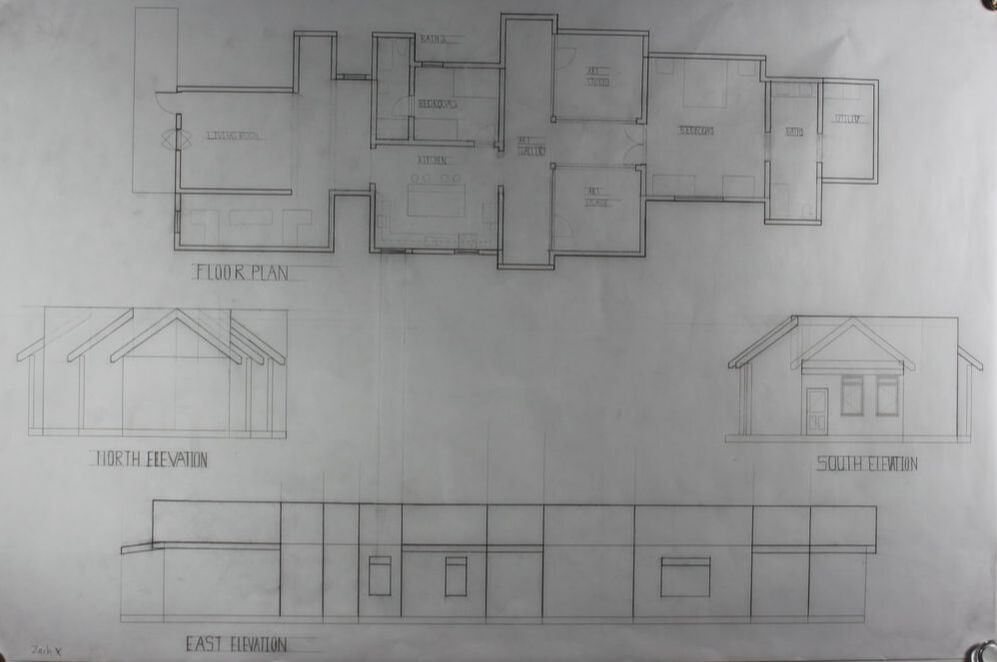
During this step of the project we continued to learn revit and produce models and update our chosen final design. we made scale sketches of possible floor plans and elevations with bubble and parti diagrams. we also researched out plot dimensions to start our final model.
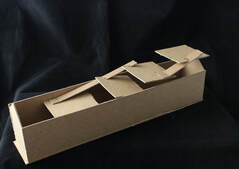
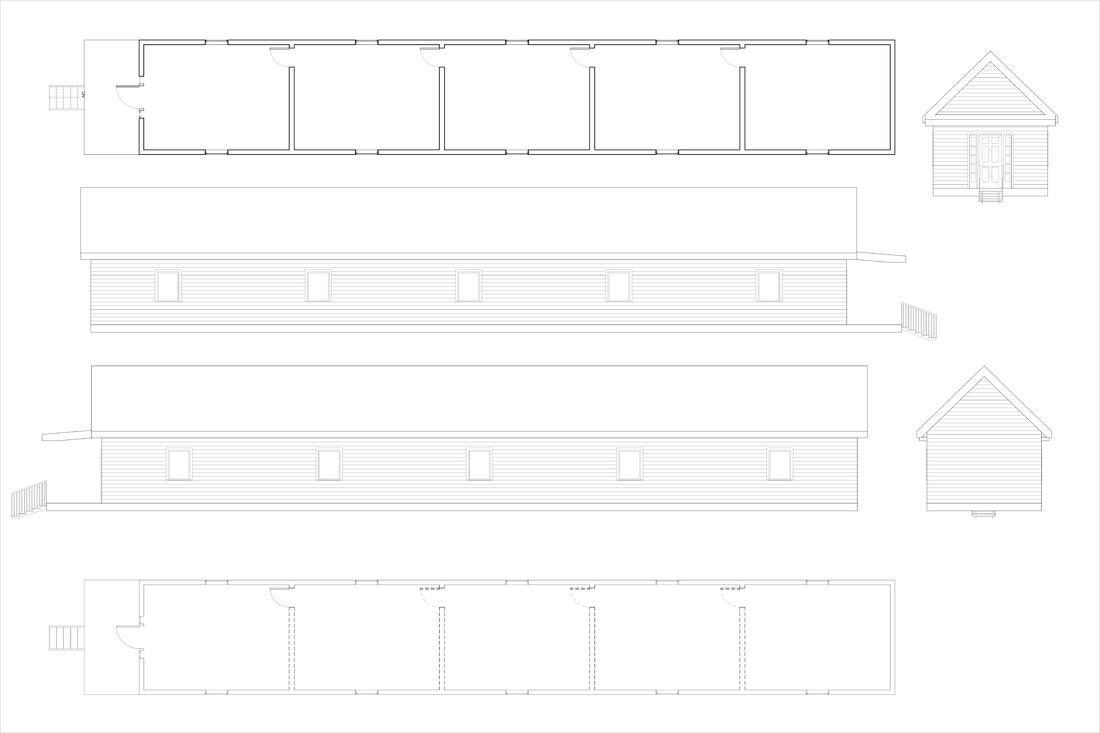
Step 4 Final Production

|

|
|
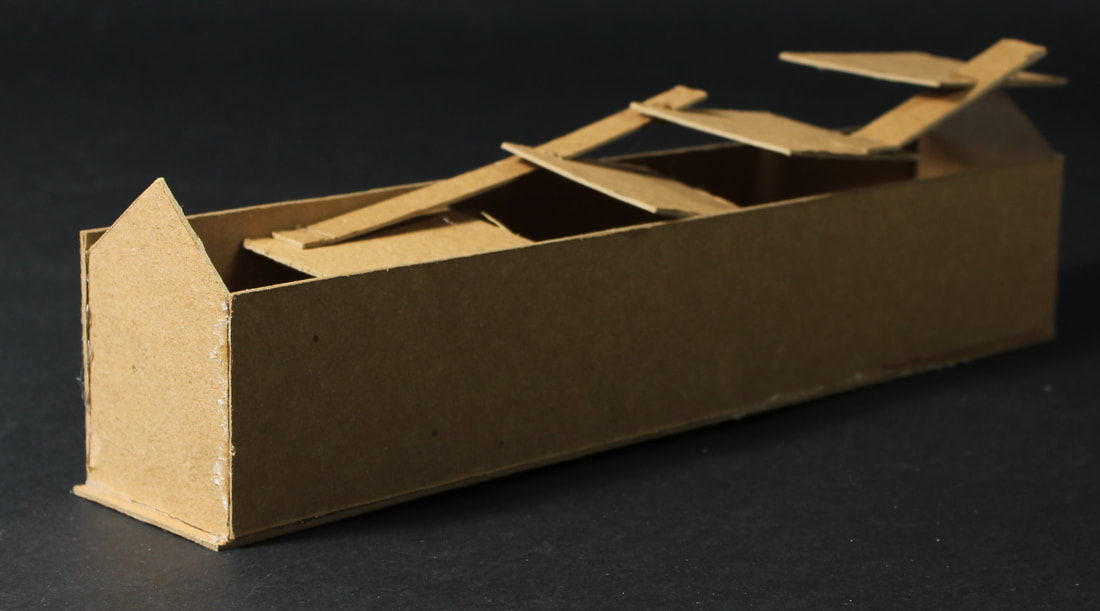
In the final step we printed out our revit drafts showing our original house type as the existing, our demolitions to show the change, and the new. On the new page we had to draft all of our changes with each floor plan, and 2 elevations. In my house I pushed out all the walls and floors to remake the whole space while also keeping half of the original. this crated many new spaces that I almost used all up inside but i still half more to add on the out side in terms of landscape and personal spaces.
|
|