Josephine Delgado: Course: Architectural Design I/Architectural Design II
-
Project 01: Fibonacci Cube
|
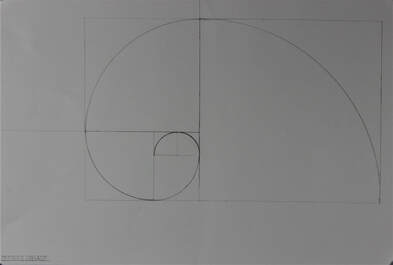
Project 01 targeted a lot of different skills, including using different tools and methods of drawing. We started this project off by drawing a Fibonacci Spiral. We used a compass and certain sized boxes to accomplish our final spiral. Drawing the Fibonacci Spiral helped us learn about spacing and determining certain ratios. To the right is my Fibonacci Spiral.
|
Drawings and Model
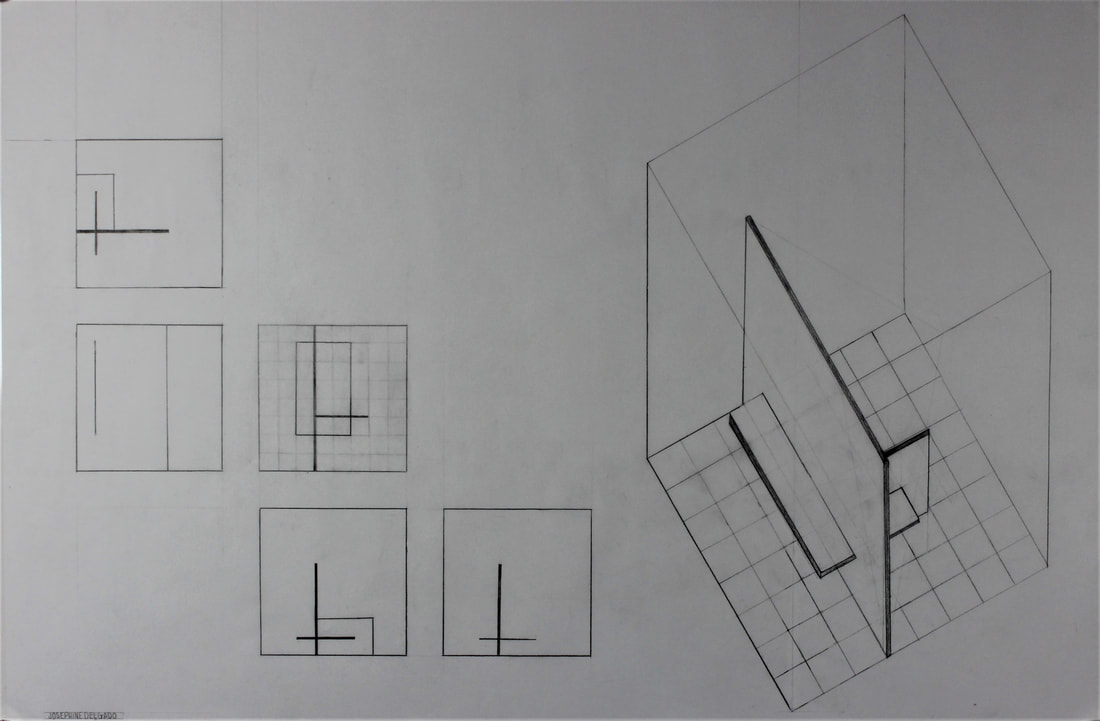
Plane Study Drawing
|
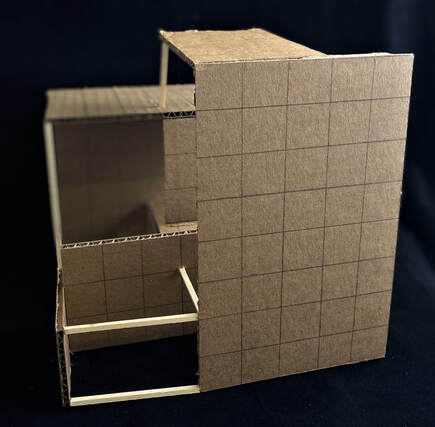
Model 01
|
Model 02
|
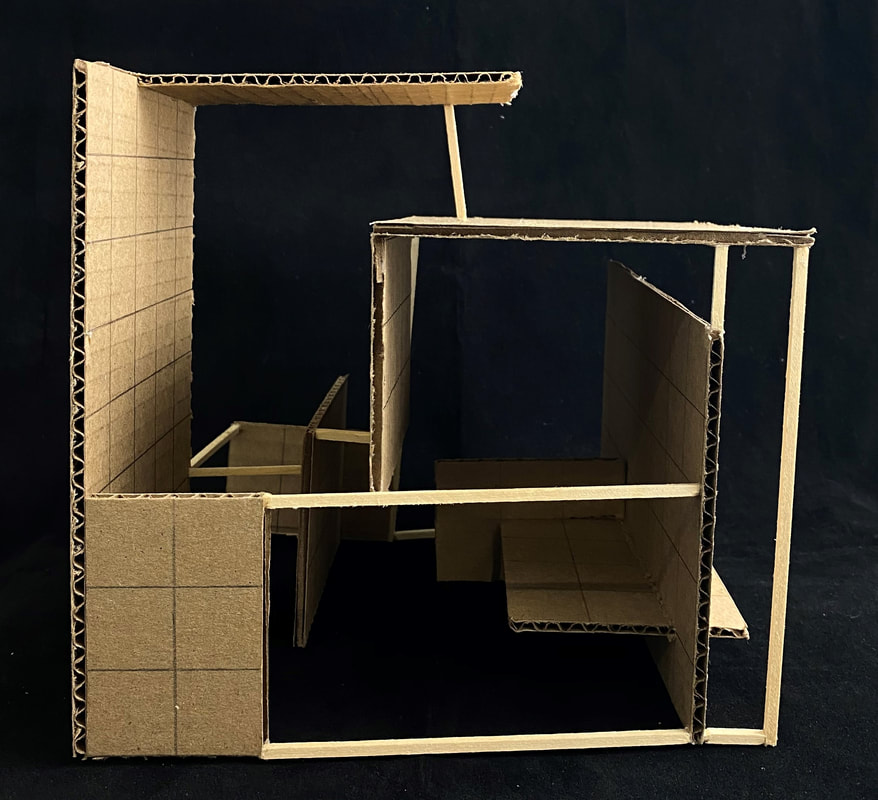
Final Cube: Model
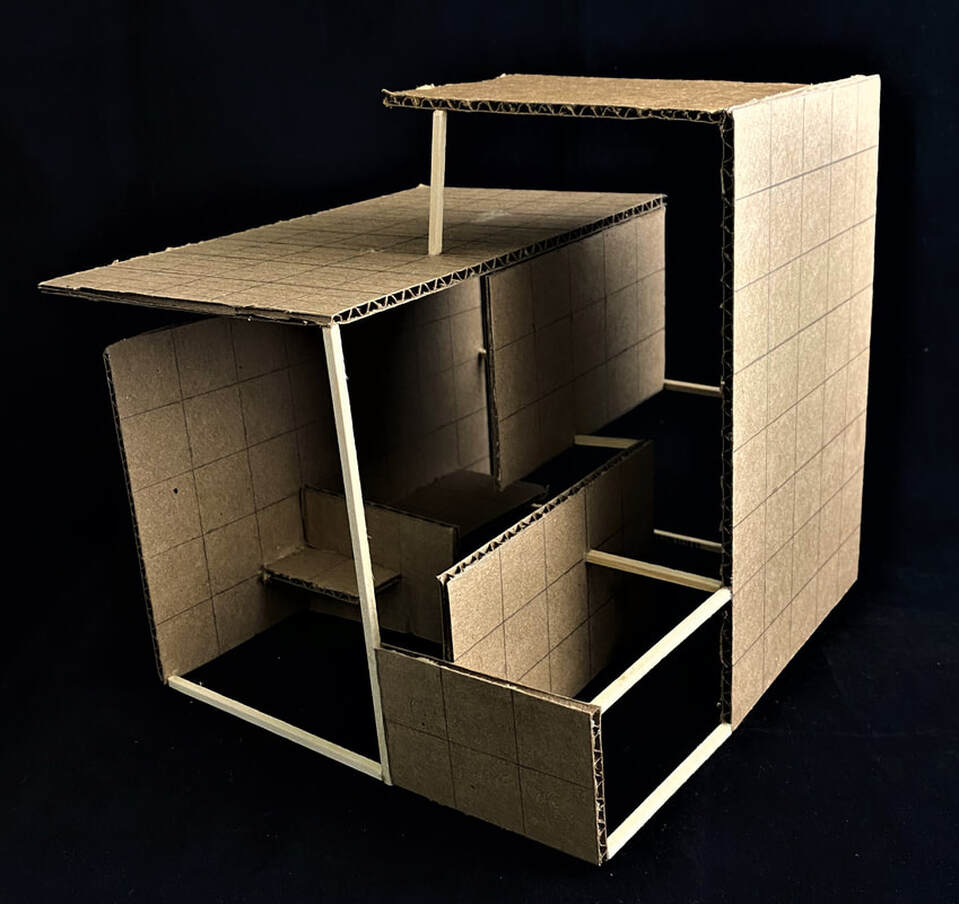
Above is my Final Model. I created this model using cardboard cutouts that were 8in. x 8in. and wooden sticks. I began by piecing the materials together to see what would look best and make the most sense. I didn't have a specific technique, but I made sure that I was sure of the placement of my pieces before I glued them together. My final model included my original design in the middle surrounded by the other pieces to create my final cube model.
Project 02: Micro-Townhouse
|
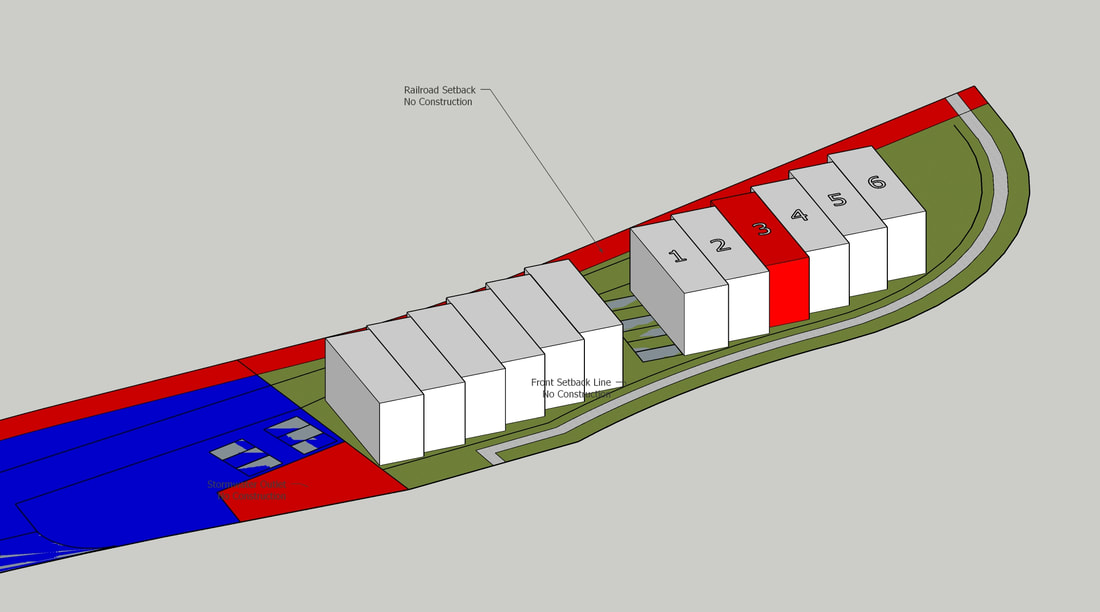
The image to the right is my groups site design. Highlighted in red is my townhouse, which is located in the middle of our site. The location of my townhouse indicates that I have no side walls to work with. My main focus was on the front and back of my townhouse to make sure I accomplished lots of natural lighting into my open concept design. The limited space around my townhouse encouraged me to work up and downward for extra space to accommodate with my clients needs.
|
Concept Design
Below is a slideshow that shows the design process to the final design of my townhouse. The first image shows the original design of the outside of my townhouse. My process in the drawings below were very minimalist, but bringing in lots of natural lighting. Compared to my final design, I ended up adding more windows, but keeping the large front door that is shown below. The second image in the slideshow shows the process of my floorplan. The large windows and open concept stayed the same through the entire design process. I wanted to keep the open concept, yet still add distinct rooms for privacy for my client. The last image below shows another floorplan with a different layout, so that I had different options to look at before I chose my final design and layout.
Final Design
Below is a slideshow of my final townhouse. The images are in order from the bottom floor to the top floor, ending in my final floorplan that was made on AutoCAD. The first two images below is the first floor of my townhouse. This is where my client will spend most of her time. I designed this floor to be open, yet have distinct spaces. The third and fourth images is the second floor of my clients townhouse. This floor is where the bedrooms and "private space" is located. The fifth image is an overview of my first and second floors. My third floor is shown in the sixth and seventh images. This top balcony floor includes a green room for my client to keep her plants as well as a private space for my client to have a designated spot for her meditation and overall privacy. The following images is my townhouse put together showing my final design. The last image in my slideshow is my AutoCAD floorplan that I created to help design my final space and overall townhome for my client.
