Brett Seedig: Architecture Design II
Project 1: The Dream Apartment
Project one was all about designing our dream apartment. In this apartment I formed it to fit my needs as a young professional and I wanted to focus on what I have always wanted in a house, I gathered those ideas and shortened them down into an apartment size. This apartment design was a design for my future career as a young professional. I wanted to have spaces inside the apartment for fit my hobbies, work, and habits. This apartment was going to be a mini model of what I want my future house to be.
Research: Vision Board
|
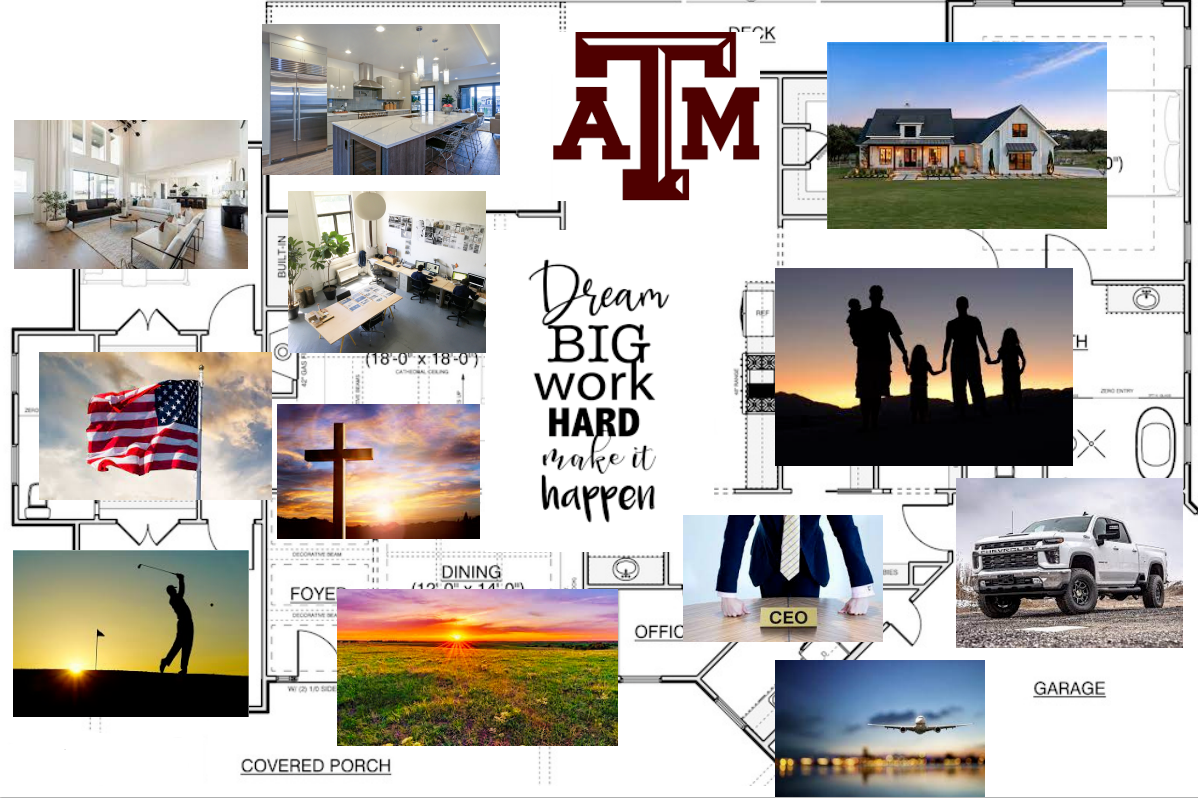
We began our journey to create a vision board for our dream apartment by focusing on our post-high school goals. This board became a visual representation of our later achievements. We sat down to contemplate our future desires, collecting images that represented these goals. Organizing these images onto the board started to bring life into our vision.
My personal vision board has both short-term and long-term achievements. Primary among these is the ambition to attend Texas A&M University, this is a huge milestone I have been wanting to achieve. Additionally, images vision the desire for a home and a family illustrates my willingness to do hard things in the years ahead. The board also reflects my dedication to personal growth through visuals representing the skills I aim to enhance. This vision board serves as a source of motivation, a reminder of the path I hope to follow and the accomplishments I want to seek. |
Apartment Design
In the start of our design prosess for our apartment I drew bubble maps. These bubble maps helped me lay out spaces for my needs and how big these spaces would be. When we started to get a vision for our apartment we moved on to making floor plans. After dialing in the size of our floor plans we moved into AutoCAD. I personally love AutoCAD because your design get perfectly strait lines. After we finished putting our apartment into AutoCAD we had to add a roommate to out our apartment. This was a little difficult for me to add but after some thinking I decided to remove my office and make that my roommates bedroom. When we had finished putting our floor plans into AutoCAD, we moved into Revit. Revit was difficult at the start because I have never used it before but after a couple of mess ups I figured it out. Revit became fun after a little bit because you could really see you site come to life, 3D life at least.
Project 2: Aging out of Foster Care
In this project our problem is youth aging out of foster care. This project seeks to design a residential home that is formed to the unique needs of young adults who have had limited support during their past years. This project solution will not only provide housing but also support programs, helpful staff, and functional spaces to successfully transition these kids into adulthood. By having a sense of community and social connections within the space, the design aims to help these individuals with the tools and resources necessary to build a healthy and productive life, addressing the questions of how living environments can support youth in their journey towards a bigger and better future.
Research
|
This infographic highlights the challenging journey of youth as they age out of foster care, facing the reality of adulthood without familial support. With approximately 20,000 youth exiting foster care annually in the United States, this issue needs more attention. The infographic highlights the difficulties these young adults encounter, from homelessness and employment struggles to early parenthood and substance abuse. Because of this my solution focuses on designing specialized residential facilities that not only provide housing but also have support programs and staff to lift up these young individuals in building a healthy, successful, and productive life. By having these social connections, this facility aims to be a start of hope for those transitioning into adulthood from foster care.
This infographic also helped me start the project. Learning what they go through and how much help they need, helped me design my spaces inside of my foster care home. Knowing how little support and little social life they have had in the past years helps me plan for areas to get them on their feet, make friends, and get going. |
Site
|
After we were given out problem were were given our site. Our site had consisted of three different lots that lined up next to each other. When creating our site analysis I realized that most of the noise is coming from the East side of the site, this is because there are commercial buildings on the east side. This will effect the way that I design my building, I want my rooms to be away from the noise. I also created a zoning map for the area to show if different lots were residential or commercial.
|
|
Concept Design
Concept 01
In this concept design I started out by writing down what I wanted in the house. After that I layed out where I wanted the parking lots to be. Then I started drawing different spaces in areas where I feel like they fit the best. In my first concept I made lots of shared spaces such as a community kitchen, community office, gaming room, and big living room. This will help these kids improve their social skills. I also put multiple staff rooms and staff offices. I did this so I could have staff such as chefs to help teach the kids how to cook and counselors to be there if the kids need them. In my design I tried to keep my bedrooms away from the main noise, which is in front of the house. Because of this I put the rooms on the north side where the noise won't be as much as an issue.
Concept 02
In my second design concept I used the same ideas from my first concept, but I arranged them differently. In this concept I have rooms on the first and second floor for easier access. One thing that I didn't add in this concept was rooms and offices for counselors and chefs. Having these rooms and offices takes up lots of space and I feel like they can do without them. If they need to they can go use the office space upstairs.
Concept 03
My third and final concept was very different from the others. When I made this I put myself in their shoes and tried to thing about what they would like. When I was thinking I though that some kids might not want to have all these people trying to help them and might not want to live with 12 other people. So I built this concept, In this concept I focused on these kids starting to live alone with only a little bit of help. I made two big main parts and multiple little homes. The first of two big building is the community kitchen, the second one is staff rooms and offices. The rooms are basically one bedroom apartments but built into houses. This lets them start living alone and get a sense of how to get their life running.
Building Design
Floor Plans
|
After a talk with a couple architects I decided to go with my first concept. This concept fit the needs that I wanted these kids to have the best. When we started to design the floor plans I had to move some stuff around and change the sizes of some things in order to properly fit the kids. In my building I will be able to house 15-19 people. I have both one bedroom and two bedroom rooms and two bedroom staff rooms. Each two bedroom room is equipped with two bathrooms, one for each person. This is so the kids will still have a sense of privacy, but will also be able to cut down the cost of rent by having a roommate.
|
|
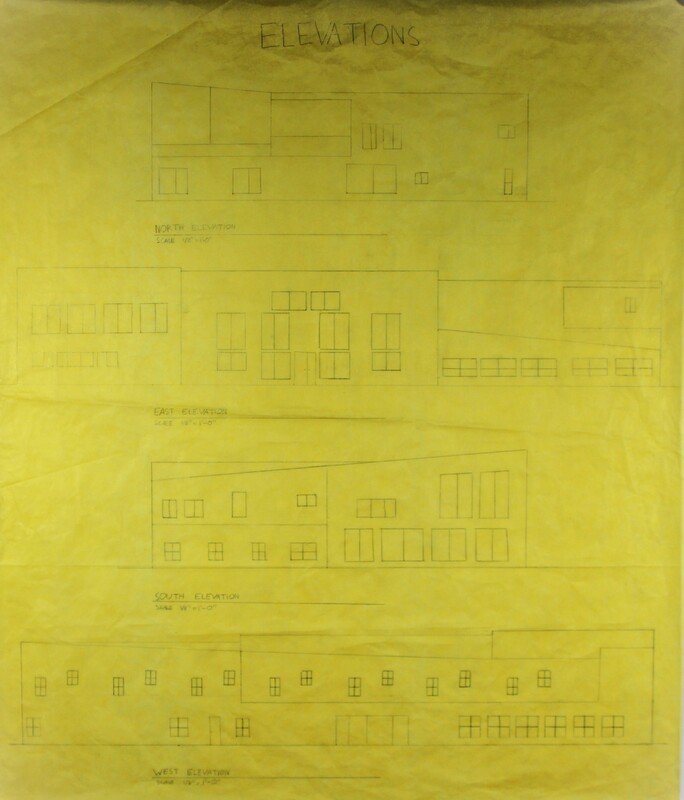
Elevation
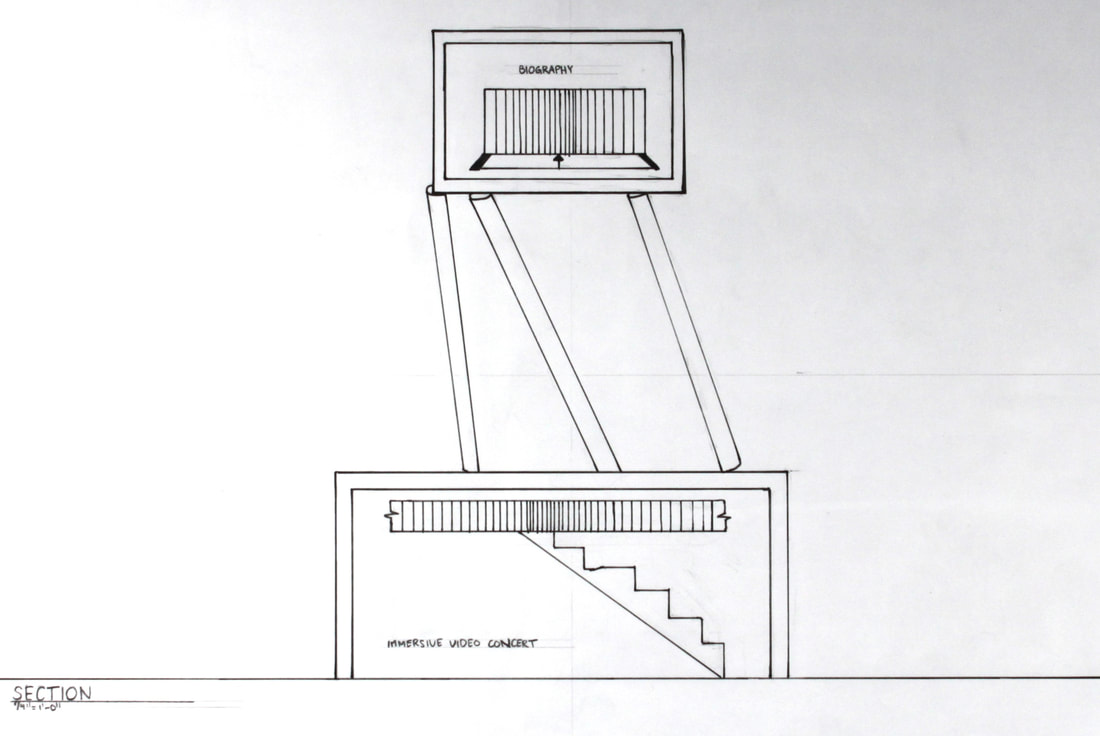
Section
Final Design
Final Revit Floor Plans
|
These is my final floorpans that I have put into Revit.
|
|
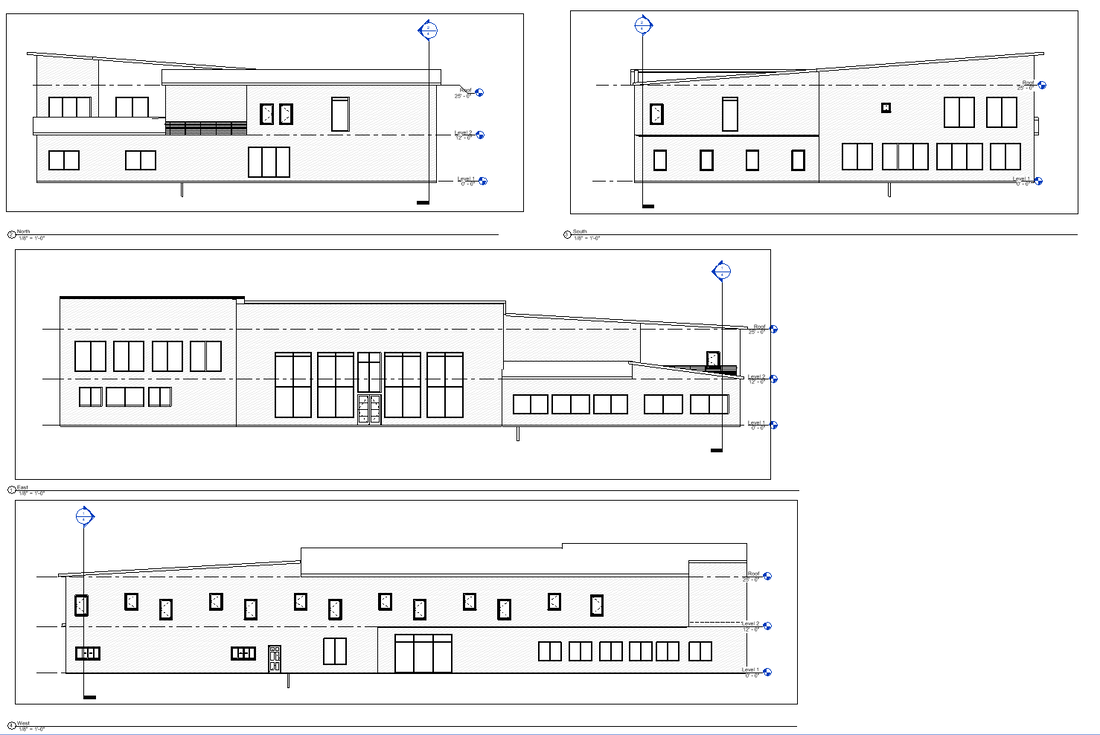
Final Revit Elevation
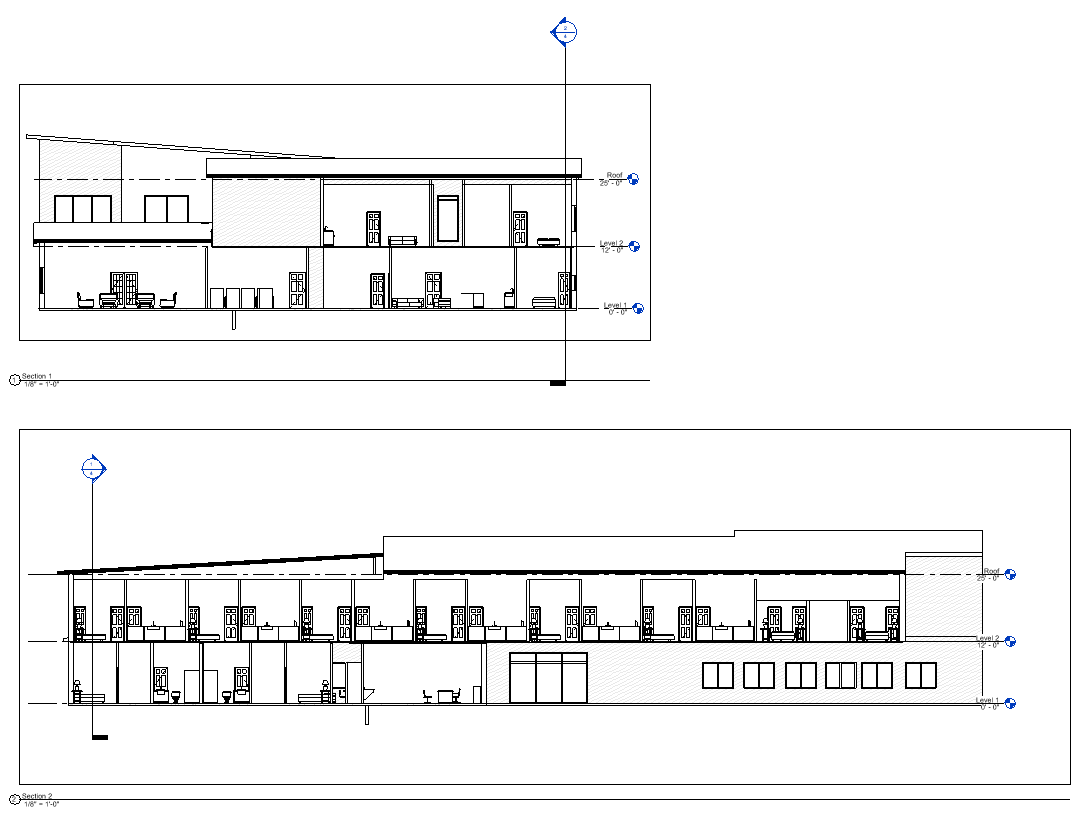
Final Revit Sections
Final Models
|
|
These are pictures from both my 3D printed and Laser cut models.
|
