Project 01: Space into Form Folly
For this project we were asked to come up with a plethora of ideas for space. Ideas like changing space, flex space, and dynamic space. Then we need to develop those into folly designs. These designs would represent the space through multiple meanings.
Forms of Space:
|
|
In the beginning...I had to create 3 forms of space into ideas. I took the concepts of flex space, dynamic space, and changing space and ended with these three drawings. I would use these to define my preliminary work.
|
Project Research
Click here for link to my LiveBinder for more details on my research

Preliminary Work:
Sketches:
|
|
I started by trying to turn my ideas about the three spaces into real follies. I tried to incorporate my landscape as best as possible into some of the ideas. We had to fit a 12' x 12' x 12' cube for our original design, so i initially was thinking of fitting that requirement. I quickly realized that my first 3 ideas of space would be difficult to change into a folly. I frantically tried to find something that would work and came up with the last picture that originated from blurred space. This blurred space is caused by my folly being held above a lake within the landscape. The sides of the folly are angled outward and lined with mirrors to project the picture of water. This makes the folly practically invisible. The blurred space comes from the idea that when you put something under water, it becomes a blurry image. The walkway would be just under the surface of the water to where you could not see it from a distance, but walk on it none the less.
|
Design Process:
Drawings:
|
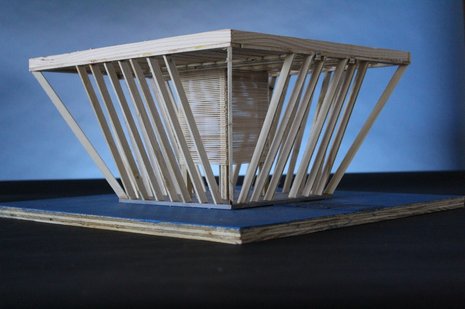
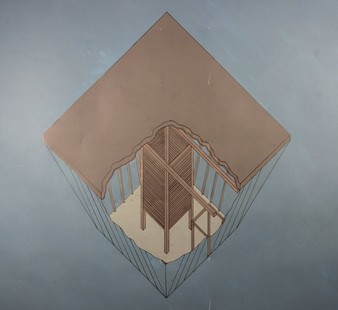
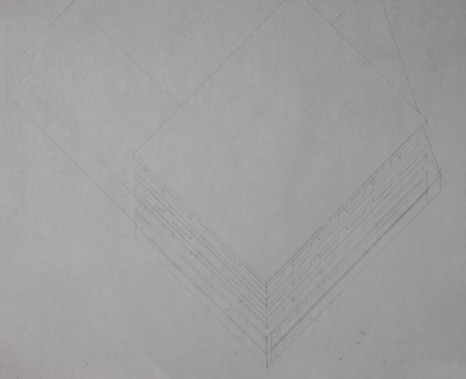
After choosing my design i started to improve the main problems first. The size of the Folly was always being adjusted as you can see in the size of each drawing. It progressed all the way from 11' x 9' base to 12' x 12' to 16' x 16'. The height was 14' tall. With my drawings I also decided to add a new element into the center of the design. This added a blurred effect to the outside of the folly as well as the center. I started with 4 pillars to add extra support to the roof. They also hold the planks that will blur the vision of whoever is in the center. The effect recreates what happens when you drive or walk past a wooden fence. The holes in the wood allow for someone to see through even though they are tiny spaces. The rest of the interior acts as a viewing space to view the beautiful landscape of the Canadian Rockies.
|
|
Models:
|
|
My models followed my drawings. The size changed and got bigger throughout. I focused on figuring out how i wanted to frame my folly with my model. My 2nd study model definitely helped because i used all 4 sides to show a different way to support the roof and different ways to space out the beams on the outside. I tried to add braces which ended up not working out. I worked through the paneling for my roof and the interior space. I changed my initial design of having 6" of space with 6" planks in between to 2" planks with 1/2" of space to add the blurred effect.
|
Final Model and Drawing:
|
|
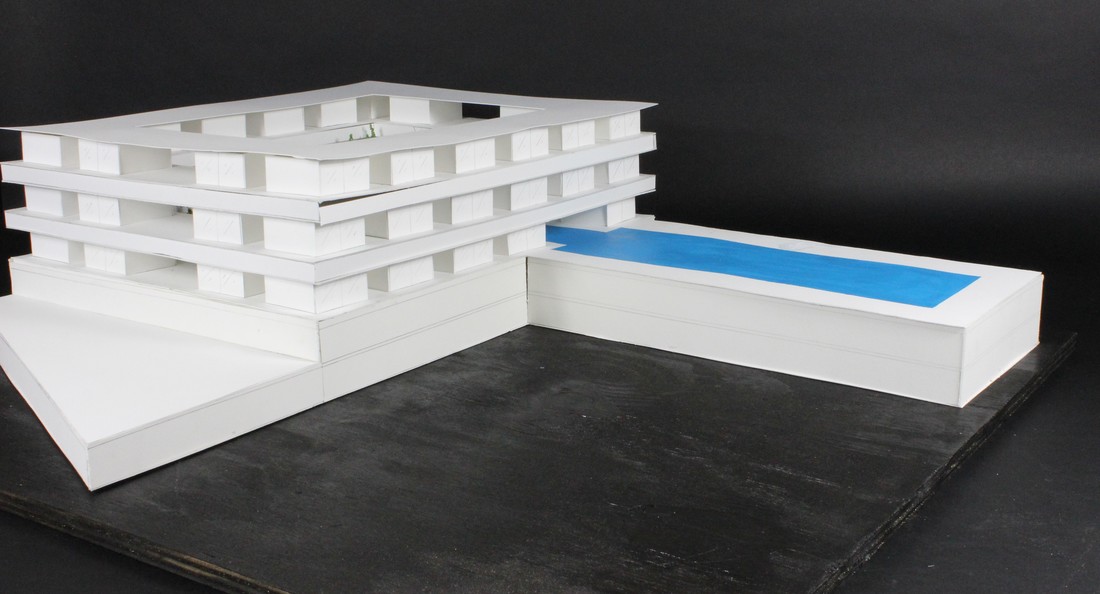
This is my final product which accurately represents what i wanted my folly to do and incorporate for it to define blurred space.
Project 02: Fort Worth Cultural District Hotel
In the cultural district of downtown Fort Worth, there is a new hotel being designed. Sadly, there are many problems with the design and I was tasked with coming up with a solution. I was also asked what a cultural district hotel meant to me and for most of the project I did not know.
Preliminary Work:
Sketches:
|
|
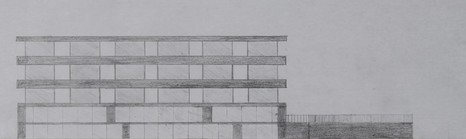
I started with some very rough sketches to figure out how i wanted to solve the problems of the original hotel. I figured out that i wanted to take the Kimbell's 20' x 20' rectangles and use them some way into my building. I ultimately came down to designing the rooms out of them and having it be the bases of my hotel.
|
Creating an Idea:
|
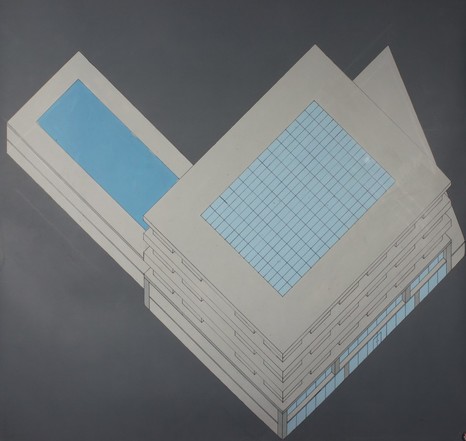
I spent most of my time in my sketch book creating my idea. Towards the end of the design phase, I started to create a garden space In the center.
|
|
Drawings:
|
|
Sketchup:
|
|
|
|
