Project 2- Developing Space for Architects
part 1
The project required us to do a tiny house with the maximum of 750 square feet. We had to chose a location inside the united state including Alaska and Hawaii. There where some challenges for example, the garage or storage had to be 10x20ft,the exterior doors have to be 3ft and the indoor doors 2,2.5ft. The majority of the work was done by a 1/4 inch scale and the other by 1/8 inch scale.
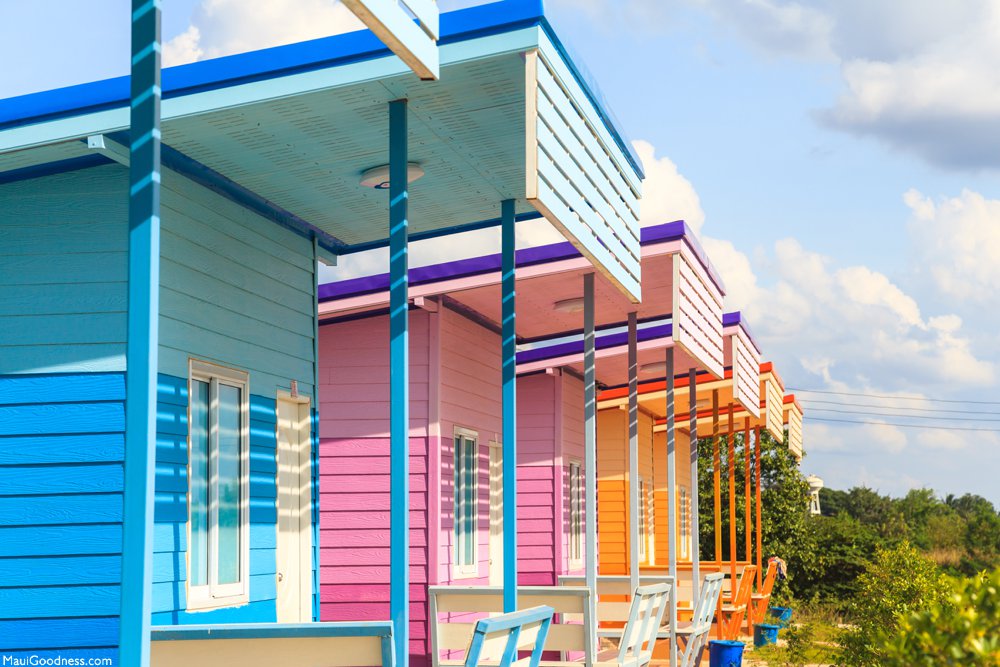
Inspiration Pictures
In most of my work I used inspiration images of tiny house, arts, and I can't forget about the word the I got INTENSE. The location that I chose was Maui, Hawaii in a hill very close to the ocean.
Research Information |
My tiny house is located in Hana, Maui, Hawaii. In Hana my house is located in top of a hill, it has an amazing view to the North Pacific Ocean. The tress are very unique they are colorful, up to 40ft of tall and 6ft wide. When I was doing my research I have to make sure that the land was not a restrictive covenants area. I also have build my house according to the climate. The climate in Hana, Maui is kind of nice in a moth it can rain up to 15 days, the average temperature is 85*/70*(*F). The type of soil there is called Andisols. Is one of the most extensive soil order in Hawaii, this soil is found in areas where volcanos were once active.
Design Development
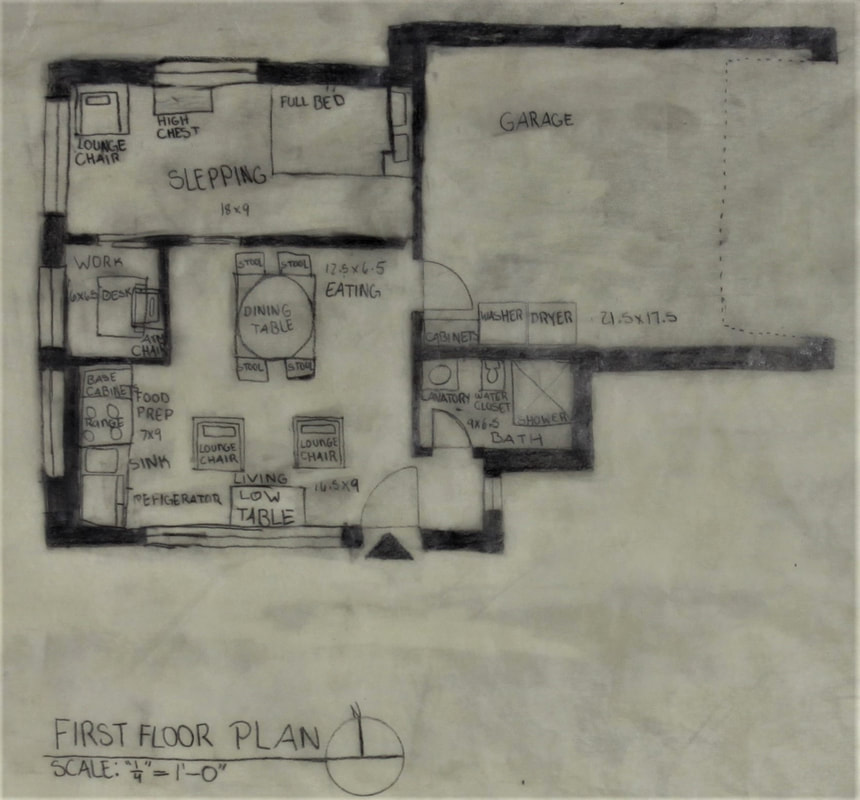
The design development had some challenges, the measurements was one of them, but also the creating of the elevations. Drawing the floor plan it looks very easy but actually from my personal point of view was one of the hardest ones to create especially when adding the furniture. Reconfiguration of space was hard we had to think how well we can used each space. The house had to be design according to the location and climate.
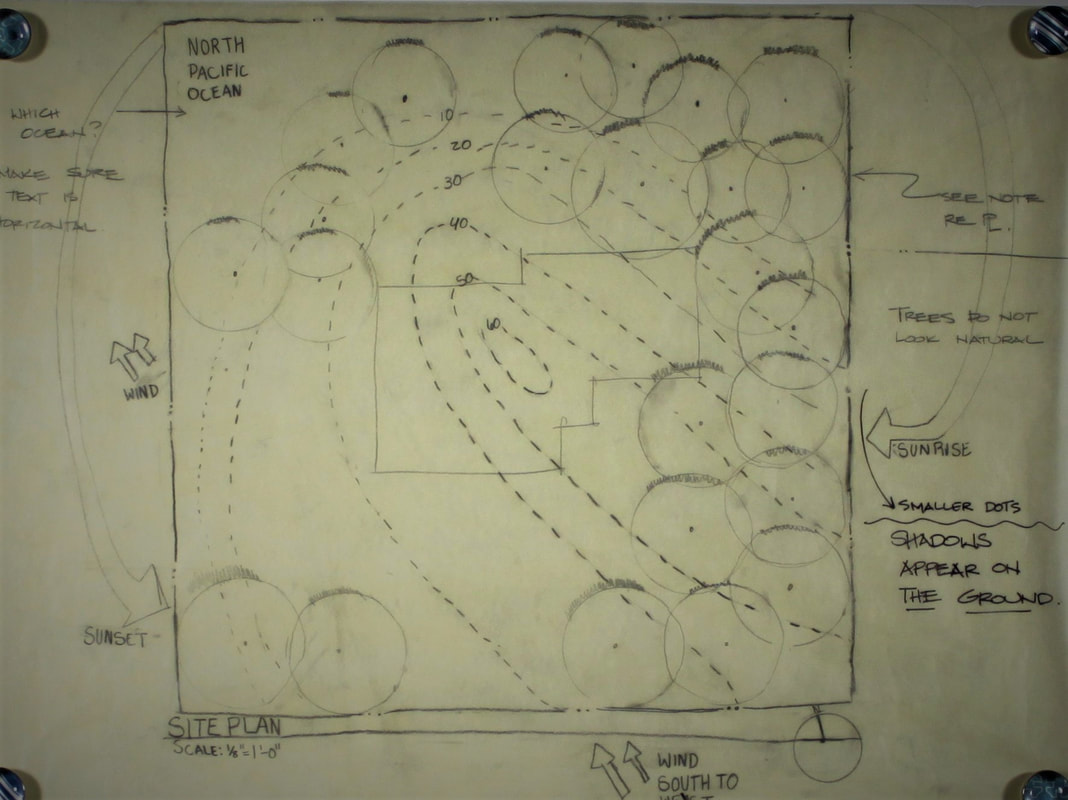
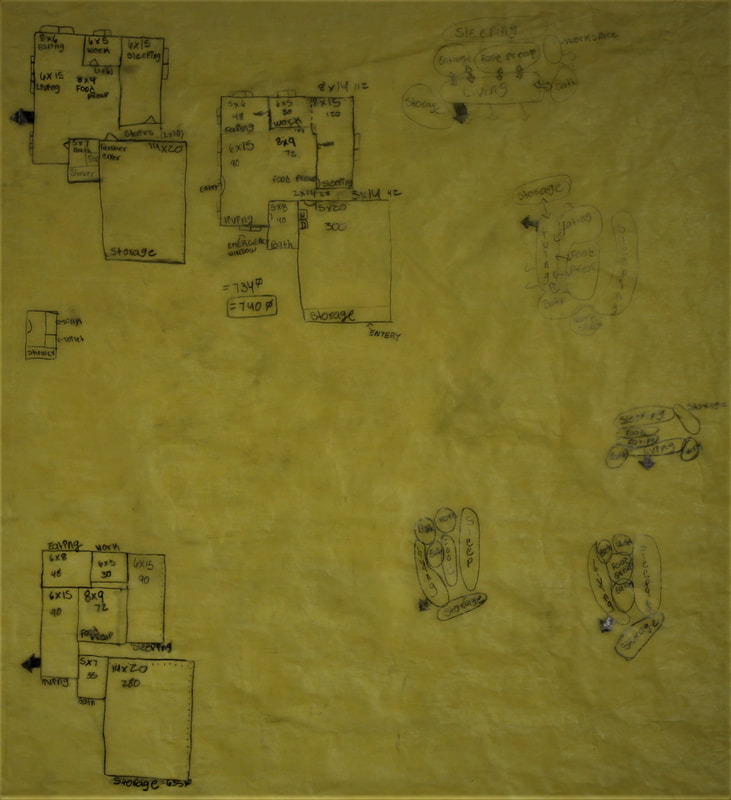
The first step to building the house was doing the SITE PLAN. In the site plan was include trees, views, contour lines, the sunset and sunrise, also where the wind comes from. The BUBBLE DIAGRAM was the next step we had to think about how many square feet we wanted our house to be, and where we wanted each space to be located.
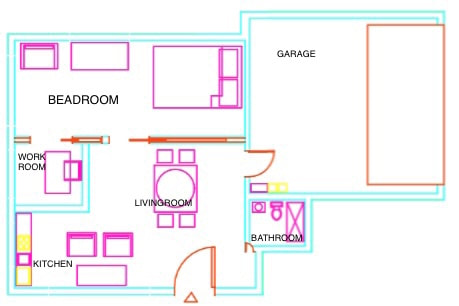
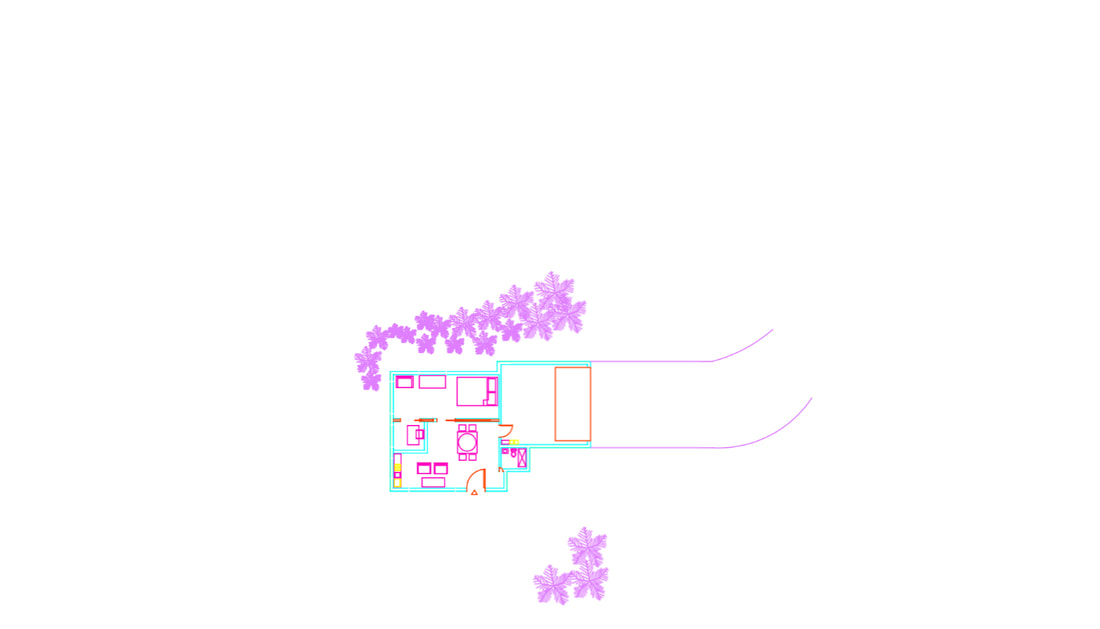
After we had think were we wanted each space to be located, we made the roof plan. Which include where each room is located, the doors, windows, wall thickness, and furniture. The messurments where made by 1/8 of and inch scale.
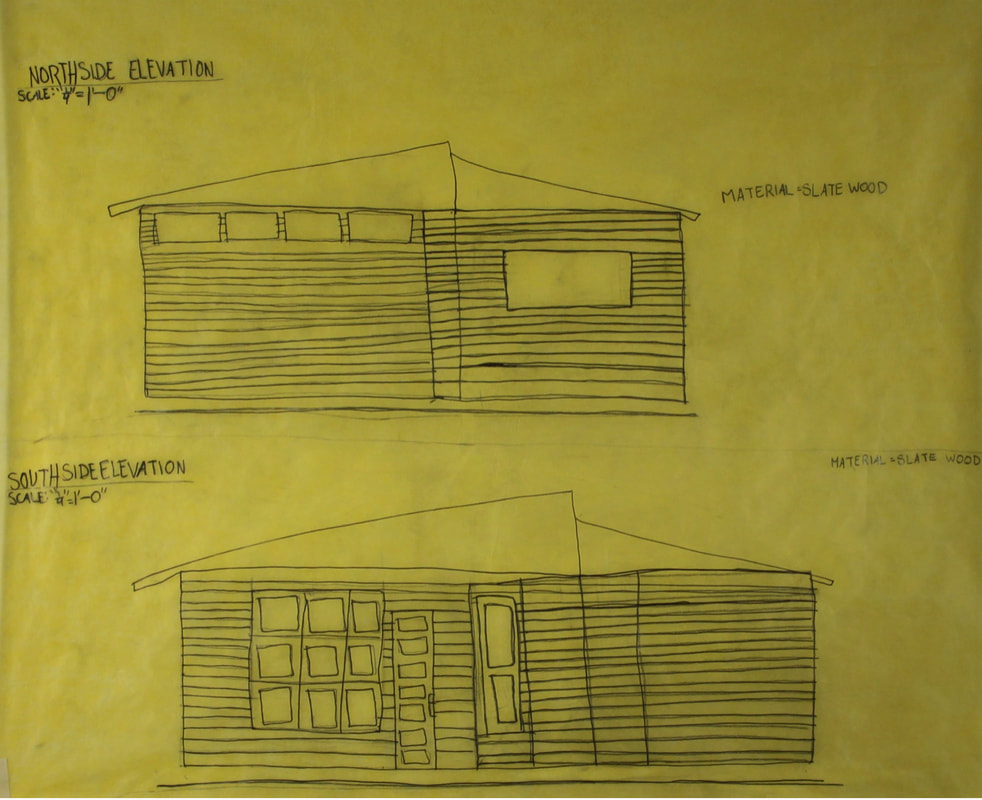
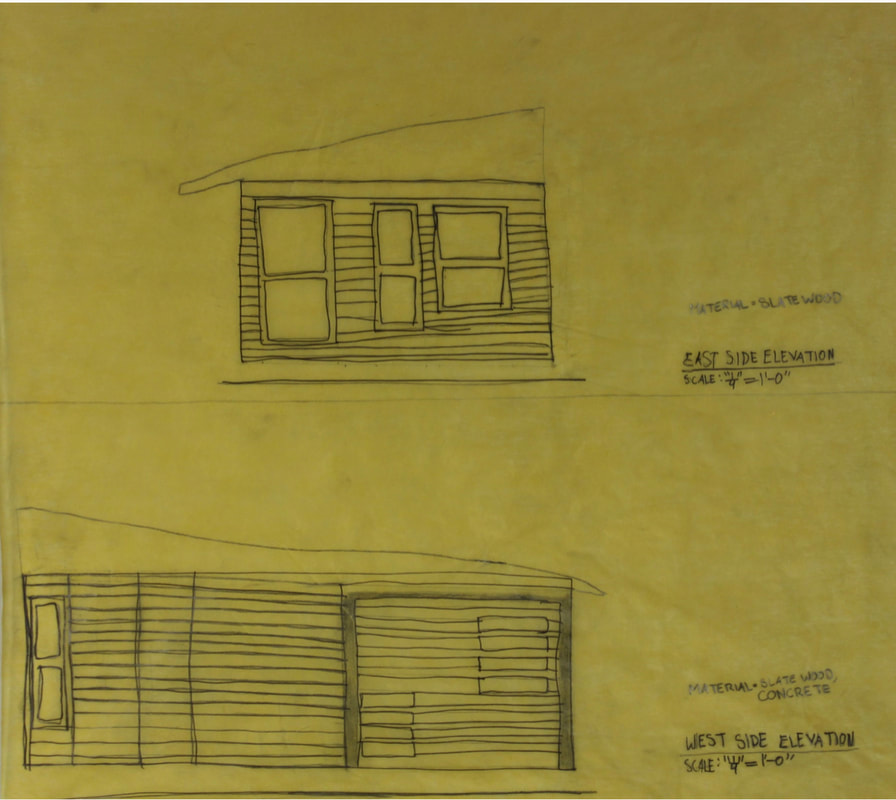
When finishing the floor plan, the next step was doing the elevation of the north, south, east and west. The elevation where done by 1/4 inch scale. They were kind of hard to made making all the corners that my house had. In the elevation I added windows, doors, and the type of material that I wanted for the house. The material that I used were slate wood and a little bit of concreta.
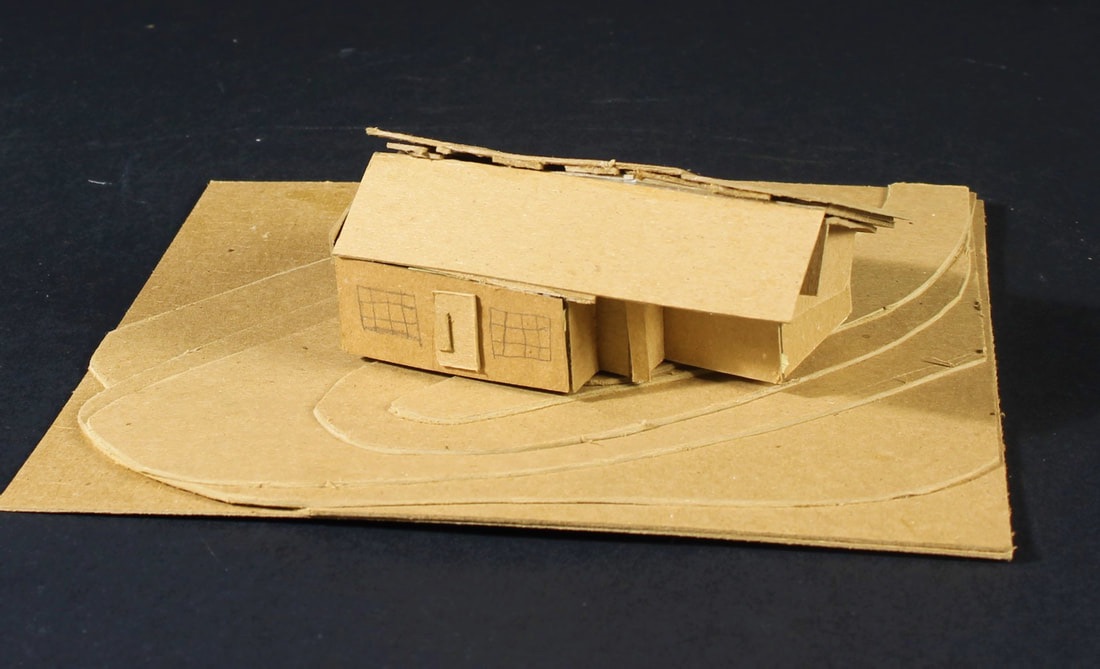
The last step of this project was making the house 3D. This is called a mass model. The measurements of the floor plan and elevation had to be the same for the mass model. Making the roof was the hardest part of doing also making each little corner. The cardboard was not flexible and the glue dint dry fast enough. But after all the mass model was not one of the best but also not one of the worst.
After all is said this project was a great experience. It help us have a great time management and have are brained open to a more creative area. In conclusion I think my house will be a very unique house in the area of MAUI,HAWAII.
AUTOCAD PROJECT
PART 2

Finalizing the project ended with drawing the elevations of the tiny house in AutoCAD, which include doors, windows, and the texture you wanted for you house. This was a challenging project especially if you don't have experience in computers. I used the same drawing of the floor plan to make the elevations accurate. This part of the project make me realized that I need it to do a lot of changes, because on the out side it didn't look good.
Elevations
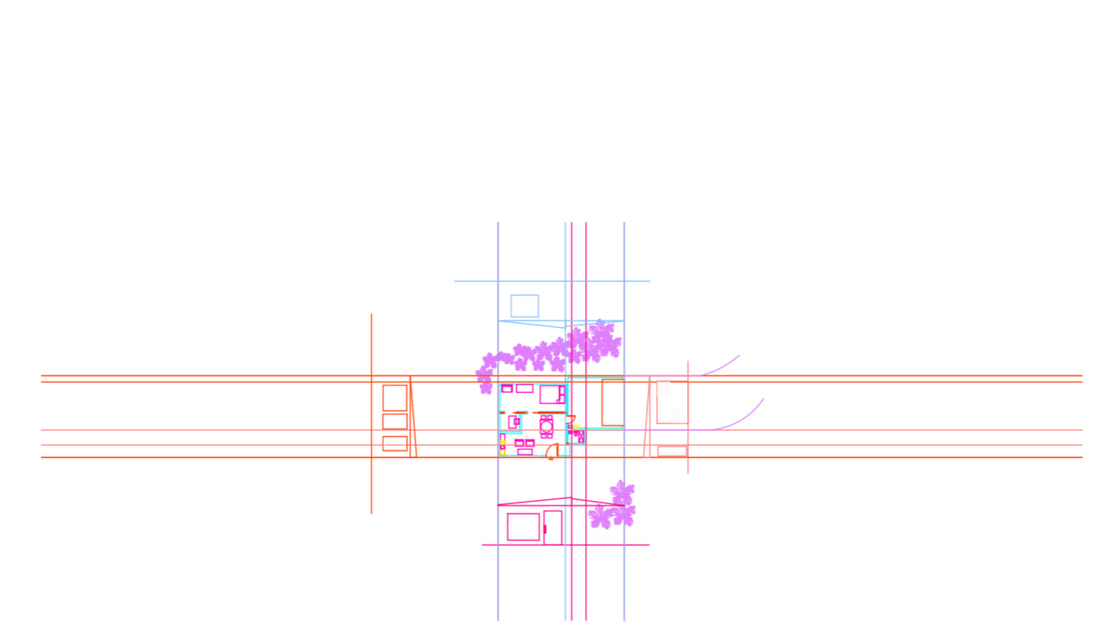
Doing the elevation was not and easy job, but I accomplished it. We did construction lines and we used our flor and wall plan to help u guide so are elevation will look accurate. On all my elevations I include doors, windows and the roof, also all the elevations were 2D.
Finale Result
On my final plan I include tree, drive way, door, furniture, etc. It has my floor plan, wall plan, construction lines, and my elevations, in addition everything is color coded. so it will make and easier job to find each thing. When adding the furniture I had to do some rearrangement to the floor plan so the furniture will fit. The location the my tiny house is it make me do some rearrangement to the driveway an the locations of the trees. In a sum of what I have said before this was a great experience it help me learn the doing a house is not as easy as it looks there a lot of detail the we need to see.
