project 01: city pavillion
|
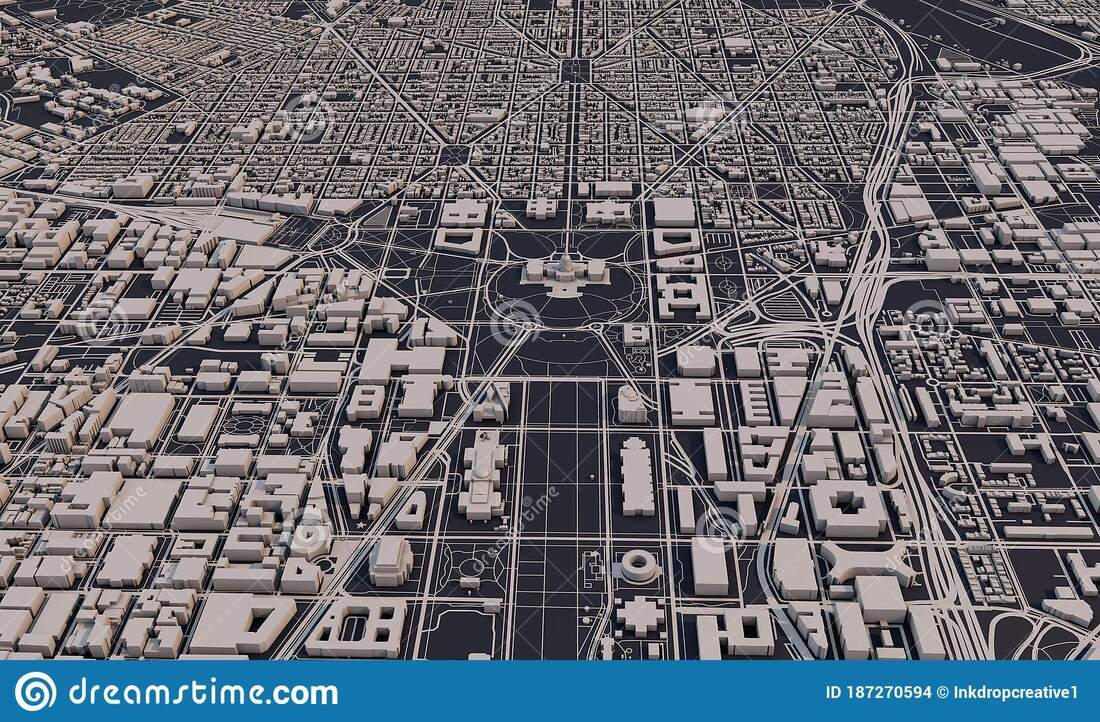
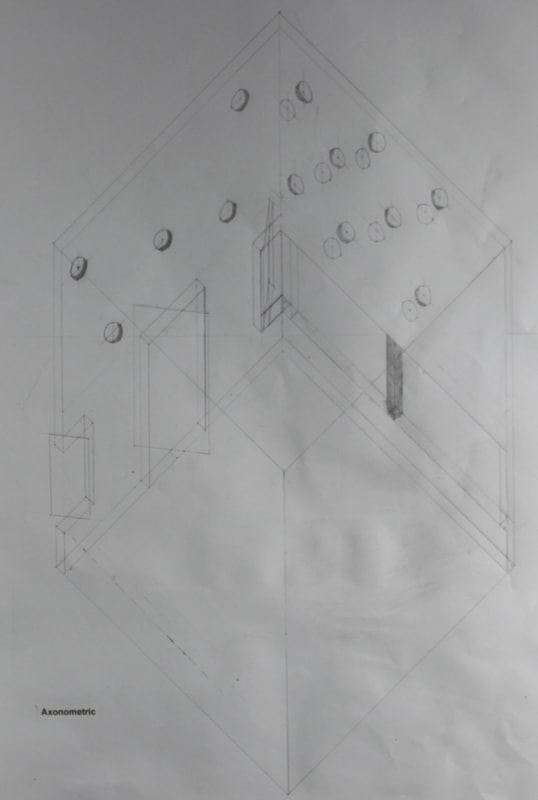
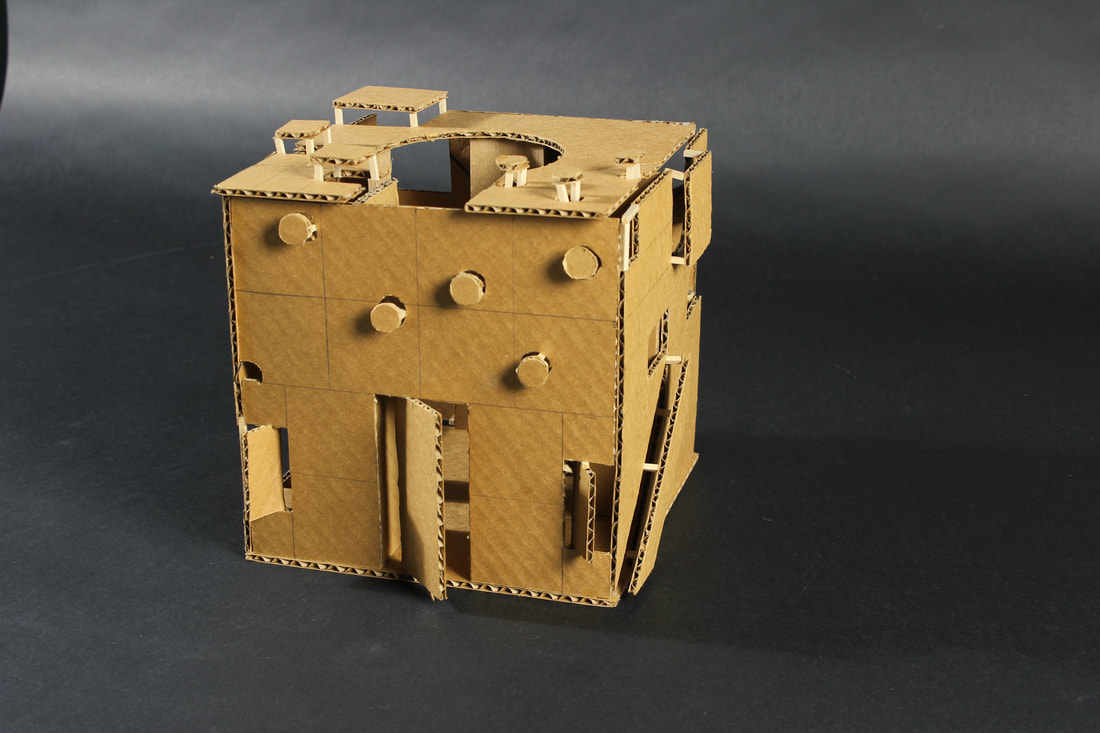
in this project we were tasked to make a pavillion that represents the essence of washington dc. using the city grid of dc we came up with one singular design that elements of the grid and based the rest of the sides to our pavillion on that one. we studied the city of dc and made a padlet full of information about it. I learned lots of things about washington that I didn't know before. it was overall a really cool experience to be part of it.
|
City Research
Drawings and Model
as I said in the paragraph above I learned a lot about washington dc such as climate patterns, historic events and that it has a lot of museums with the word "national" in front of them. I noticed that in washington there is a very distinct city grid with some diagonal streets cutting through along with some roundabouts. I think the essence of dc is neatness with the city grid and then diagonal streets and holes punched in it.
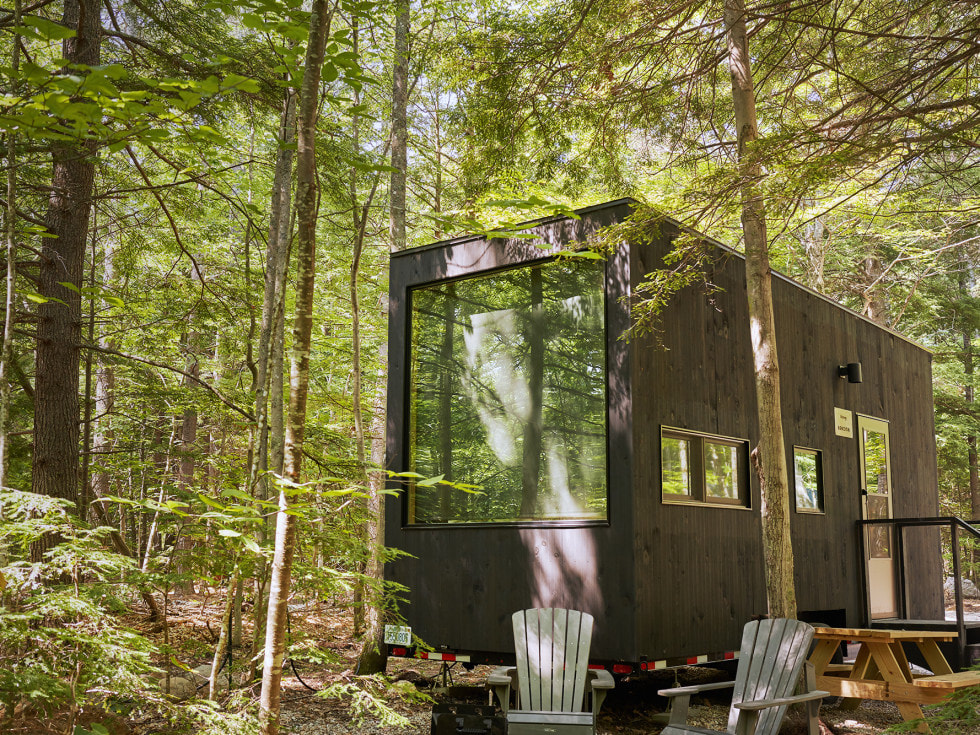
Project 02: East Texas CabinAt the beginning of the nine weeks Mr. carson introduced the idea of trying to design a cabin that would fit into the pine woods of east texas. at the beginning of the project I had no idea what to design or how to do it, I was lost. Mr. carson then had us do a lot of research about the climate, what cabins do, the wildlife in east texas, and even the foliage growing there (pictured below). and that is when I got on track.
|
|
Deciding The Tree Layout
|
The second thing that mr carson had us do was to start trying to figure out a good design for the cabin itself that is called concept sketching. The two sketches to the right are what inspired the rest of my project. concept sketches are supposed to be quick 3-5 minute sketches that come off the top of your head. Mr. carson wanted us to branch away from the regular log cabin feel and design something more contemporary. |
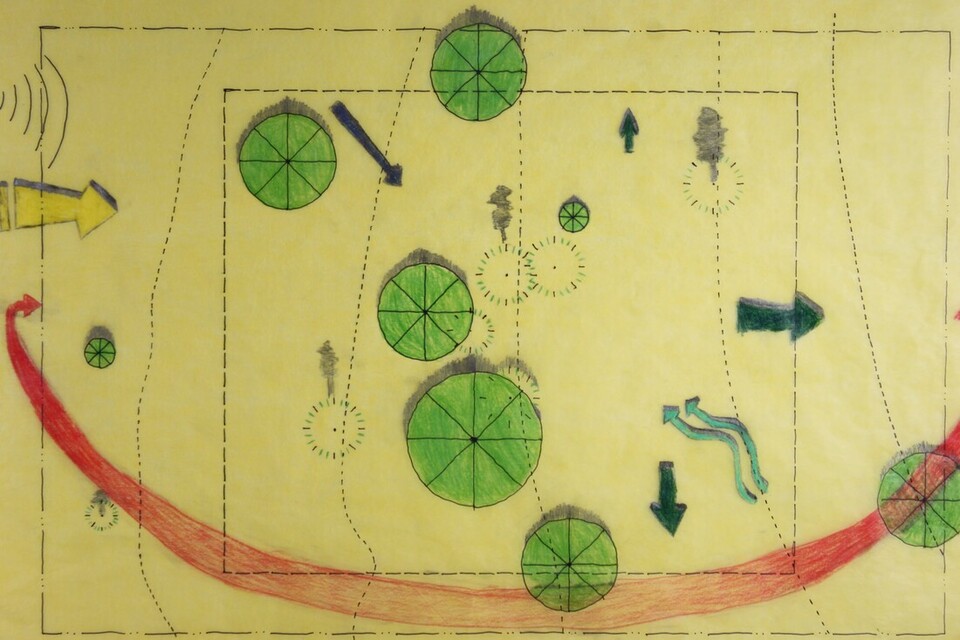
The first thing that Mr. carson had us do was throw a bunch of coins onto a piece of paper. there was a few dimes, a couple pennies, a nickle or two, and one quarter which were all designated to a specific size of tree. once we threw them and took pictures we were allowed to pick what species of tree they were. we had two choices deciduous and pine, the big shaded trees are deciduous and the slender non-shaded circles are pines.
. Concept Sketching |
Site Contour |
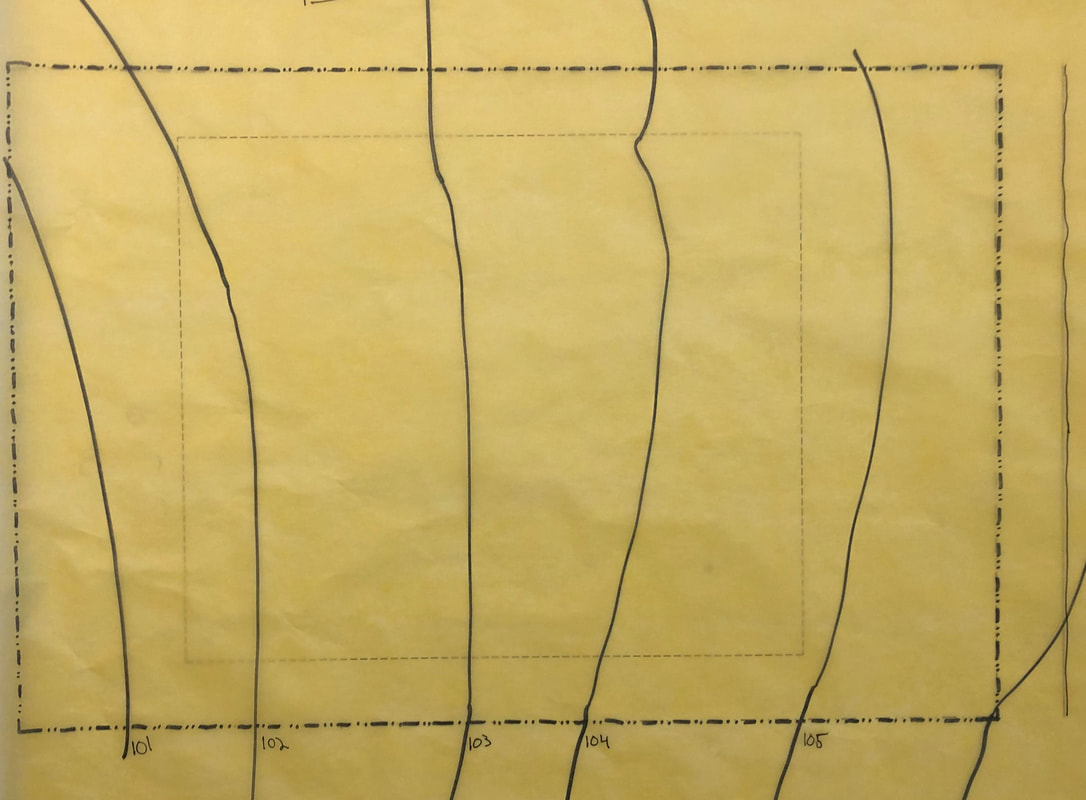
Site contour or elevation lines display how far and where the property slopes. My example to the left slopes down 5 feet from the road to the end of the lot. We drew all of the lines on the paper blindfolded, so that we could keep some form of randomness. But then he threw us a curveball and made all of us trade with a classmate through the form of a white elephant gift exchange. |
Study Model
|
After we were done with the gift exchange we were then told to build our concept sketches in three d out of chipboard. These were designed to take about as much time to build as the sketch was to draw, 3-5 minutes. They were very fast and not made to be sturdy at all that led to a lot of them breaking. |
|
Floor PlansElevations |
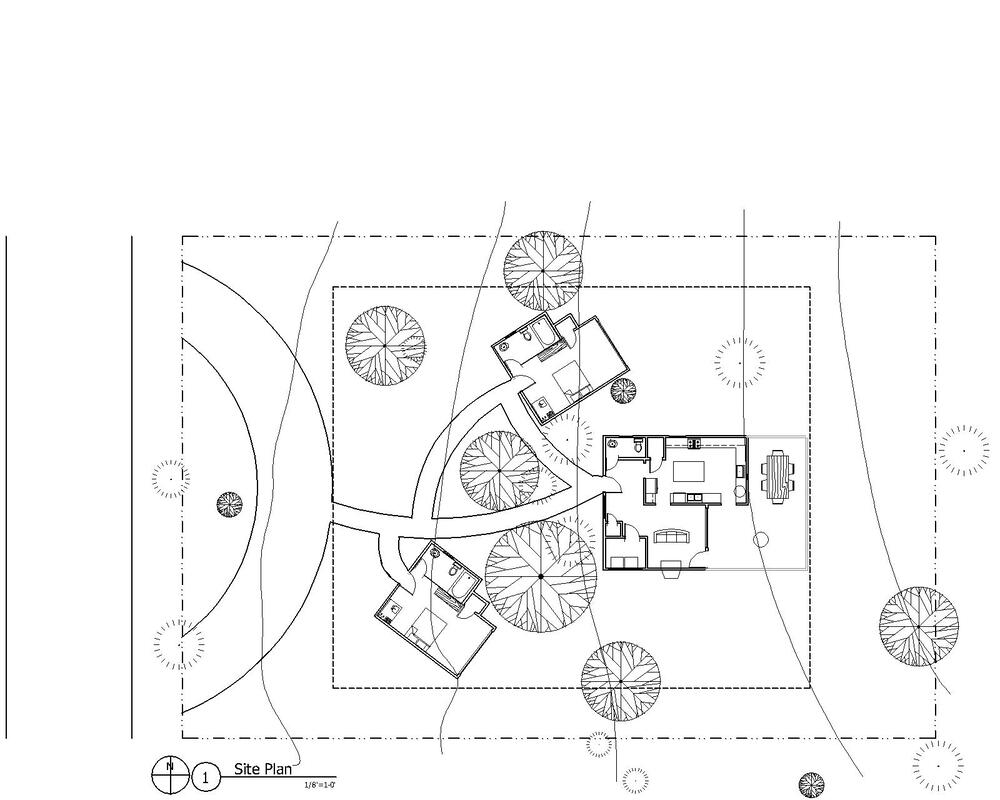
After we had the design that we were sticking with we were cleared to start designing our floor plans in autocad. This was a very difficult program that none of us had used before there was a major learning curve but once we got used to it it was fine. I designed two buildings one was a bedroom and bathroom combo that was private then there was a second building where all of the community things were located such as the laundry room, kitchen, and living room. |
|
Elevations are supposed to be flat 2d planes of a building basicly simplified views of a building. there is one for every cardinal direction of the building and they are designed to show what a building should look like once it is built. |
|
Final Product
Final ModelAfter we were done with everything else we built our final model I had two as you can see below. I built mine out of very thin birch wood and basic elmers glue.
|
With everything combined, trees, contour lines, site plan, and buildings you get the final product of what is a 9-week project. |
