My Blog, MJR: Design & Writing
Project 01: Artist Retreat
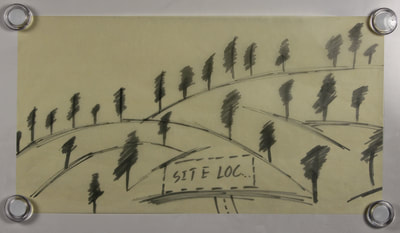
In this project, I was assigned an artist for whom I was to design an artist's retreat that suits them and their work. In my case this artist was Martin Puryear. Due to his connection with wood and curved forms, I would place my house on the forested rolling hills terrain outside Fayetteville, Arkansas. The roof design of the house compliments the terrain and Puryear's work while also allowing for practical use of indoor and exterior space.
Research:
Puryear is known for building in round forms with wood. There is seldom a straight edge on one of his finished pieces, and if there is, it is there to compliment or support the curves. His works reflect the traditional style he first fell in love with in Sierra Leone. He follows natural lines, and forms inspired by the yurts in which the villagers lived. I planned to use these characteristics of Puryear's works in my design.
Mixed Media Artwork:
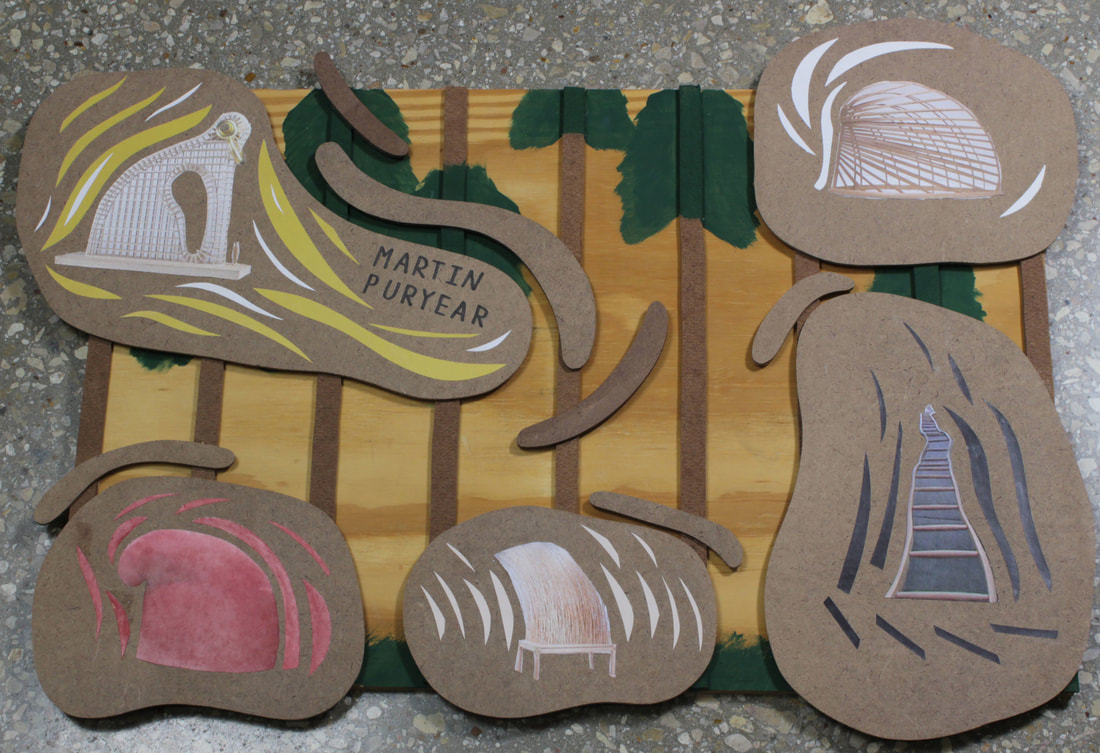
In my mixed media piece, I aimed to capture the site I envisioned for the retreat, while placing enthesis on the curved forms Puryear uses. The piece is made almost entirely of wood, just like Puryear's sculptures are. The vertical wood strips serve to support the rounded forms on top, while doubling to represent the forest landscape.
Design Process:
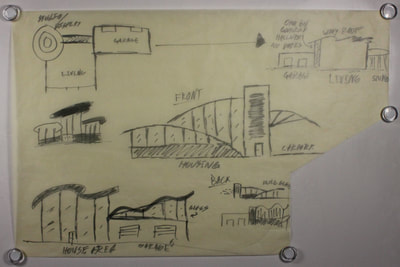
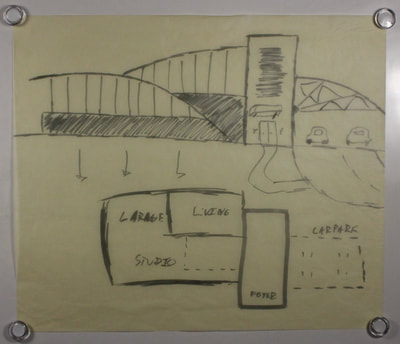
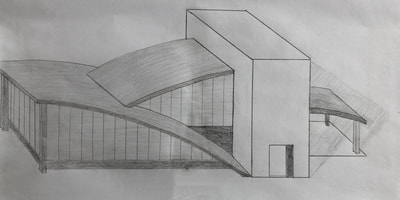
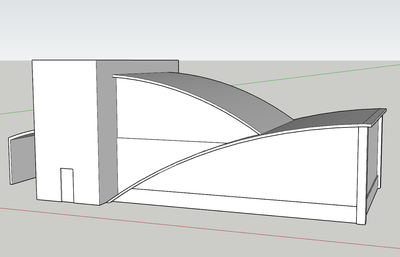
Directly below are my preliminary design sketches. Following the mass production of ideas, I followed with a 3D sketch of the design I wished to push forward.
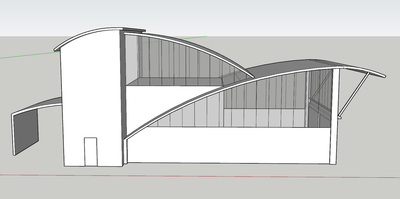
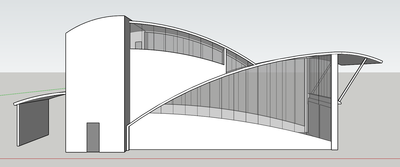
Directly below, now, are captures of my sketchup model throughout its development as it got more advanced and detailed. Since this model was designed entirely in scale, when I was satisfied with the design, I used it to accurately develop my final presentation model, floor plan, and section drawings.
Final Design:
In the first slideshow below are the front, rear, left, and right views of my final presentation model. In the second slideshow, The floor plans for story 1 and 2, as well as the section drawing are found.
Project 02: Global Makerspace
Project Description:
There are 6 groups of 18 makers. Each group was placed on different continents: North America, South America, Europe, Asia, Africa, and Australia. Each team of students was assigned a continent on which they would design a global makerspace for a group of makers, capable of allowing for the makers to express their full creative potential while living among and collaborating with like-minded individuals.
Global Culture 3D Print:
"ECONOMY" - The global use and exchange of currencies between people, businesses, and countries.
My object represents a simple, neutral and nonspecific coin to represent all currencies of the world. Humanity has been using coins as a medium of exchange for over a thousand years, and this continues into today's modern global culture. The coin's nonspecific nature and widespread use make it a great representation of Economy.
This exercise was useful to teach us how to operate the 3D printer (more on this later) and to collectively understand global culture. Other descriptors included "Conflict, Non- Homogeneous, Evolving, Ever-changing, and Diversity.
This exercise was useful to teach us how to operate the 3D printer (more on this later) and to collectively understand global culture. Other descriptors included "Conflict, Non- Homogeneous, Evolving, Ever-changing, and Diversity.
Design Process:
Now that we have defined and formed an understanding/interpretation of global culture, we move into the design process. We wanted our global maker space to reflect the aforementioned descriptions of global culture, while remaining a practical place for the makers to live and work.
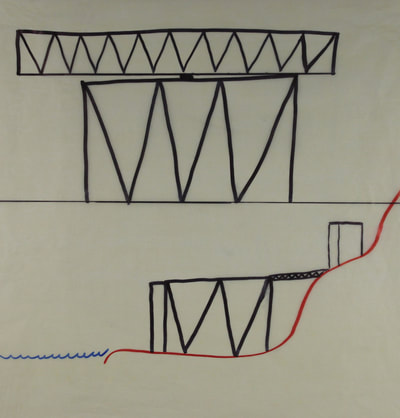
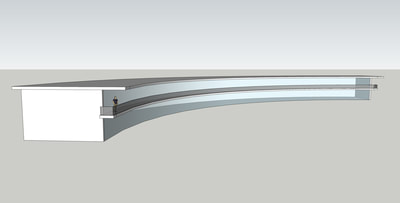
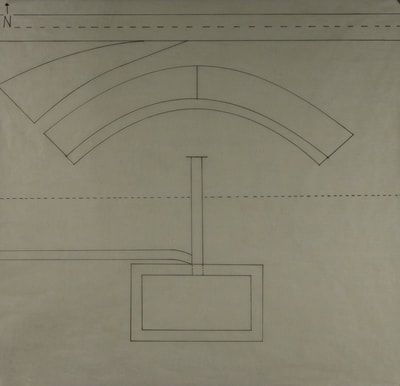
We knew from the beginning we wanted our building to represent the diversity of different cultures, so our parti model revolved around opposite shapes, a rectangle and a crescent. The rectangle was to become the makerspace, the crescent the living space, and a bridge in between.
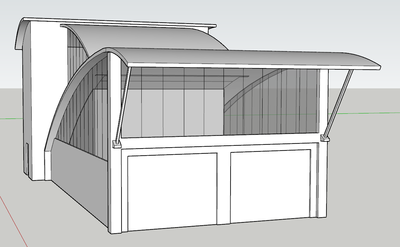
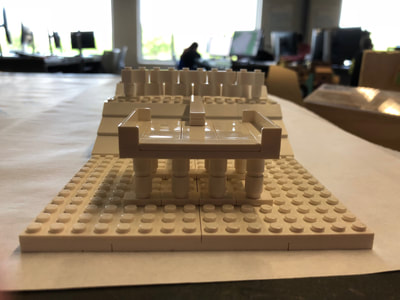
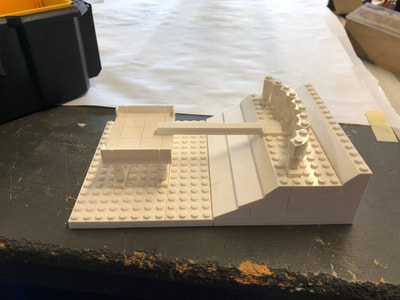
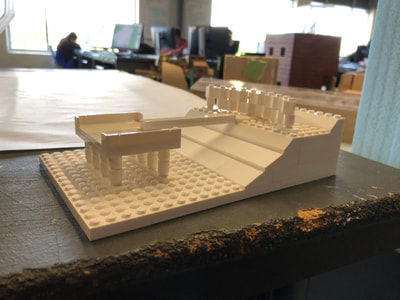
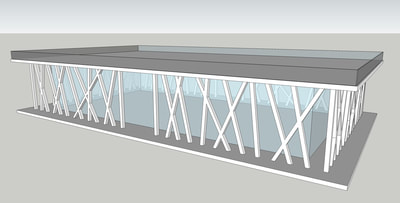
Below you will see our preliminary drawings of what we imagined the space could look like. Then, we took this and constructed a LEGO study model to understand the scale, elevation, and placement of the buildings more clearly. Finally, we took this idea and modeled it in Sketch Up to get an accurate scale for these buildings.
Preliminary Drawings & LEGO Model
SketchUp Model
Revit Preparations:
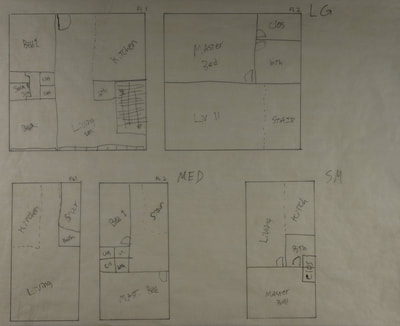
The final step before we moved into modeling the makerspace, living space, and bridge in Revit was to understand the site layout and living quarters. So, we drew some final scaled drawings of the floor plans for the living units, and a site plan. With these plans in mind, we were ready to move into modeling in Revit.
Modeling In Revit:
It was at this point in the project when we developed our idea beyond the simple crescent v.s. rectangle idea. Especially visible in the "Elevations" sheets and our physical model, you can see the added elements. We decided to add supports that were curved on the makerspace, but gradually straightened out along the length of the bridge as you approach the living space. The Southern facing edge of the living space is covered by vertical supports that double for privacy on the balconies. The bridge additionally serves as a gallery for the works of the makers who have worked in the space to inspire those who come after them. The curved accents on the rectangular makerspace and the vertical accents on the curved living space are made to represent the blending of different cultures through creative work.
Below are the sheets based on our Revit model. The makerspace drawings are separated from the living space drawings accordingly. These were all printed on Arch D sized sheets at a 3/16"=1' scale for the makerspace, and a 3/32"=1' scale for the living space. The living space was scaled to be twice as small due to its much greater length as compared to the makerspace.
Below are the sheets based on our Revit model. The makerspace drawings are separated from the living space drawings accordingly. These were all printed on Arch D sized sheets at a 3/16"=1' scale for the makerspace, and a 3/32"=1' scale for the living space. The living space was scaled to be twice as small due to its much greater length as compared to the makerspace.
Makerspace
Living Space
Renderings
3D Printing & Physical Model:
We chose to 3D print our Revit models and create a site plan to help the jury understand the layout and difference in elevation more accurately and clearly than can be described in 2-dimensional drawings. These models and the corresponding site were constructed to a 1/16"=1' scale.
The resemblance to our LEGO study model is most evident here. We took our core idea, developed it directly to become a practical living/working facility, and a representation of the nature of intermingling of cultures.
The resemblance to our LEGO study model is most evident here. We took our core idea, developed it directly to become a practical living/working facility, and a representation of the nature of intermingling of cultures.
