Adam Reasor: Architectural Design 2
Ecological Architecture
|
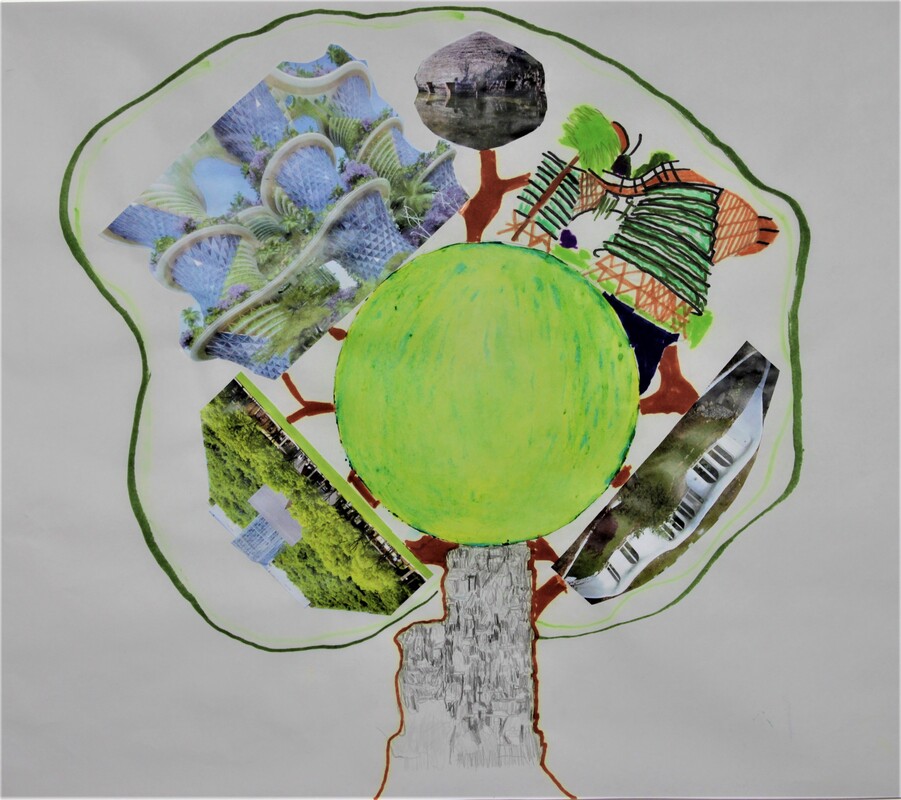
For our second year in Architecture our study and theme this year is Ecological Architecture. Ecological Architecture is using natural sources to build and perverse nature by adding natural resources to buildings for example trees on top of the buildings. Our teacher then instructed us to design what ecological architecture looks like to me. I did a tree represent nature and ecological buildings adding on the building instead of chopping down the tree.
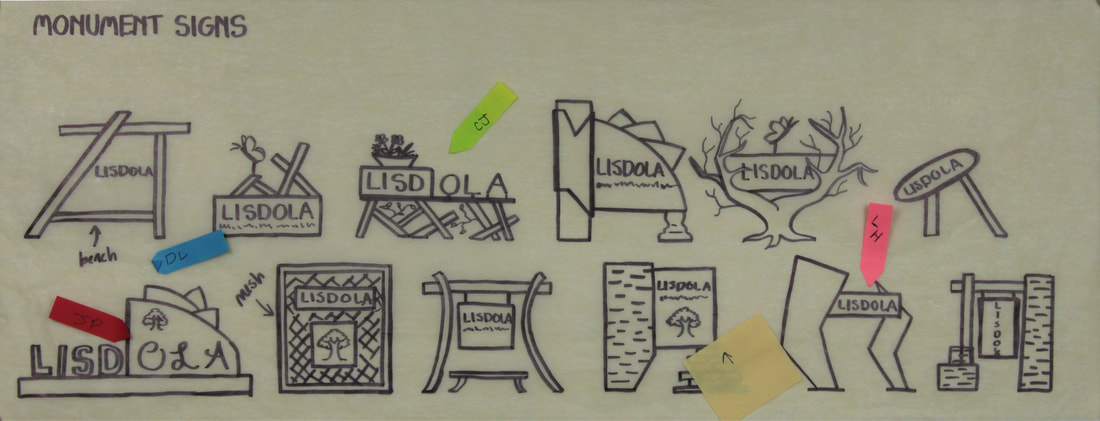
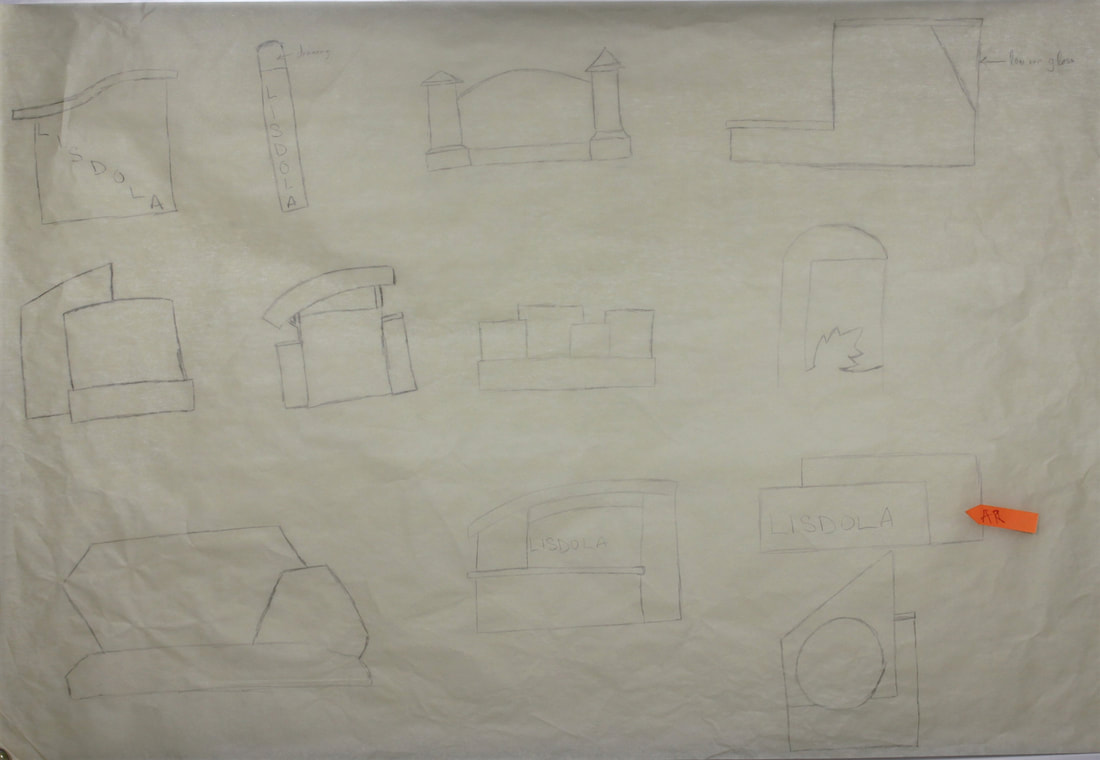
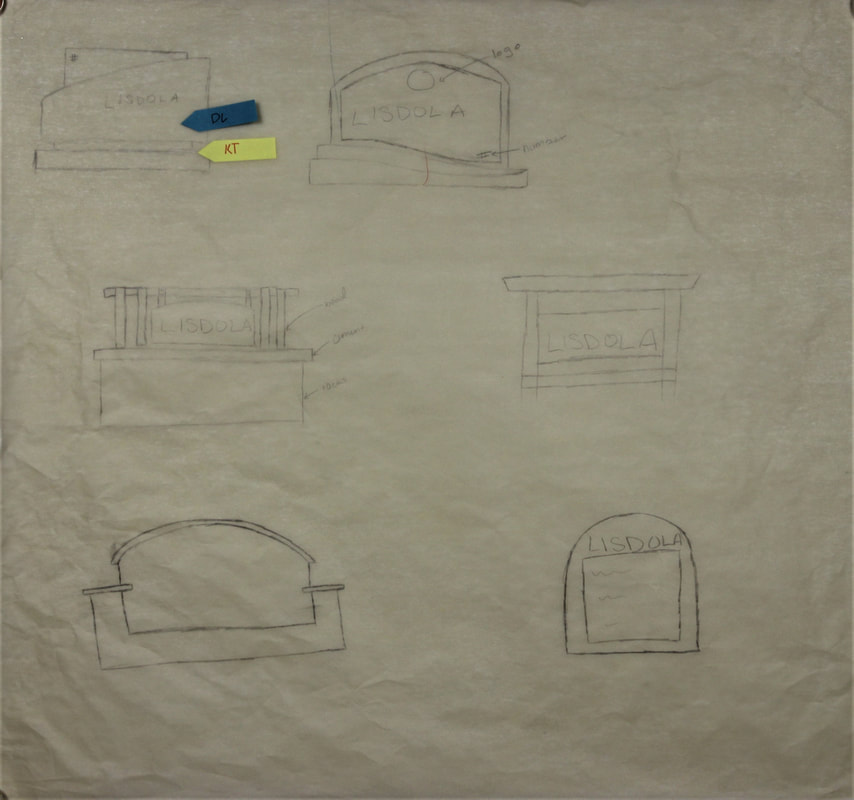
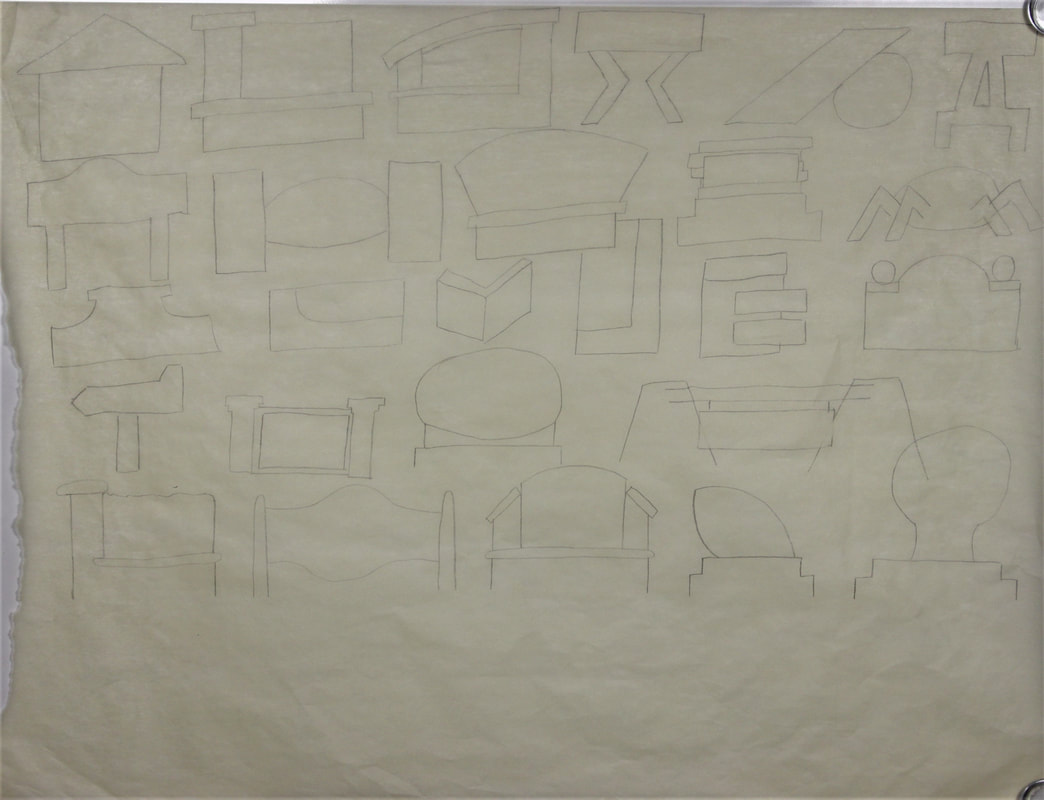
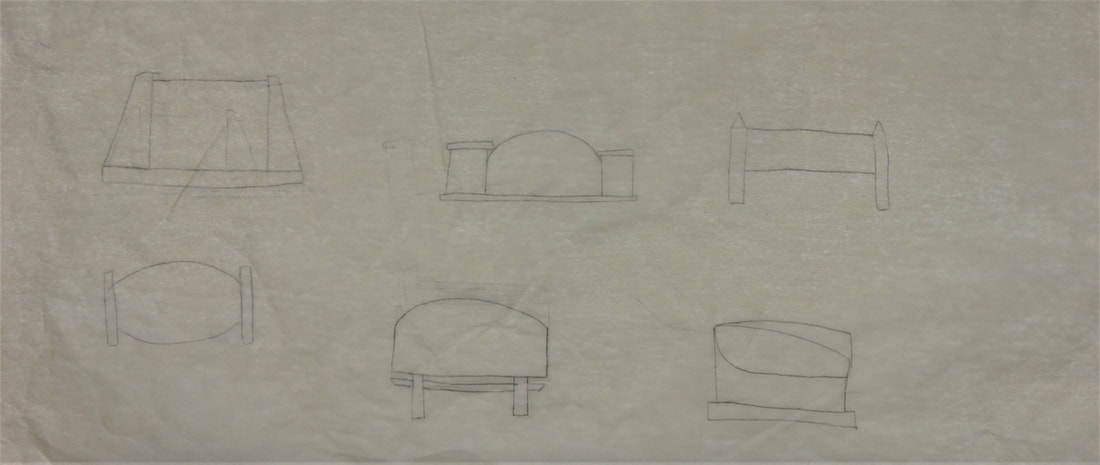
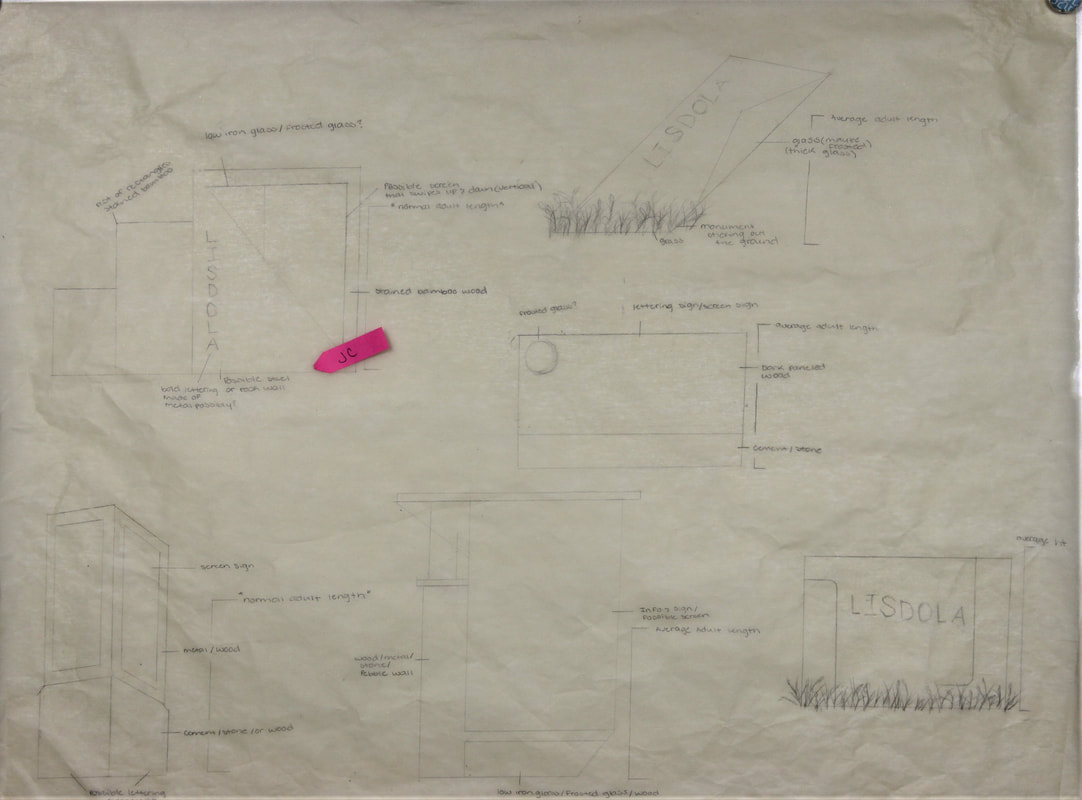
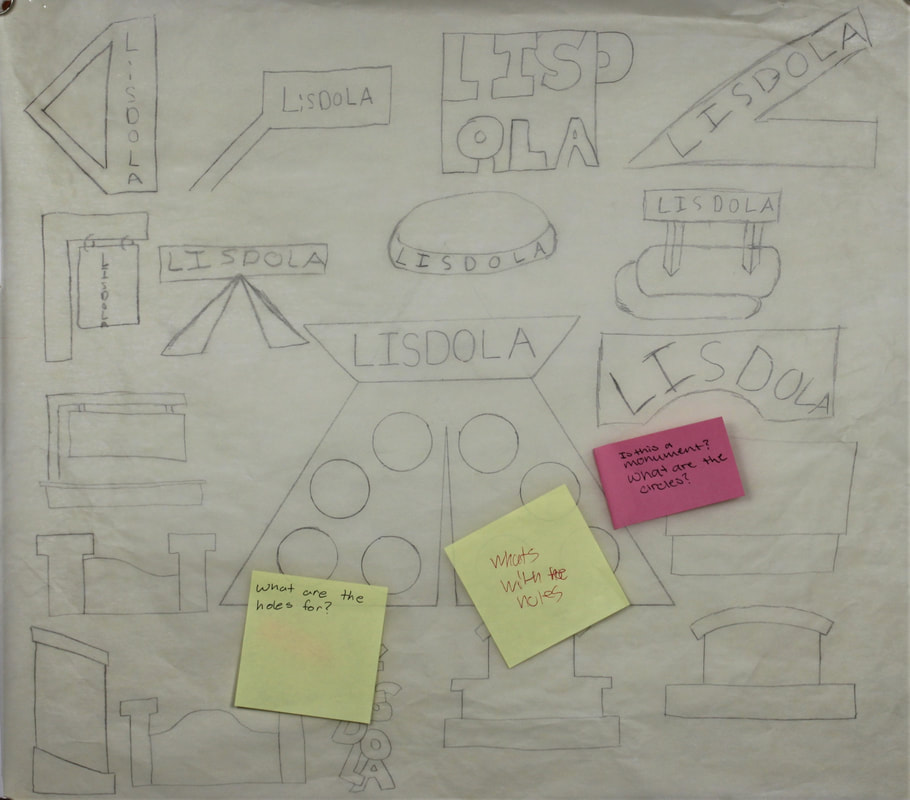
With all the suggestions our class suggested to our clients I chose the monument signs that you see up front. I began by drawing five different ideas for what the sign could look like. Then our teacher wanted us to make suggestions on others people work to get a better understanding. From there we had to select five ideas for our first client meeting and had it drawled out elevation and 3-D view. To make Auto-cad and psychical models. |
Project 01: LISDOLA Design Package
A few weeks later we were hired to build signage at a outdoor learning area called LISDOLA. LISDOLA is a out door learning space for elementary school students in the Lewisville Independent School District to learning in a living interment. With all the money left over for renovating schools in the district LISDOLA now gets a proper facility built there. LISDOLA got a company to build the campus and they hired us to build the smaller things on there propriety that they needed.
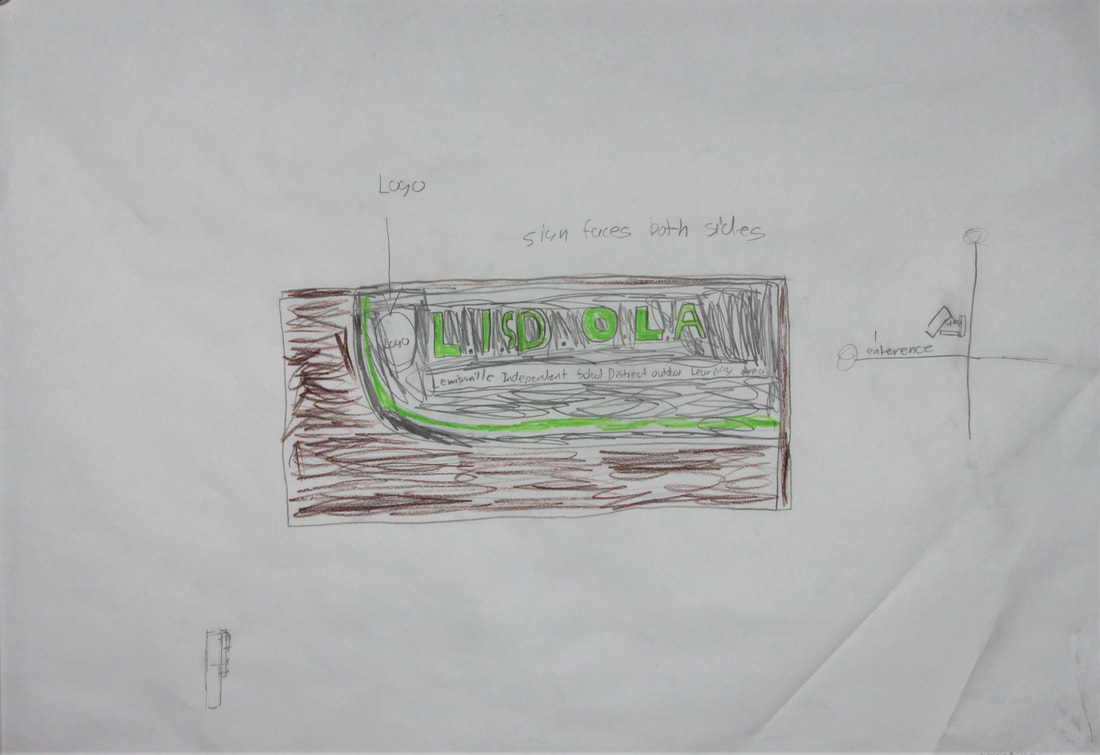
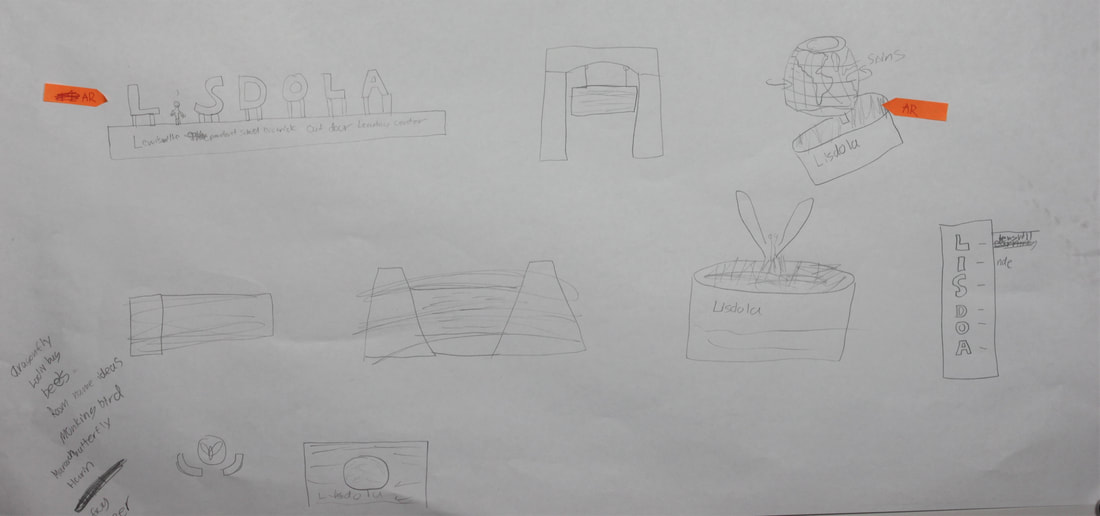
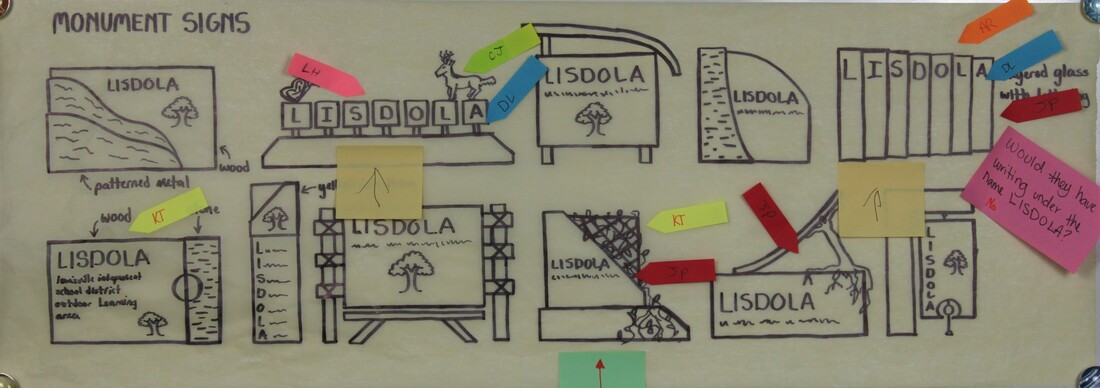
With all the suggestions our class suggested to our clients I chose the monument signs that you see up front. I began by drawing five different ideas for what the sign could look like. Then our teacher wanted us to make suggestions on others people work to get a better understanding. From there we had to select five ideas for our first client meeting and had it drawled out elevation and 3-D view. To make Auto-cad and psychical models.
With all the suggestions our class suggested to our clients I chose the monument signs that you see up front. I began by drawing five different ideas for what the sign could look like. Then our teacher wanted us to make suggestions on others people work to get a better understanding. From there we had to select five ideas for our first client meeting and had it drawled out elevation and 3-D view. To make Auto-cad and psychical models.
Making the Five Designs.
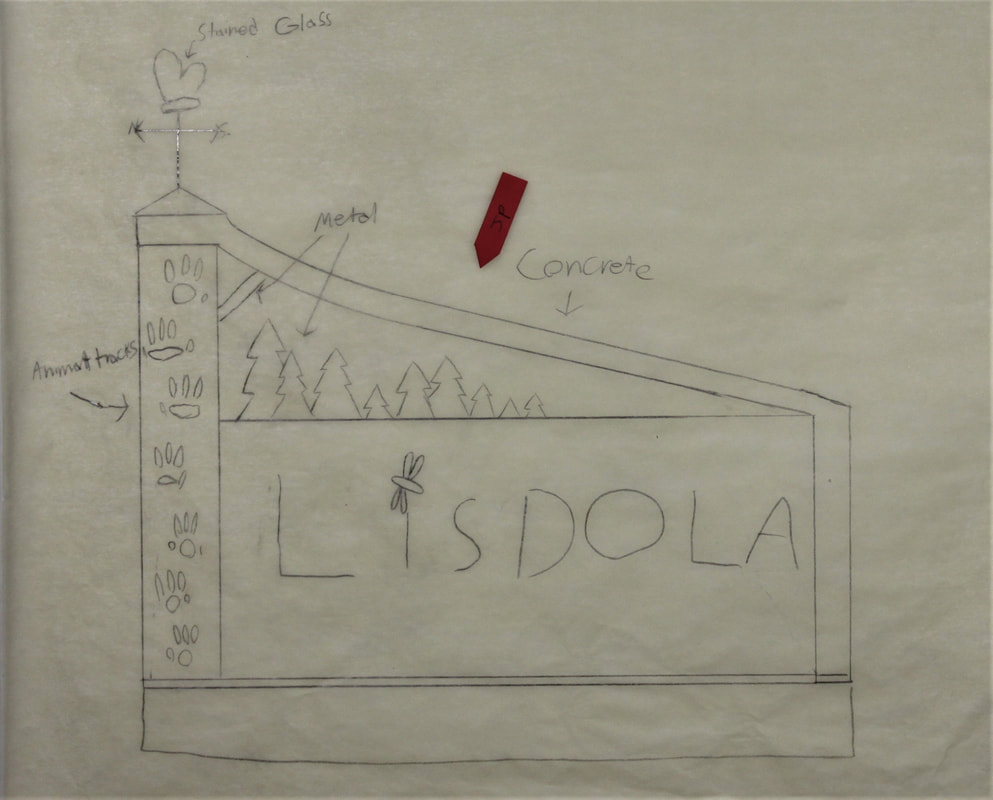
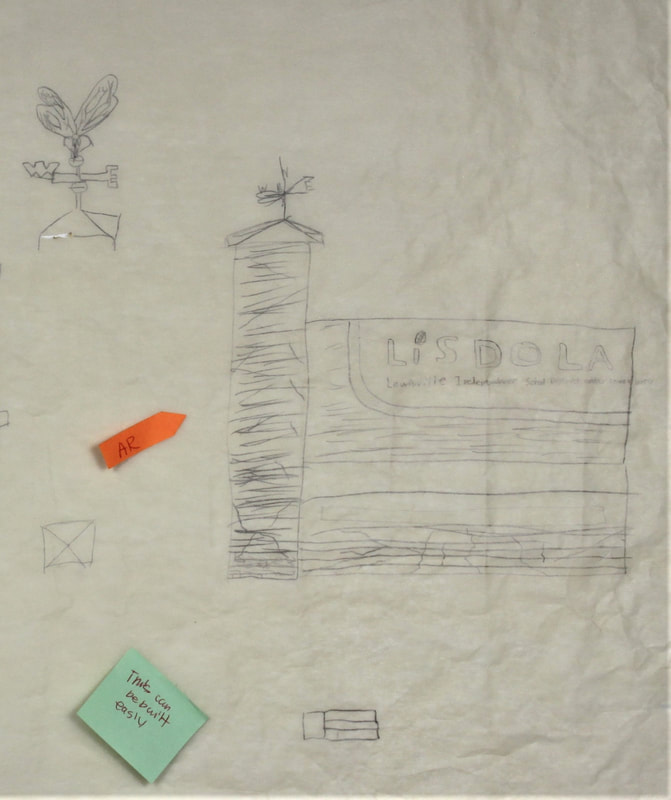
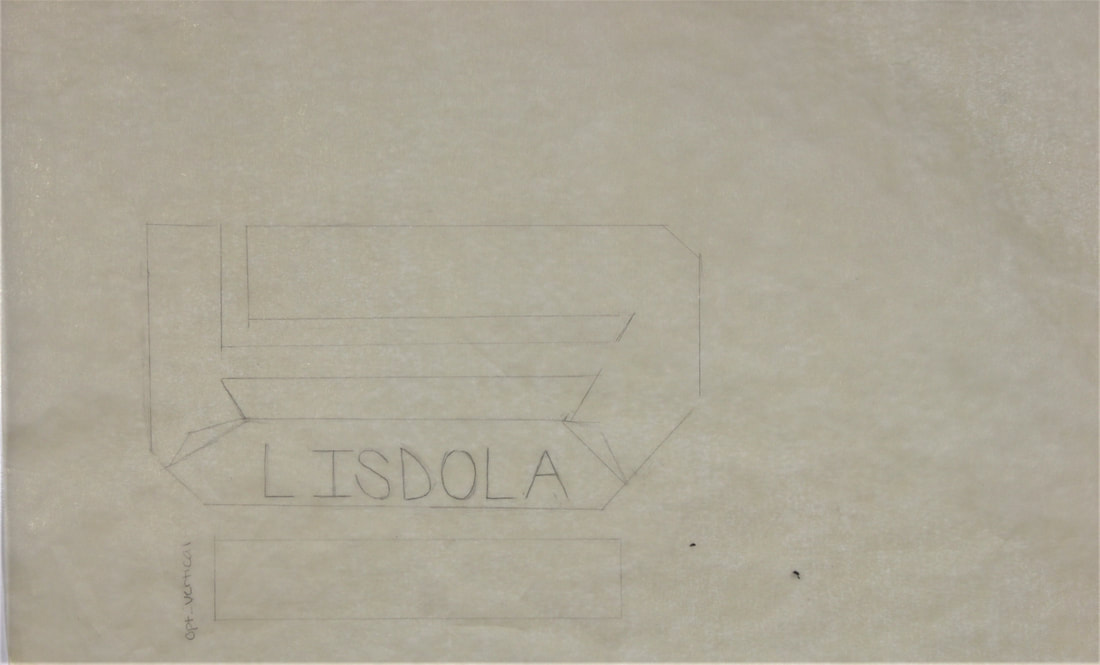
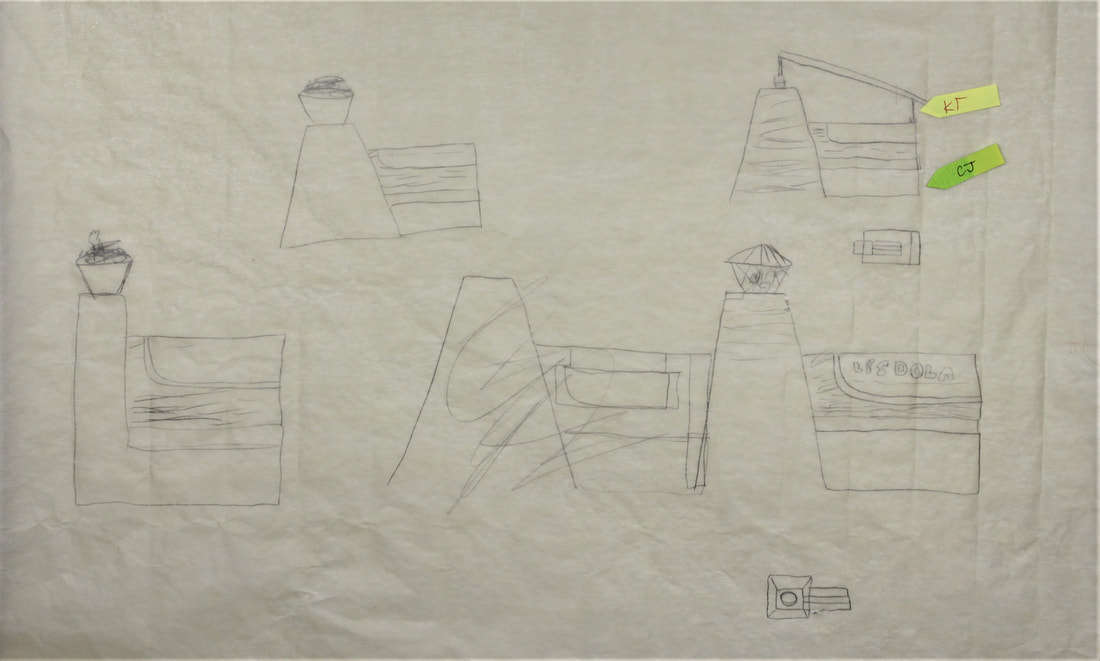
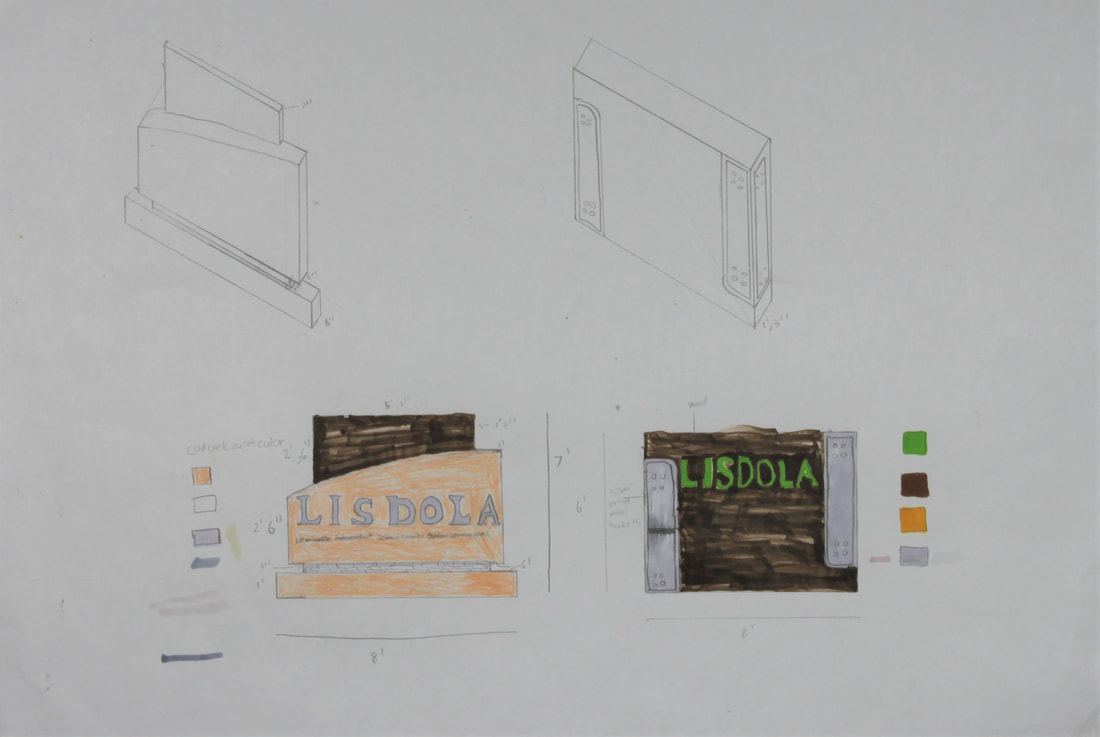
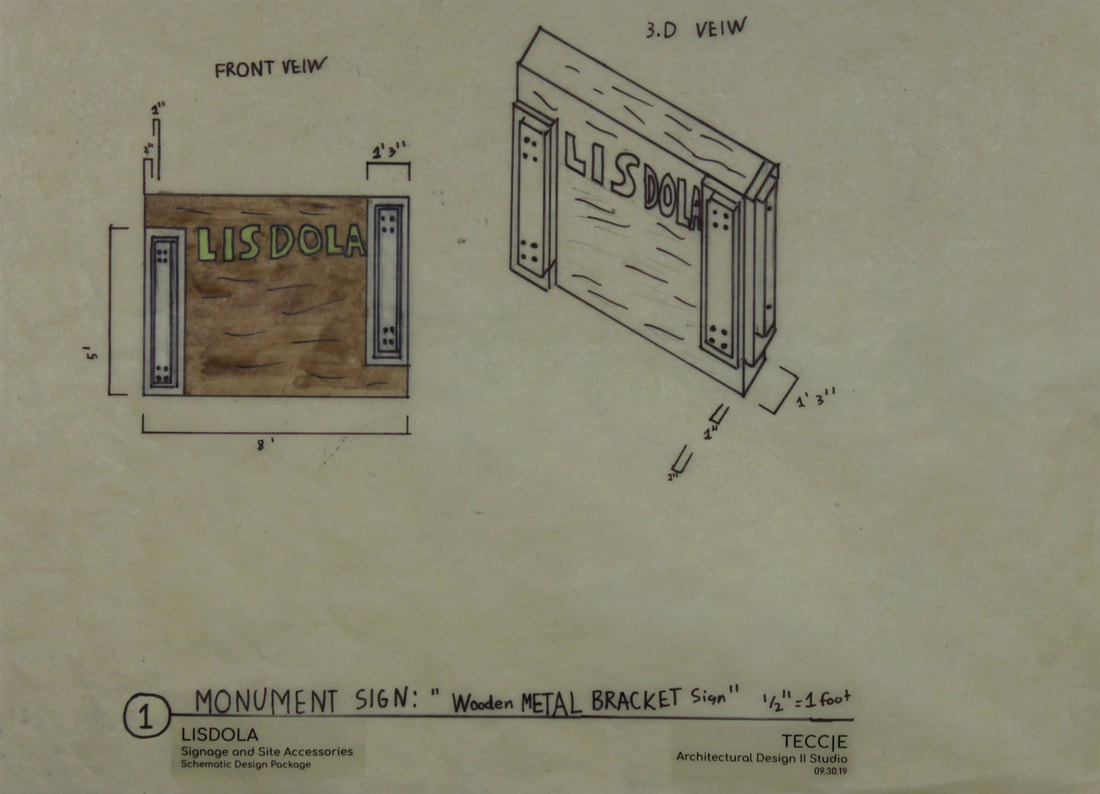
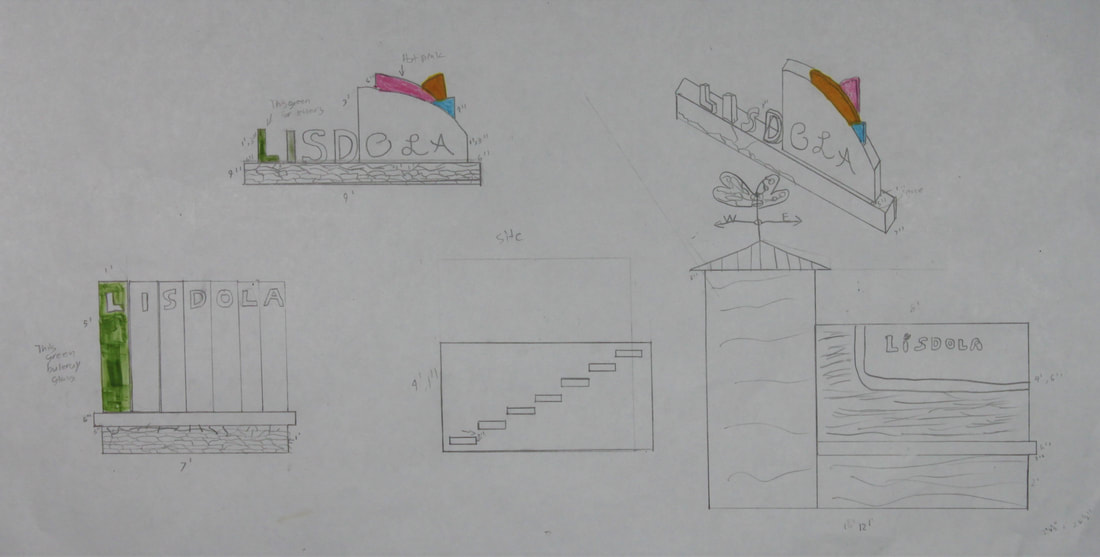
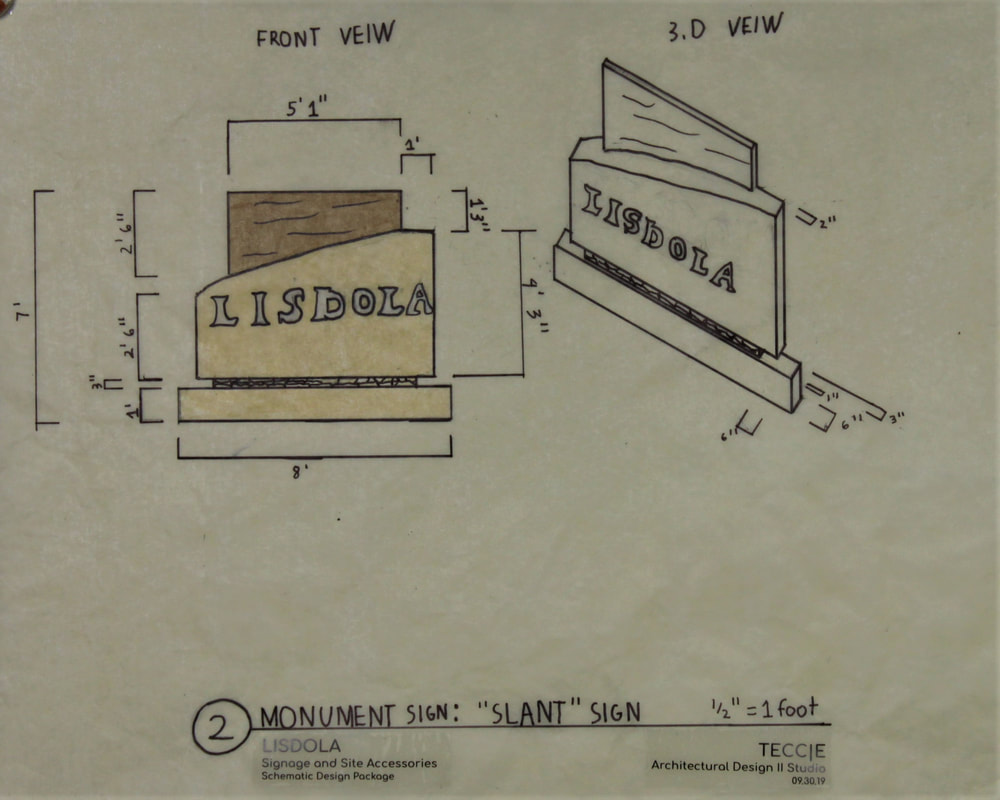
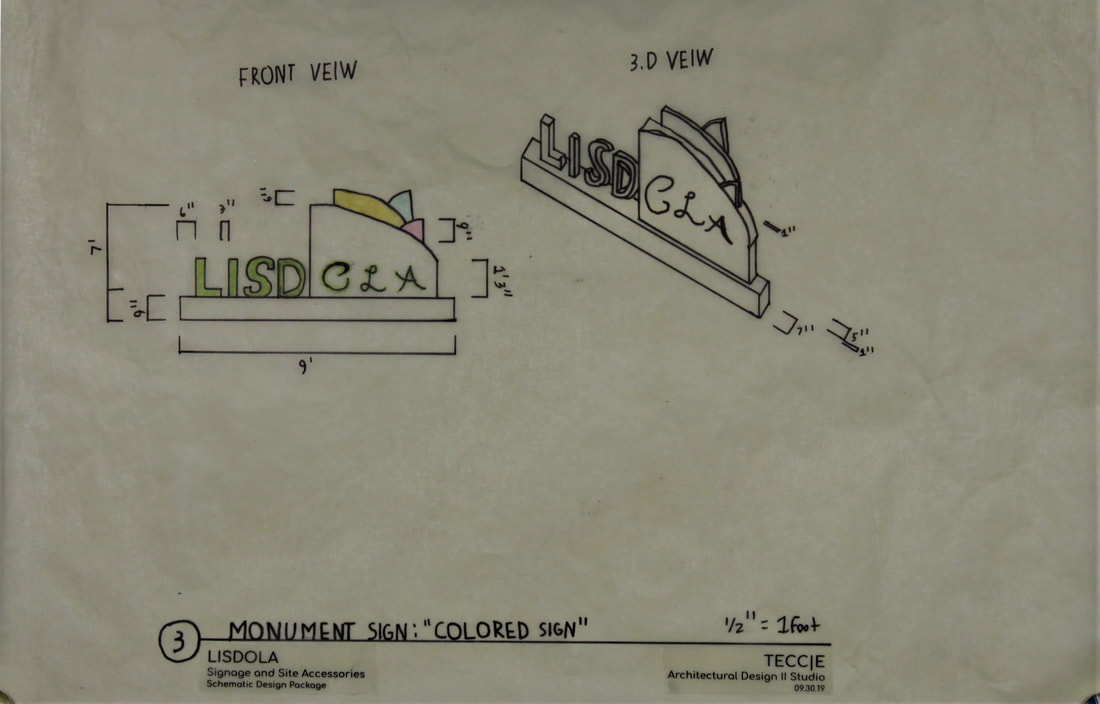
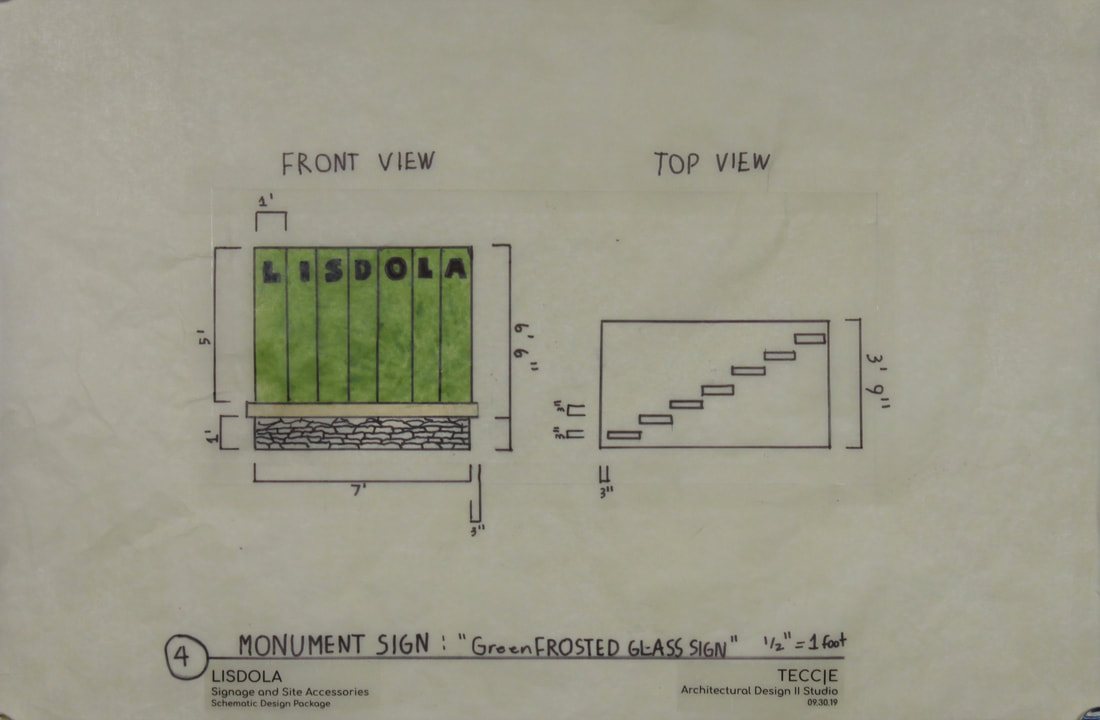
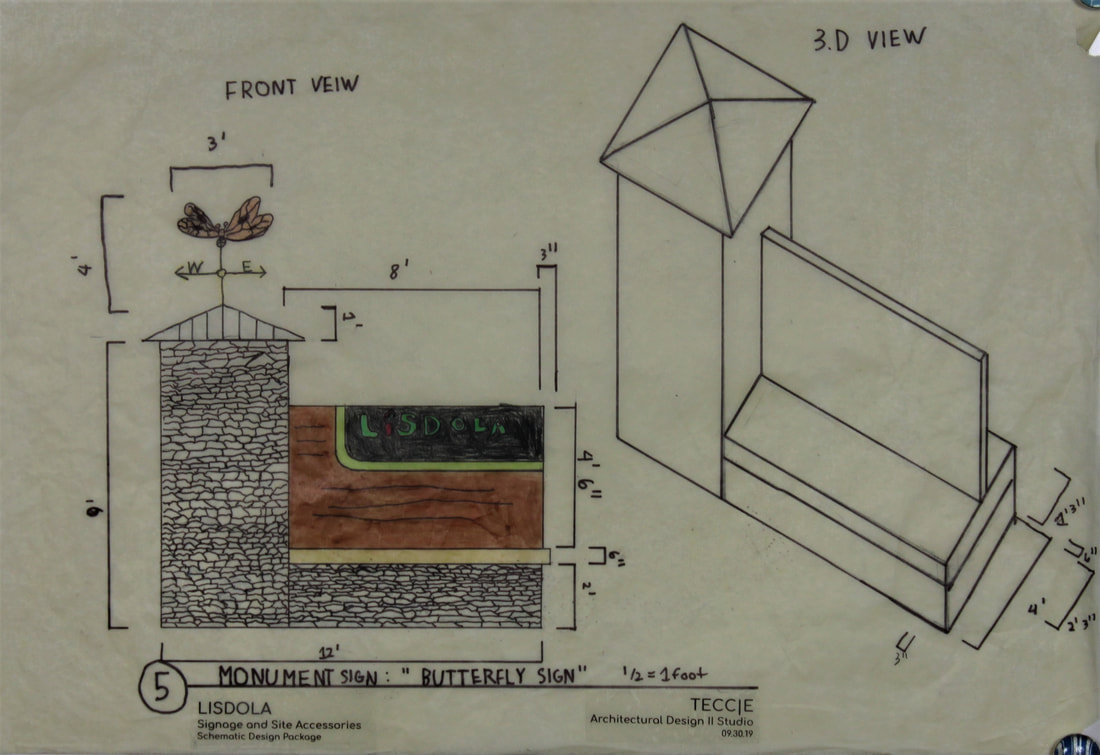
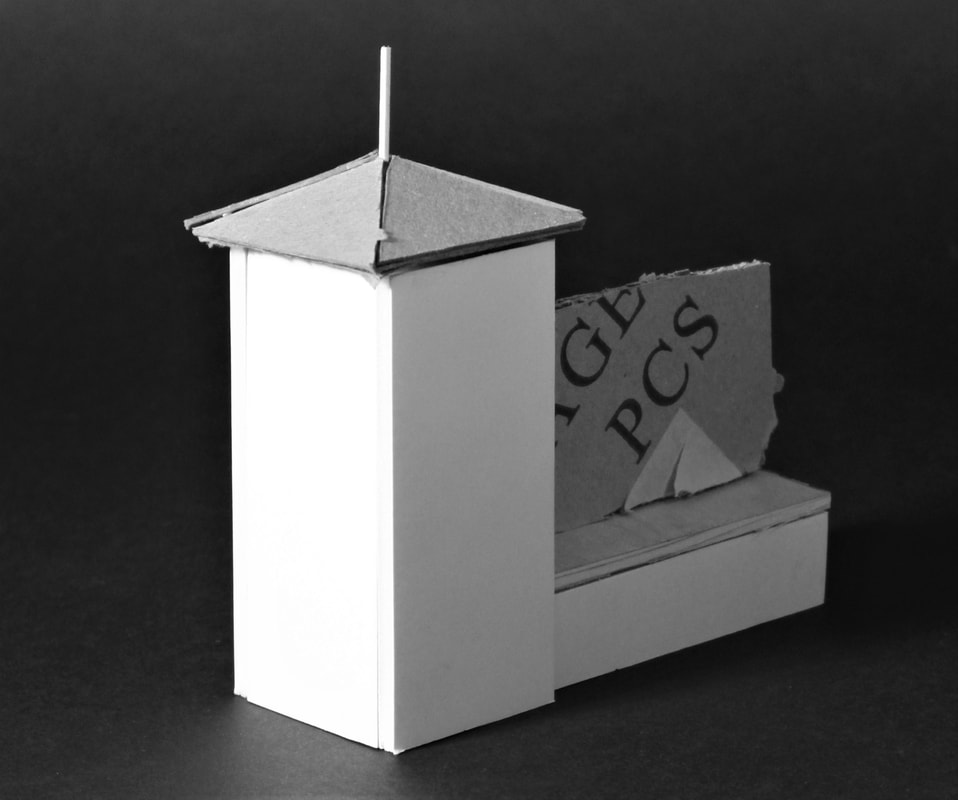
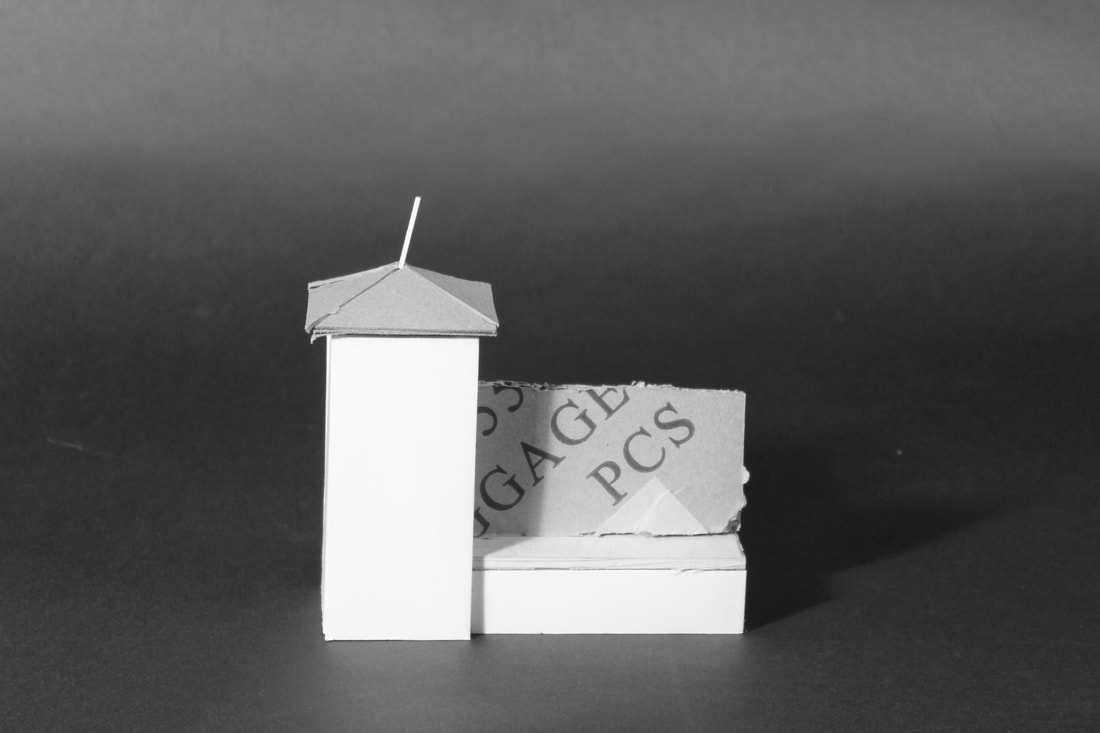
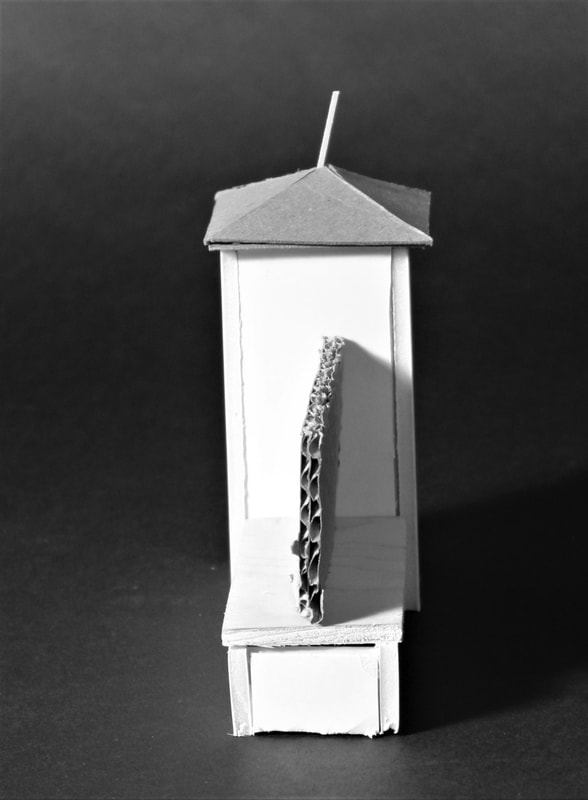
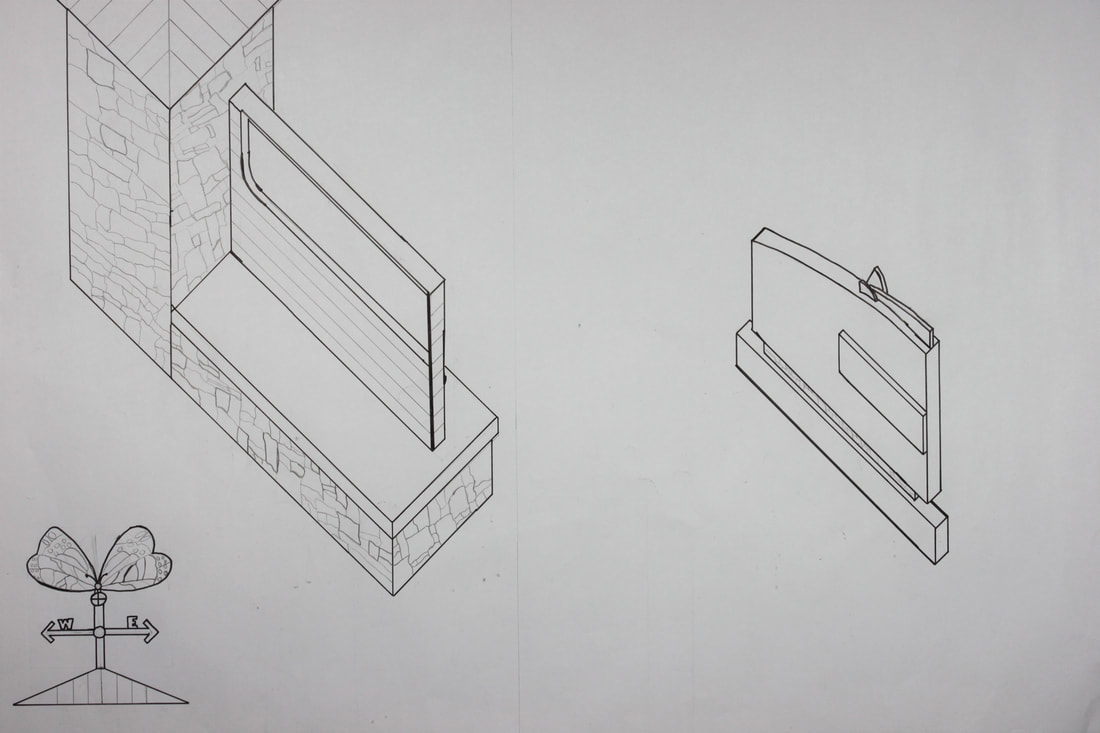
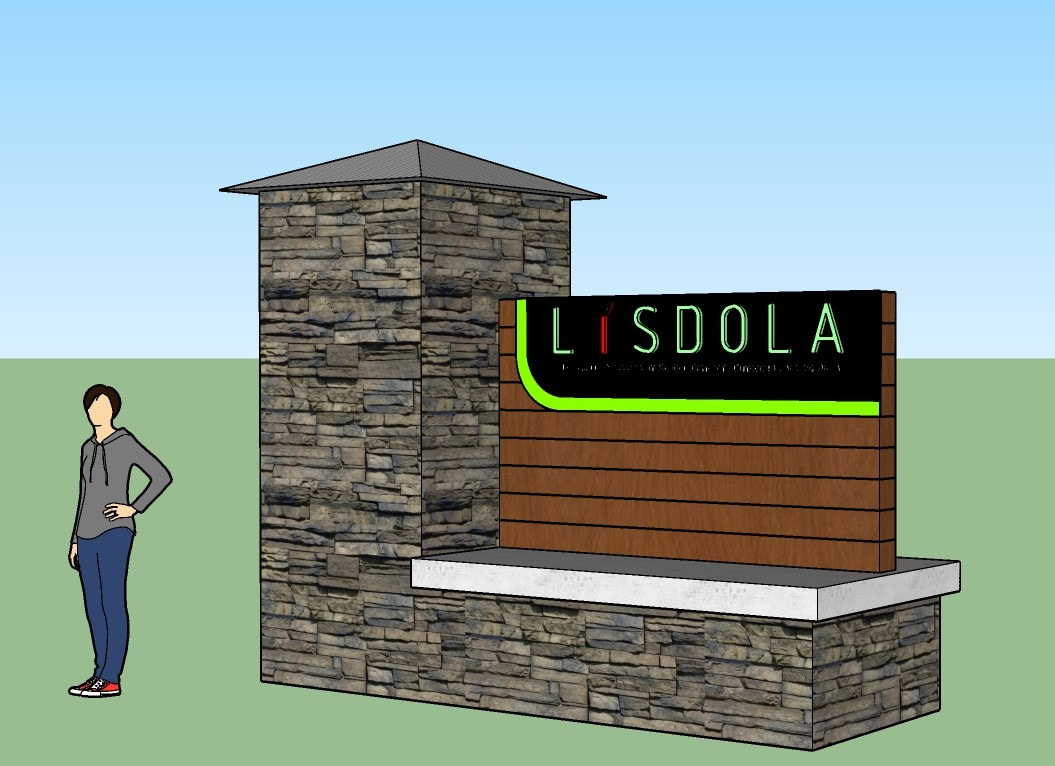
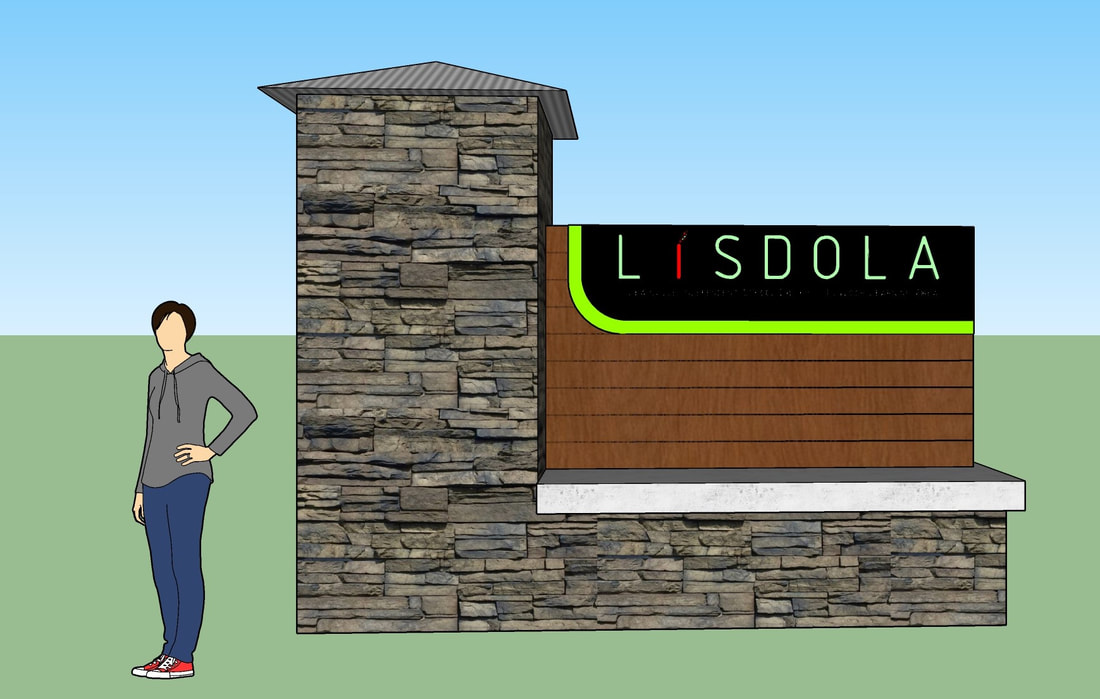
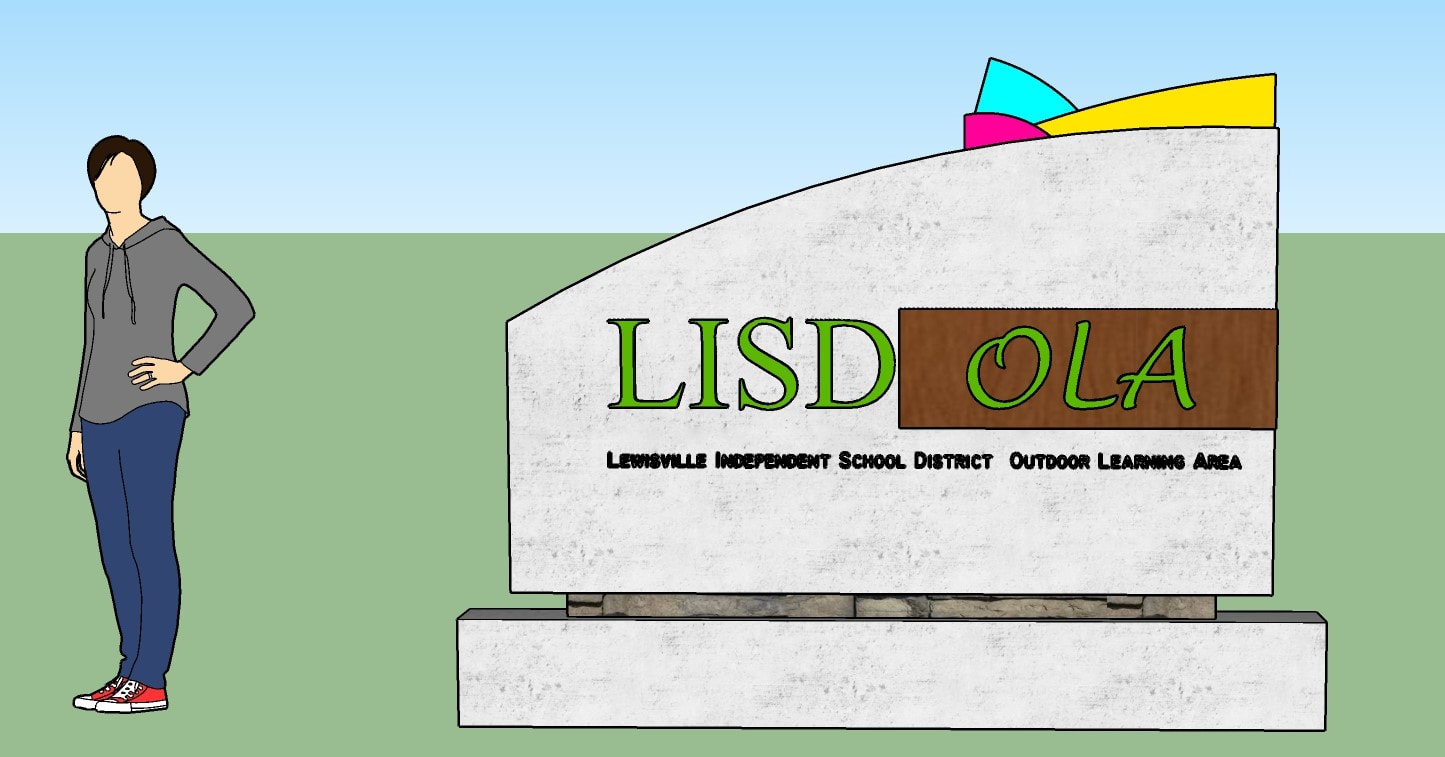
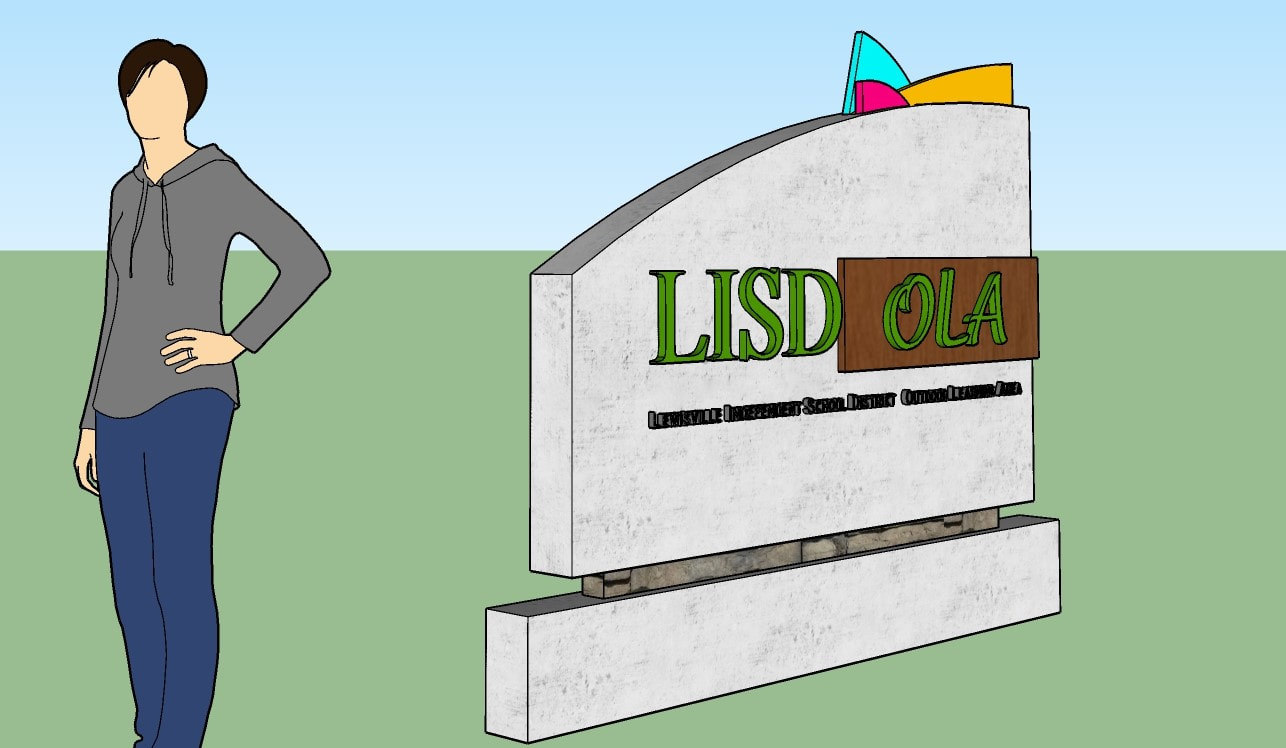
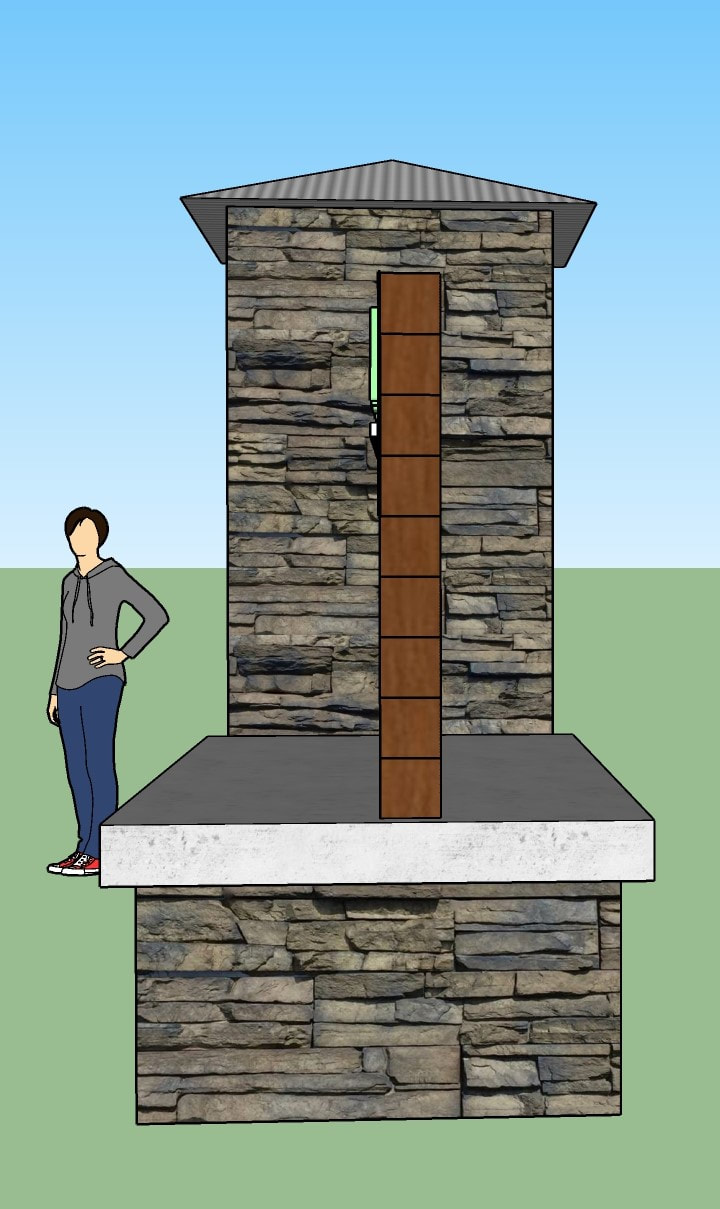
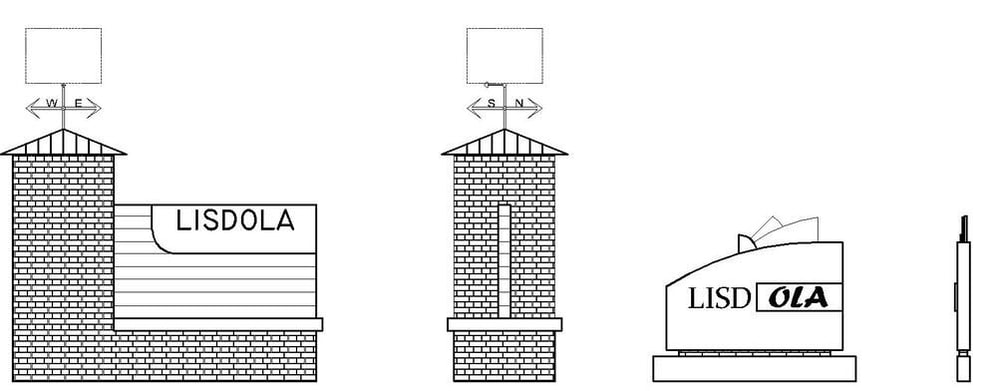
For the five designs I chose for the monument signs are very different in every way. My first one is a wooden thick sign with silver metal brackets one upper left side and on lower right side. The second sign I used wood, concrete, and stone. The sign has a wide base on top of it is stone, proceed by more concrete with a slat on top, and wood curved from the bottom connected to the top to make it look like behind the sign. The third sign I wanted it to be more bright colorful colors. So I made a concrete base wider than the second sign with big LISD letters for the sign. Next to it is a concrete wall with the curve again but only steeper. ON to is three more curved concrete painted hot pink, dark yellow, and light blue. The fourth one is a unique one when I have a rectangle monument with green frosted glass with an individual letter standing for LISDOLA. The glass further back from each other. Finally for my last one I stuck with my original design which is a big monument butterfly sign. Its a tall monument with a metal roof and on top is a custom butterfly weather vane. Connected to the tall wall is a stone concrete bench. Connecting the bench is a wooden metal sign painted black. The worlds LISDOLA are in green except for the I winch is red with a leave on top of it. This sign is impressive because I was thinking on how today people love taking group pictures in front of it.
Moving Forward With Two Designs
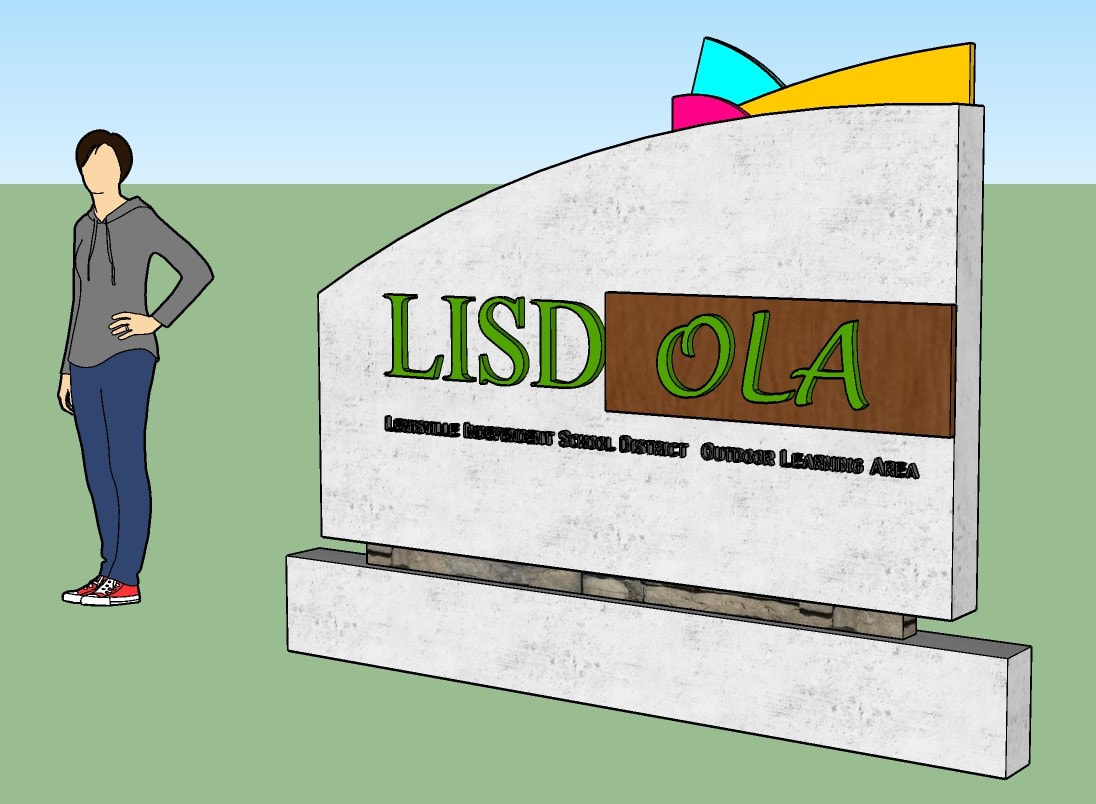
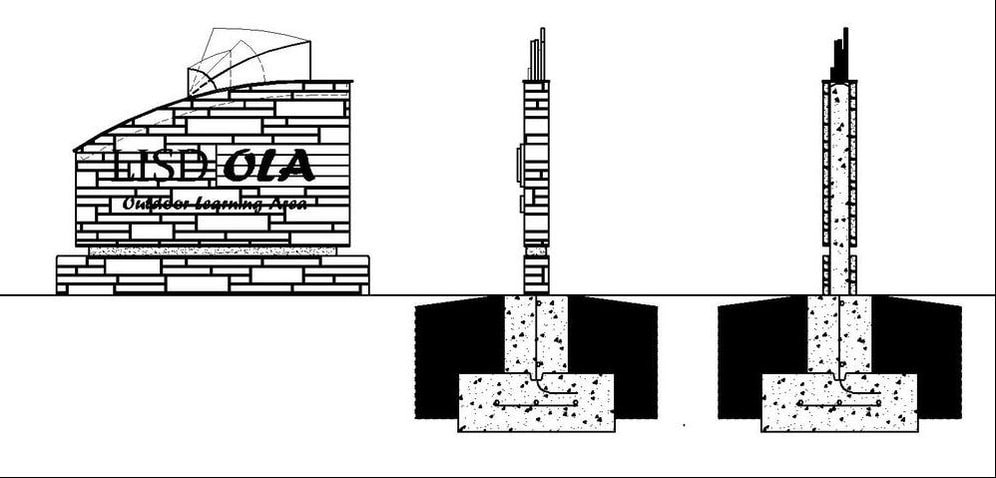
After our first client meeting LISDOLA decided witch of the two designs they liked the most for the final 2 and what to improve on. For me they chose the Butterfly sign, but they couldn't decide between the colored sign or the multi element sign. So I decided to merge both designs together. For the butterfly sign I didn't really had to change anything. Then for the element colored sign I used design 2 look and instead of wood on top I used the colored curved concrete. Instead of letters sitting on top I used flat bold letters for LISD and where OLA is that's were I placed the wood.
Designing the Last One
After making both signs both elevation drawing and sketch up. I then proceeded to make both a front and side elevation for both signs in auto-cad. When I presented them the two signs for the last time to the clients. They absolutely fell in love with the colored multi element sign. I was giving suggestions like make the base stone and where the stone is would now be concert followed by stone on top. They also would like to add two more color shapes to add on top of the sign to represent all five high schools in my district. So with all these ideas giving to me, I proceeded to add on to the final sign as well as description for the blueprints when I gone when other students at Dale Jackson are building the L.I.S.D.O.L.A outdoor monument sign.
Project 02: Research Building in a Monitored Landscape
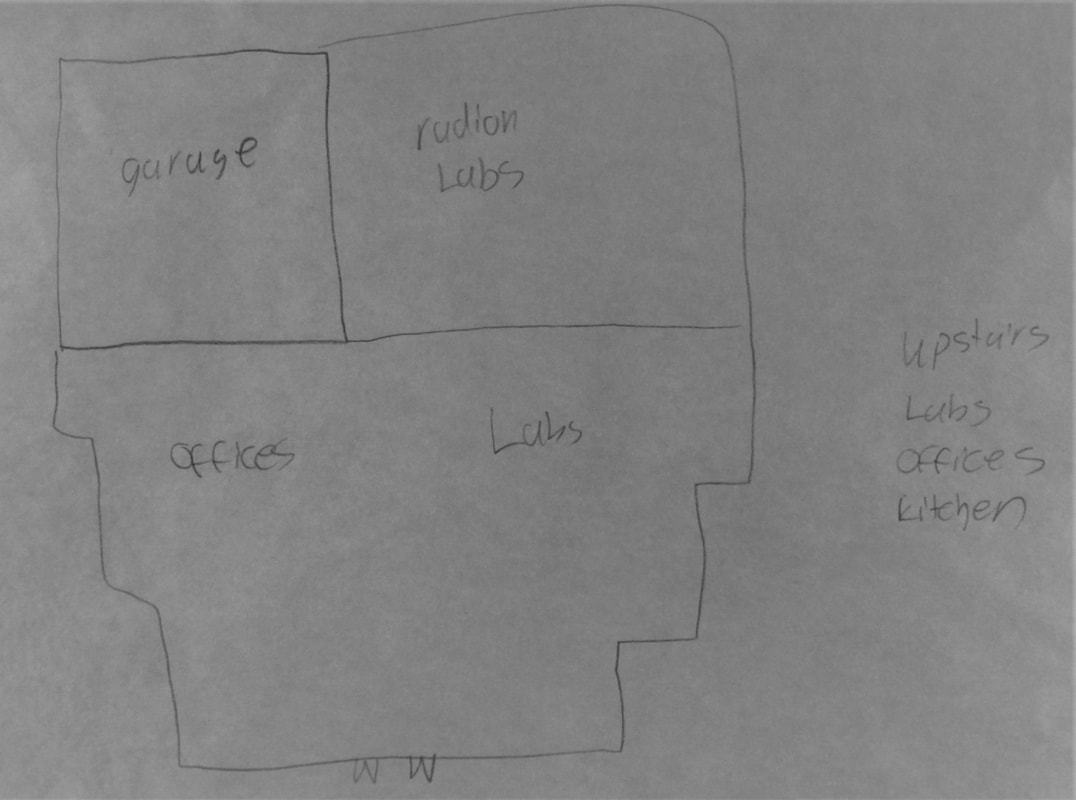
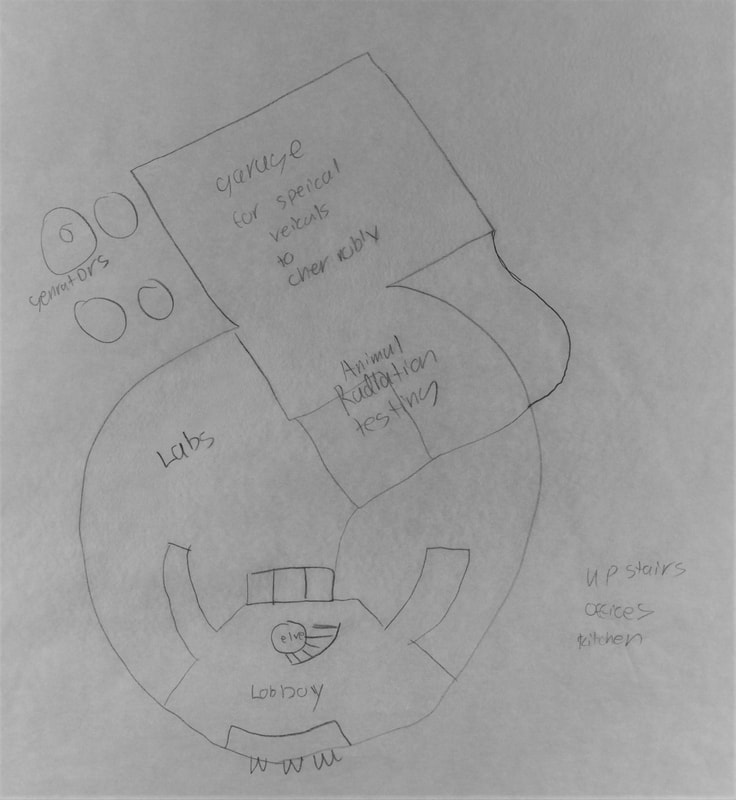
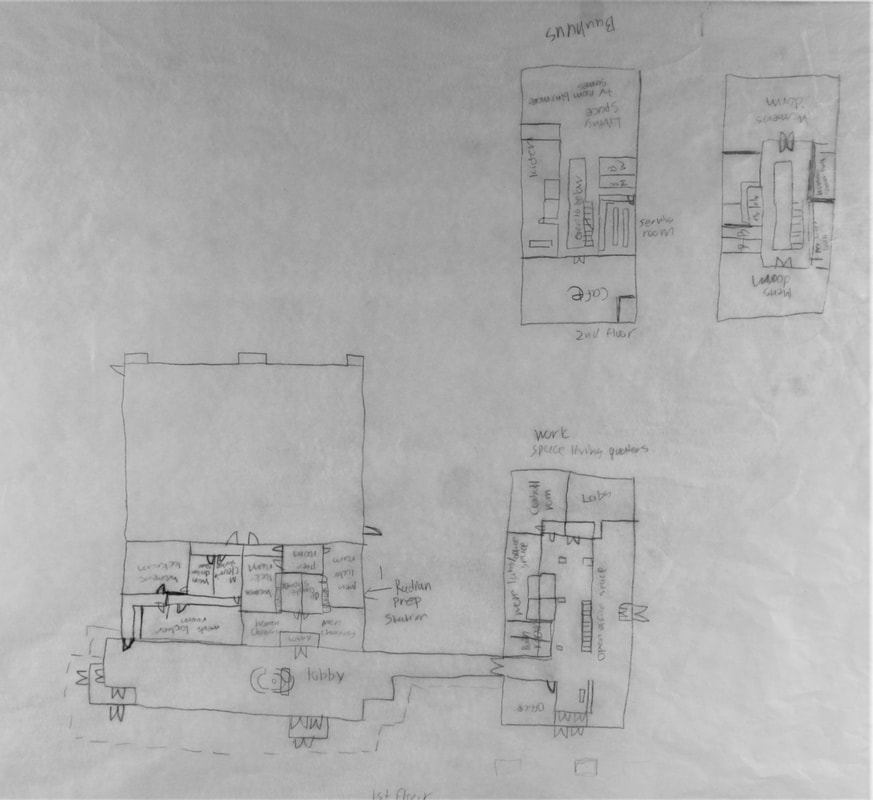
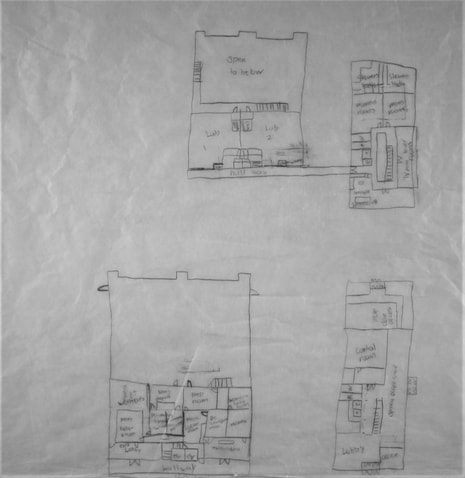
With the L.I.S.D.O.L.A project wrapped up we were giving our second project for the semester. We would go and research a land that scientists are concern about, then make a research center that will work for the environment. I chose Chernobyl where in April of 1986 the worlds worst nuclear disaster took place. The area today is closed off. I created 3 ideas for a faculty for scientist to work and travel to the Chernobyl exclusion zone. The first one on the left has an older Ukrainian architecture style that represents the past and in the back more modern that represents a bright clean future. The Second one in the center is more old fashion Ukrainian style with wide windows on the side. Finally the last one is all modern ecological life kind of building. Each facility is three floors, on the ground floor is the lobby, radiation labs, regular labs, offices, restrooms, and garage unites for the vehicles. The second and third houses offices spaces as well as kitchens and break rooms.
Three Rejected Proposals
Moving On to a Better Design
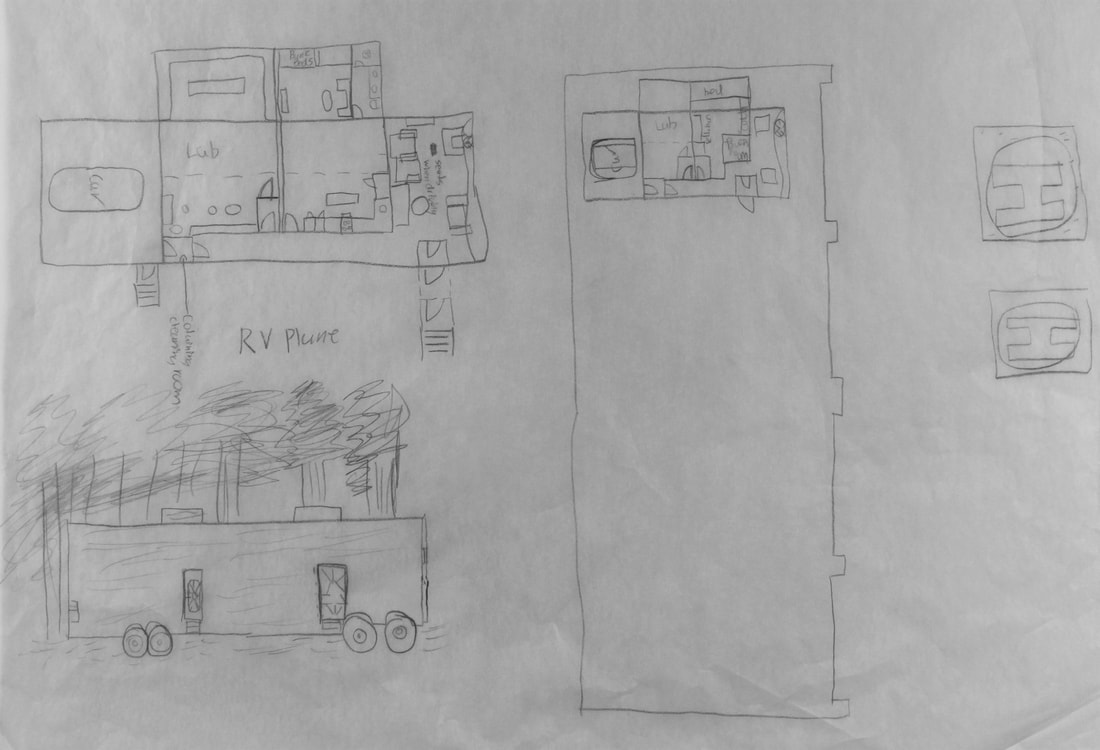
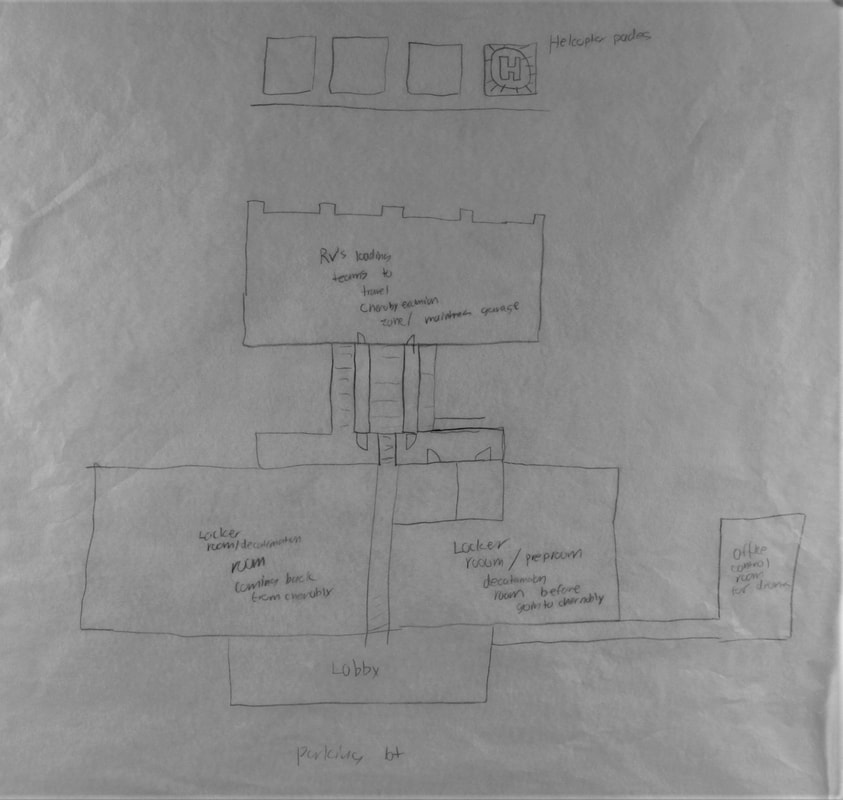
When my teacher responded back to the designs above he absolutely didn't like them and this was not what he meant for the project. He told me that Chernobyl exclusion zone was 1004 square feet meaning instead of a big facility outside the zone I would have to create several smaller ones with living quarters for scientist because they would be in the middle of nowhere and need a place to stay. He also said how will the scientist will cover all that space in there to study the animals, planets, radiation and more. Like in Star Wars the Jaw's use a giant sand crawler to get around tatooine so I decided to use RV's to cover the land. The facility is like a base camp where every day a crew would come in unload and load for Chernobyl. The facility went to two separate wings the first wing on the left is the main lobby where you go to a decontamination process and get equipped for Chernobyl and then goes to the garage and then to go back you go throw another decontamination process in a different room so there;s no cross contamination. Back in the lobby there is a set of stairs that leads to a hallway where the radiation labs are and a sky brigade closed doors that connect to the other wing. In the wing on the right the ground floor houses offices control room for drones and helicopters and the upstairs houses the kitchen, dinning room, leisure's room, boys and girls dorms, and bathrooms.
|
|
|
