Caroline Miles: Architectural Design I/Architectural Design II
Project 01: Fibonacci Cube
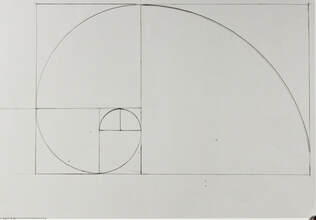
In this project our class explored how to use the Fibonacci Spiral.
The purpose of this project was to learn proper spacing and also getting more comfortable with a protractor. How the spiral work is that a pattern is created by
adding the previous numbers starting with 1.
The purpose of this project was to learn proper spacing and also getting more comfortable with a protractor. How the spiral work is that a pattern is created by
adding the previous numbers starting with 1.
Drawings and Model
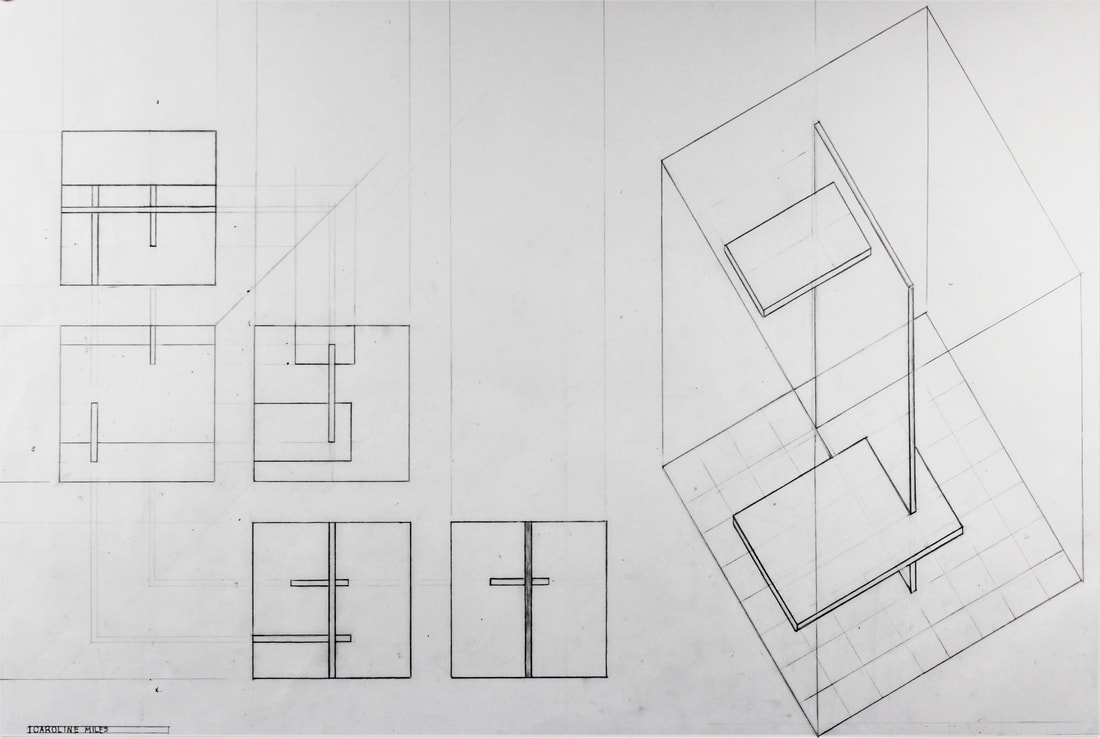
The 3 Plane Study was about creating and using space. The project started by cutting up some cardboard rectangles and then joining them together however we wanted. We then took the models and place them in a 8in by 8in cube. Looking into the cube we had to decide out of the 3 models we created had the most space. Lastly we drew a 3 plane drawing of the model we choose.
|
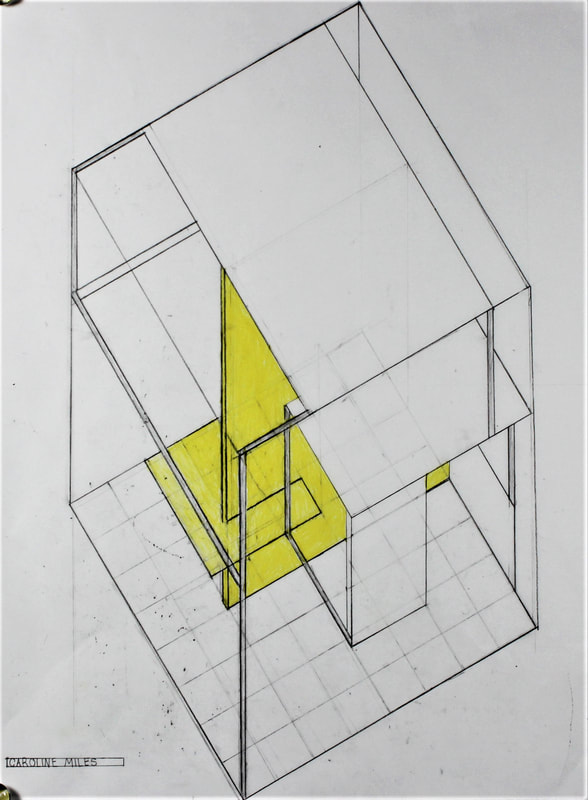
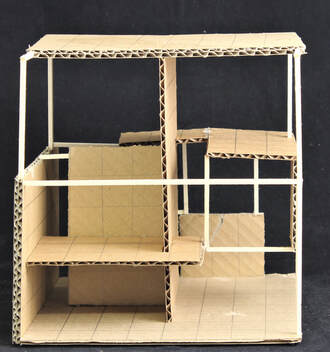
Last part of this project started by cutting up 3 more rectangles and placing them on the previous model. Placing the rectangles were tough trying to keep the most space and not placing them out of the of the 8in by 8in cube. Once that was figured out we took basswood sticks and placed them onto the model to keep the cube shape and connect planes together. The final model was done. Lastly we drew a Fibonacci drawing of the model from any perspective we wanted , coloring in the original part of the model.
|
Project 02: Micro-Townhouse
|
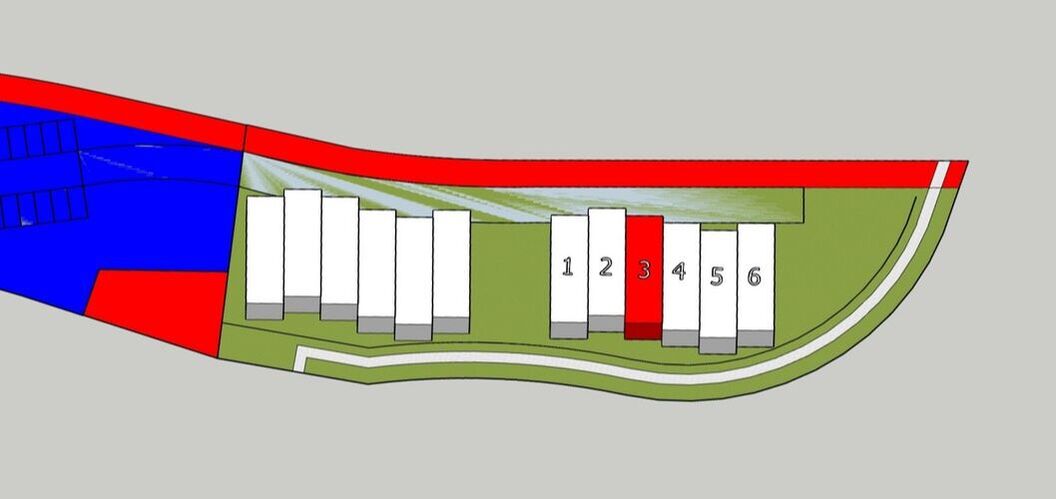
The groups townhouses are located in Old Town Lewisville at the cross street of Railroad Street and East Main Street in Lewisville Texas. The site is in front of Lewisville Train Station. My group organized our townhomes in a staggered formation to be space efficient. The townhome I designed is building number 3. Townhouse 3 will be stuck between 2 and 4 which was a challenge to design around but on the upside I got a bigger front and back yard.
|
Concept Design
The creation of my townhome started by messing around on SketchUp. Using SketchUp helped me better visual what my townhome could look like rather then pen and drafting paper.I originally created 5 different models but only used 2. I took the 2 models and combined them to make my final Concept model. I then started to look at different ideas for floor plans and then came to one decision but later tweaked it.
Final Design
The Final process began by starting in AutoCad. In AutoCad I got to see my floor plan come to life and make any necessary change's in my design. Once my final floor plan was done I started making front elevations of my townhouse using the floorplan I created. The elevation drawing was made to show the different elevations in parts of my townhome represented by different patterns and line weights. Next, I printed my floor plan and elevation drawings to start making my model. I used my floor plan to draw and build my walls since both were in a 1/8 scale. Lastly, the materials I used to build was chipwood and glue.
