Berkley Stovall (Architectural Design II)
Project 1: Border Work/Study Zone
This project was to create a connective space along the border wall of US and Mexico where people from both sides could connect and converse across the way, in a way almost making the wall seem not there at all. The following images and texts are the design process I took to get to the final product. This page will take you from the very beginning all the way to the final drawings and model of this very fun and creative project.
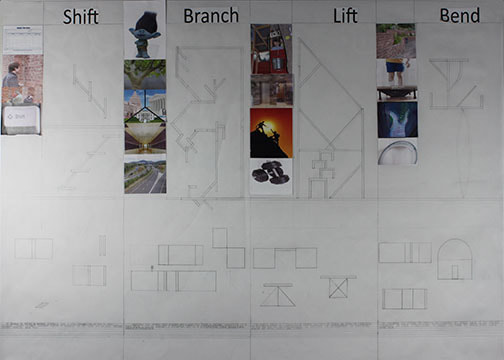
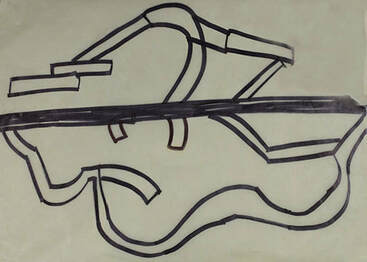
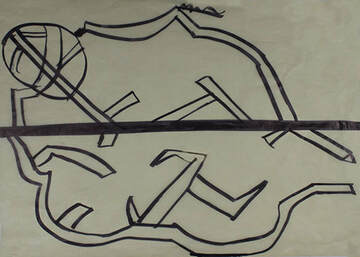
Verb Studies
|
|
These drawings above are the earliest drawing we did for the project. The two drawing are verb studies. In these exercises we were given a specific set of verbs and were tasked with creating spaces and different shapes in the form of a wall. The left drawing was the first draft with a select list of verbs and the right is multiple verbs. We would use what we learned in these exercises to help later on with the designing of our project
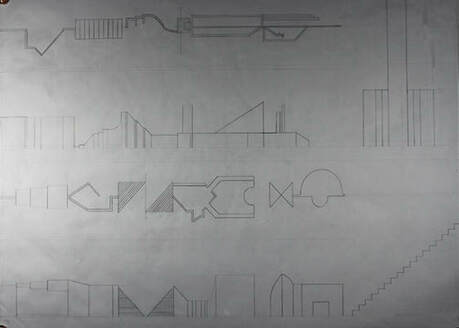
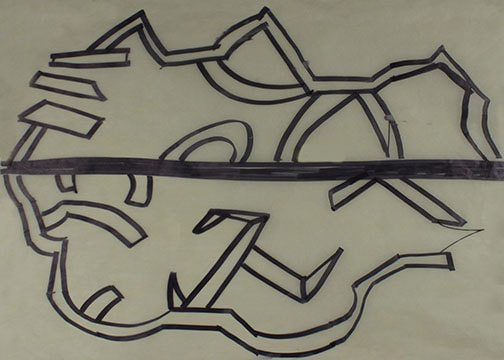
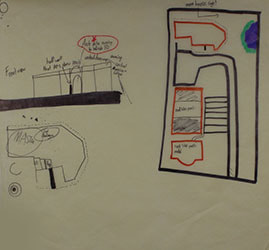
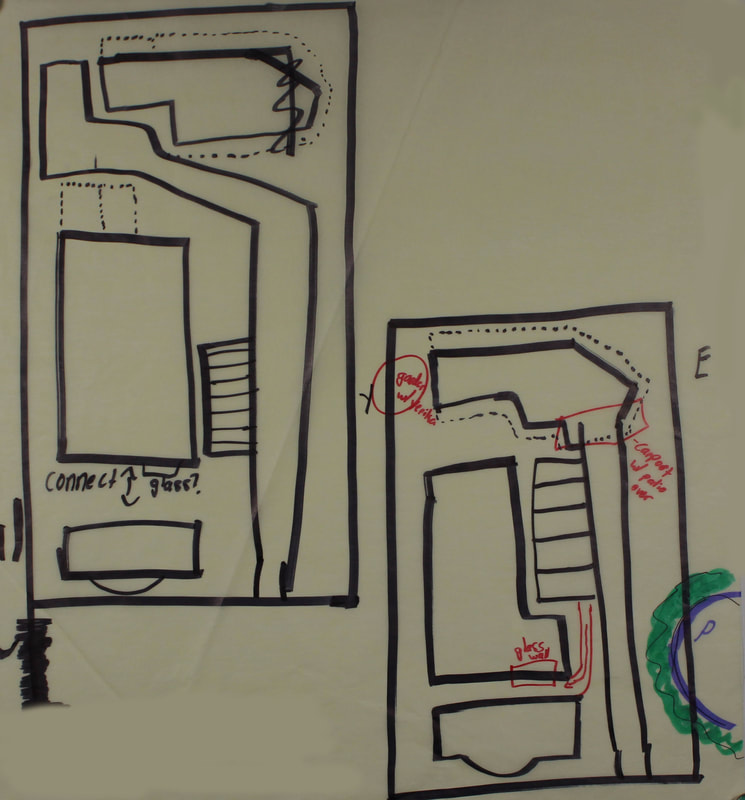
Concept Drawings
|
|
|
|
These four drawing shown above were the next step in the design process. These are when I was allowed to draw and doodle whatever came to mind, basically a free think time. These are some of the four that stuck out the most to me and are the designs I continued on with these ideas throughout the rest of the project. To make these spaces I used what I learned from the verb study drawings to alter the spaces in these sketches.
Final Drawings and Model
These drawings are the final site/floor plan and all elevation planes. I translated the drawings on the tan trace paper into a design program called Auto Cad. With this program I refined my drawings to best of my ability and this is the final product of the project. For the connection element in the building I had glass wall for people across the wall to be able to see each as well as one outside the building. The building consists of office spaces, a bathroom, technology room and lounge/living room and a small kitchenette.
|
|
The images in the drawing to left are pictures of a model at 1/8"=1' scale of the building I designed. The slideshow contains many different views of the model including: views of the Mexico, views of the US side and a section view which is looking at the wall and being able to see both sides with an accurate sunlight. These models are to better understand the spaces I created in my drawings so people can understand my ideas and concepts better than they did before.
|
Project 02: Borderlands Community
|
In project 02, I was tasked with making a live/work space for a specific client, drawn at random, and make that site and live/work space reflect blends of culture and politics in the US and Mexico Borderlands. The section of land we were given to work with was a section called "No Mans Land" which is between the Rio Grande and the Border wall. Almost a perfect area to try and assimilate culture together. To start the project I started with research and began my design process.
|
My Client and project
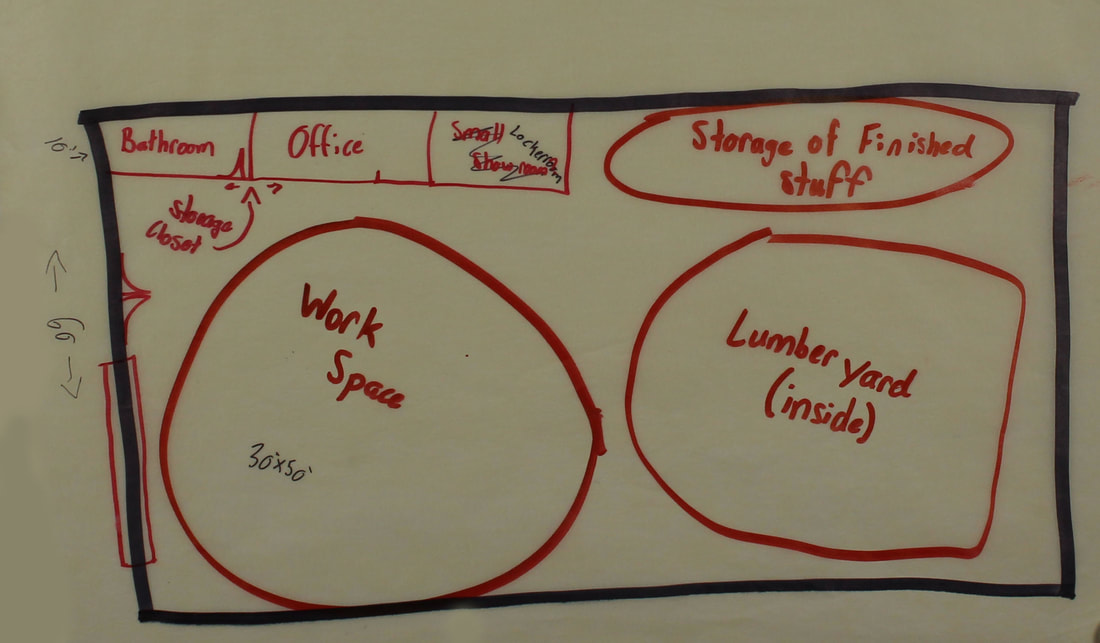
My client turned out to be a single, female carpenter from Honduras. So to begin the project I started with research about Honduran culture and found the kitchen and patio very large parts of Honduran culture. The patio being a welcoming area to people and the kitchen acts as a living room does in America, like a hangout spot for family and friends. I took these ideas into my house design and made sure the ideas were prevalent and stood out very clearly. After my research with carpenters and work spaces for them I knew that I would need to give the client plenty of work space and breathing room, as well as an inside lumber yard, that's why the work building is so large. I also included a showroom for clients who wished to come see finished products and well as the works in progress.
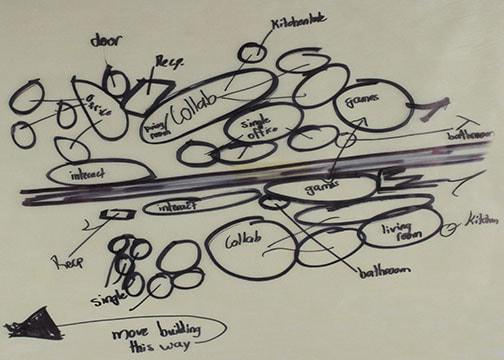
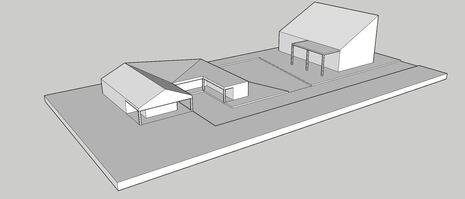
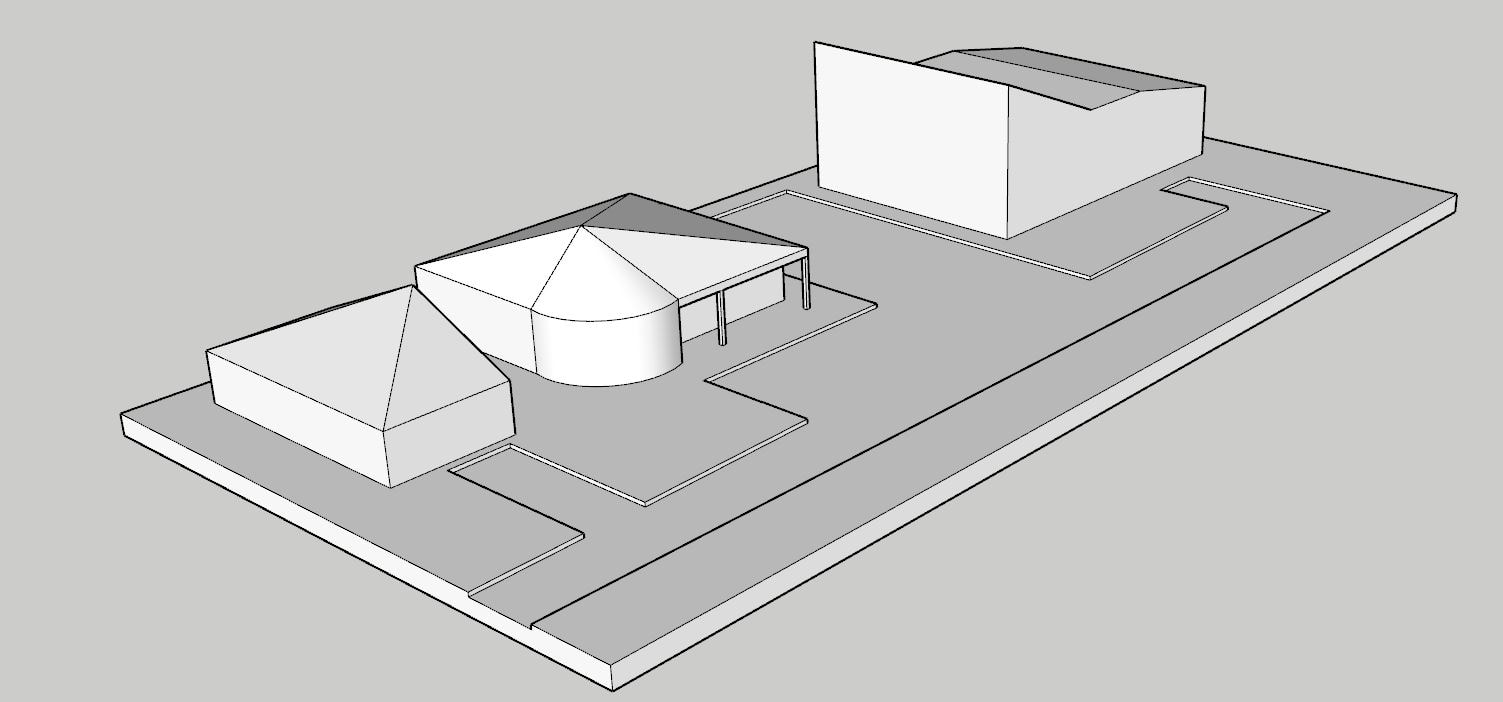
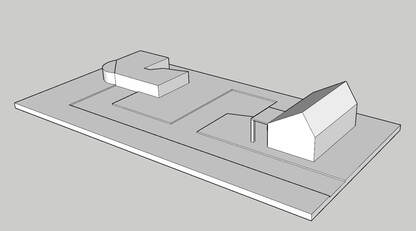
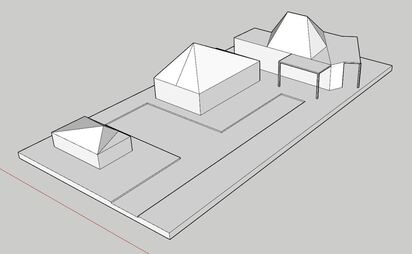
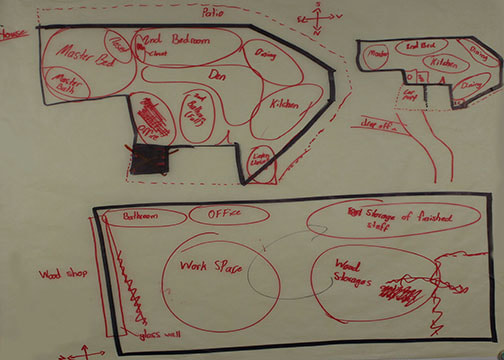
Parti Models
The parti models below were designed in sketch up and are rough model plans. A parti model is supposed to have rough shapes and nothing too defined or accurate. The following models are early ideas I had created for the project.
|
|
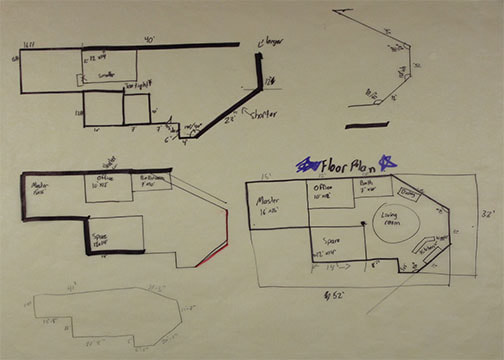
Preliminary Drawings
The Drawings below are ideas taken from the parti models that I wanted to continue design with. I felt that these ideas are what would communicate best. For example, the porch in Honduran culture is a big element in their architecture and very significant.As you can tell I started to toy with the idea in project and wanted to continue that idea throughout as you'll see later on. Another idea I wanted to execute was having a glass wall at the work room and the showroom to draw customers in to see the shop and buy things. The glass wall through all buildings would allow people to catch a glimpse of the work and want to come back for more and eventually buy something.
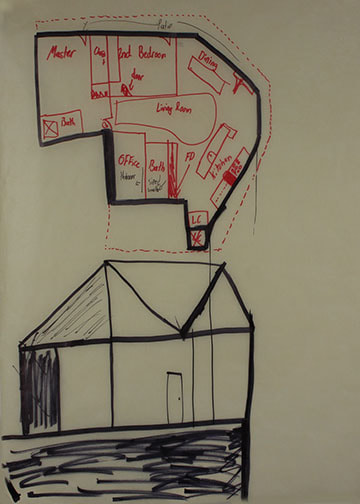


Final Revit Drawings
To finish the project I put the preliminary drawings I had made and put them into revit. Through Revit I was able to finalize my plans and elevations and communicate clearly what I wanted the project to look like. Going back to the patio idea from Honduran culture, I ended wrapping the entire house in a patio to really emphasize the culture and make it noticeable. The thumbnails on the side are: floor plans of the house and work space, elevations of the house and work space, and a section of both buildings.
Model Photos
Below are photos of my model I made to replicate the project in real life. For this model, we were allowed to 3D print some pieces so the buildings(in white) are 3D printed to the exact shape that I want. 3D printing model pieces was much faster and easier than crafting and model by hand and was much more fun to learn how to 3D print.
Renderings
Last of all are 3D renderings of the project through revit. These are meant to be super realistic and accurate and takes almost 39 minutes to create in some cases.
