DO NOT change the image on the web page header above! That has been set for all pages in this semester and needs to remain consistent.
Student Name: Course (Architectural Design I/Architectural Design II)
Use the Title tool to insert your name and course, formatted as shown above. Select all your title text (highlight in blue) then click the plus (+) on the text toolbar to increase the text one size.
Use the following settings for your blog (click in the blog space to bring up the settings):
- Width = 100%
- Position = Center
- Spacing = Top and Bottom Margin at 10
- Advanced
- # of Items = 3
- Text Length = Medium
- # of Items = 3
Insert a divider here to separate your blog from Project 01.
Project 01: Border Work/Study Zone
Insert project title here.
|
Use the text tool to insert your project description here. Tell your audience what you were doing on this project -- what were you studying or exploring. Target about one paragraph for this information. You can talk about the process and your work further down the page. Write for an audience anywhere in the world.
You may use your project brief, but don't plagiarize me. Set your text alignment to "align full" so it fills the whole text box left to right. It should look like this sample above. |
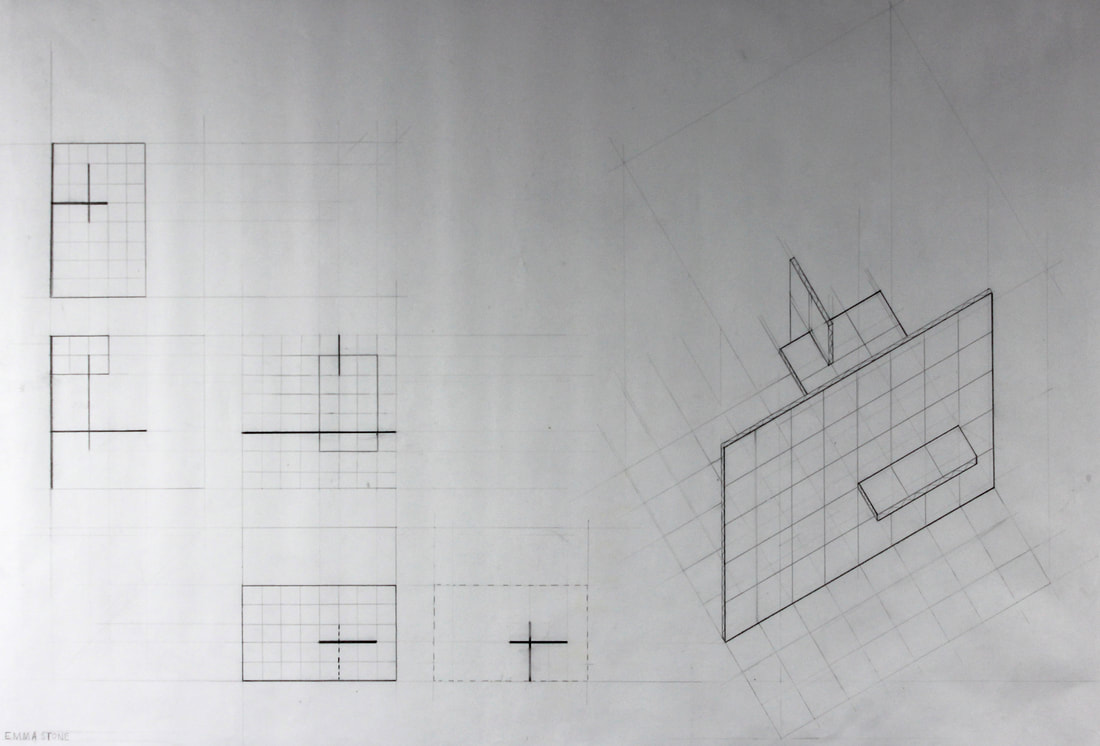
Insert your research drawing next to your description text. Keep the photo about the same size as the text next to it. Make sure your drawing is large enough to see clearly. Caption the image as shown above.
|
Verb Studies
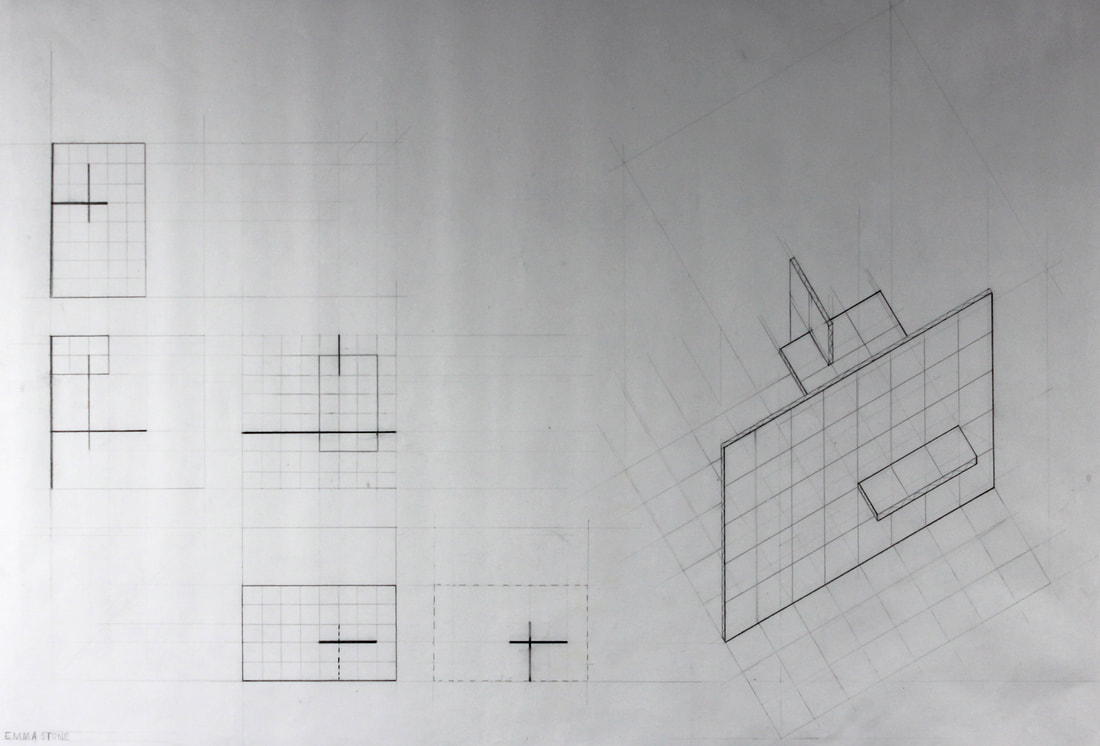
Insert both your verb study drawings as shown below. Click each photo, then select the caption tool. Insert a basic caption for each photo to help viewers know what they are looking at.
Include a brief description of your verb study exercises here. Target about a paragraph. Again, use the project briefs to help you, but don't just copy and paste what I wrote. List the verbs you explored as shown below:
|
Verb Analysis Drawing
|
Multi-Verb Study Drawing
|
Concept Design
Insert two slide shows as shown below. Use the "Simple Slideshow" format. The examples below are not the simple format, but I don't have time to mess with it. One slide show should illustrate your study sketches and the other should illustrate your study model(s). In the slideshow editing window, write a caption for each photo. Insert a basic caption to help viewers know what they are looking at.
|
|
|
Include a brief description of your design process and the different ideas that you explored here. Target about a paragraph. Set your text alignment to "align full'.
Insert a spacer here to get a little separation between these two sections
Final Drawings and Model
Using the same method, insert two slide shows as shown below. You can change the slideshow format here if you like because there is more room. One slide show should illustrate your final drawings and the other should illustrate your final model. In the slideshow editing window, write a caption for each photo. Insert a basic caption to help viewers know what they are looking at.
Include a description of your final design and the end results of your work. Target about one to two paragraphs. Set your text alignment to "align full'. You can split your text up between your drawings and models if you have a large amount of text at the bottom. Make sure your writing is relevant to what is shown in the location it's at.
Insert a divider here to separate Project 01 and Project 02.
Project 02: Borderlands Community
Use a spacer to separate Project 02 title from social media feed.
Use the embed code to place your client social media feed onto your web page. See image below...


