DO NOT change the image on the web page header above! That has been set for all pages in this semester and needs to remain consistent.
Student Name: Architectural Design I
Use the Title tool to insert your name and course, formatted as shown above. Select all your title text (highlight in blue) then click the plus (+) on the text toolbar to increase the text one size.
Project 01: City Pavilion
Insert project title here.
|
Use the text tool to insert your project description here. Tell your audience what you were doing on this project -- what were you studying or exploring. Target about one paragraph for this information. You can talk about the process and your work further down the page. Write for an audience anywhere in the world.
Set your text alignment to "align full" so it fills the whole text box left to right. It should look like this sample above. |
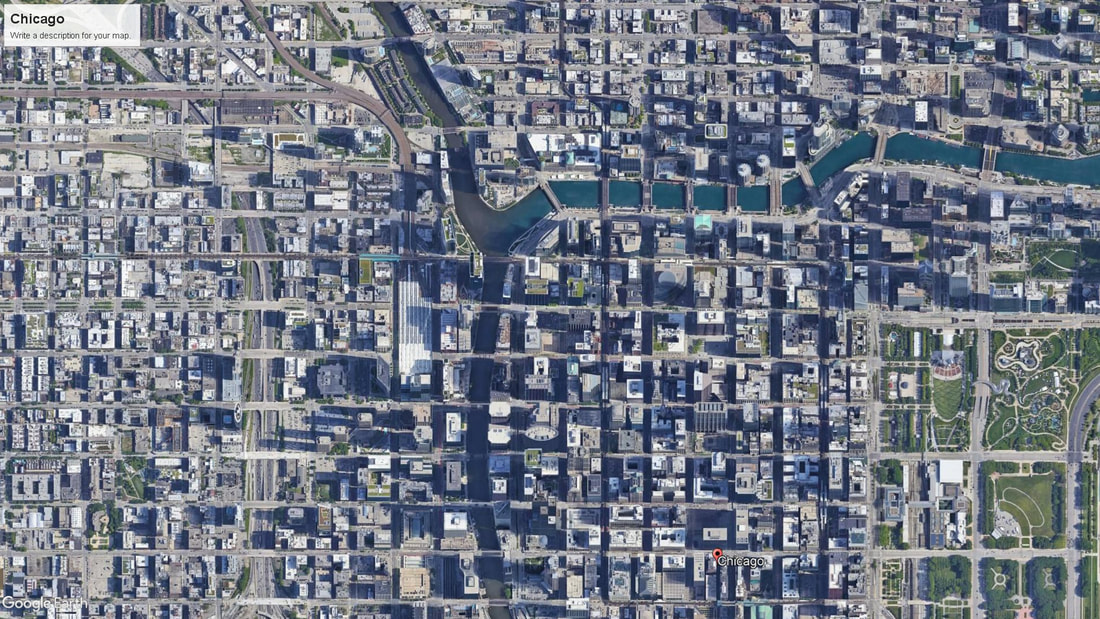
Insert an aerial photo of your city next to your description text. Keep the photo about the same size as the text next to it. Photos can be found in the project documentation folder on the shared drive in "AD1-City Aerials".
|
City Research
Use the Embed Code tool to insert your city research Padlet(s). The Padlet should take up the full page width.
Use the text tool to insert a description of your research below the Padlet.
Indicate the city for your project then explain what you discovered during your research. How did the research change your perception of the city? What were the major elements within the city's structure that you noticed? Target about a paragraph and set text alignment to full.
Indicate the city for your project then explain what you discovered during your research. How did the research change your perception of the city? What were the major elements within the city's structure that you noticed? Target about a paragraph and set text alignment to full.
Drawings and Model
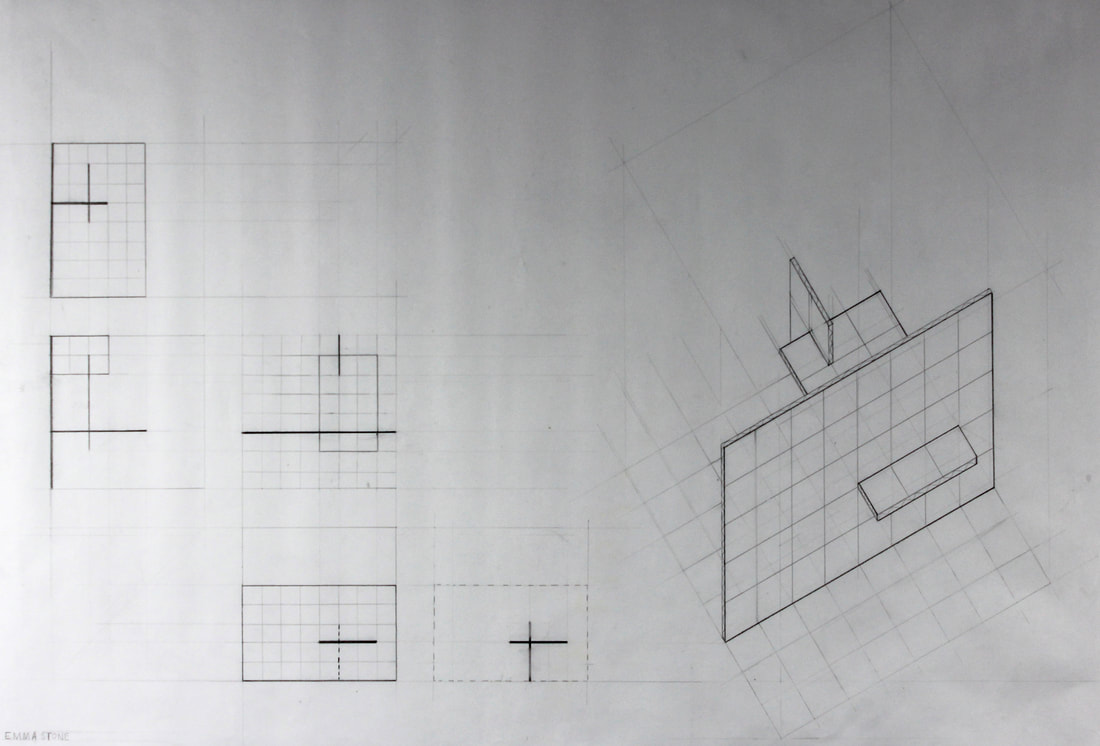
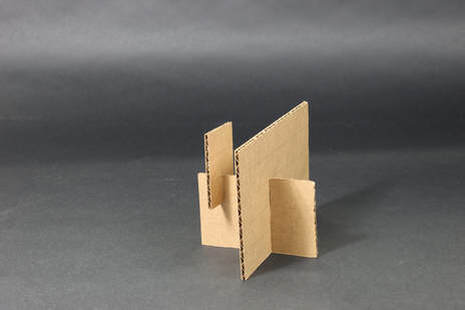
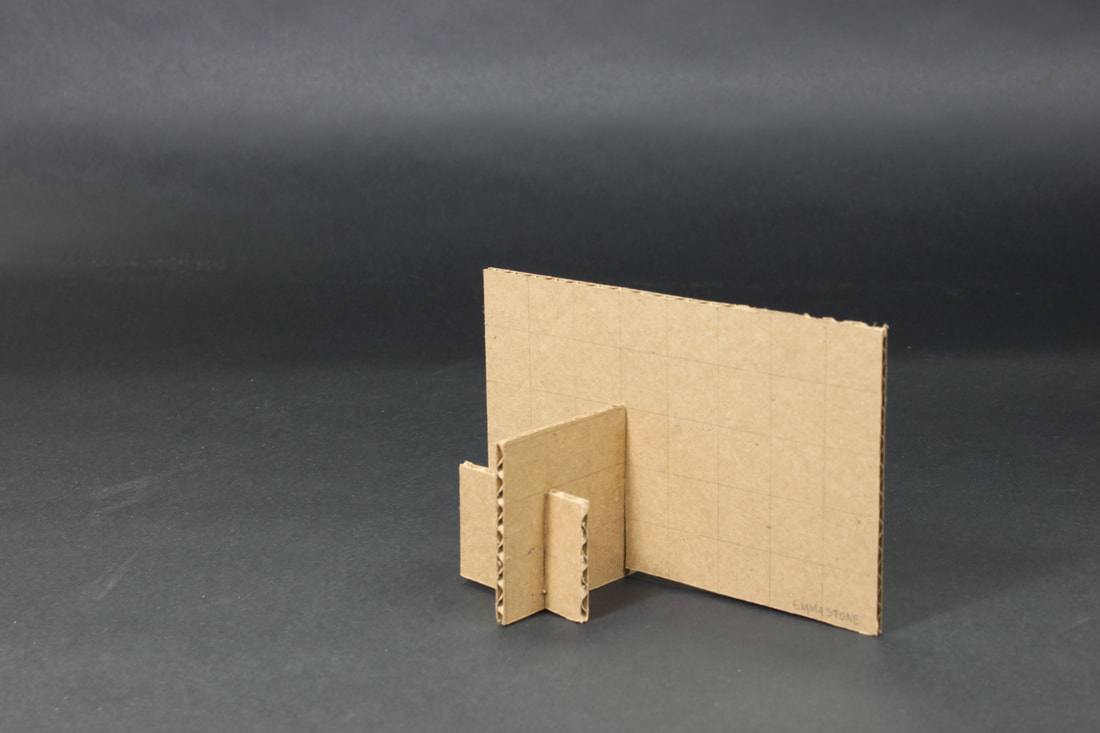
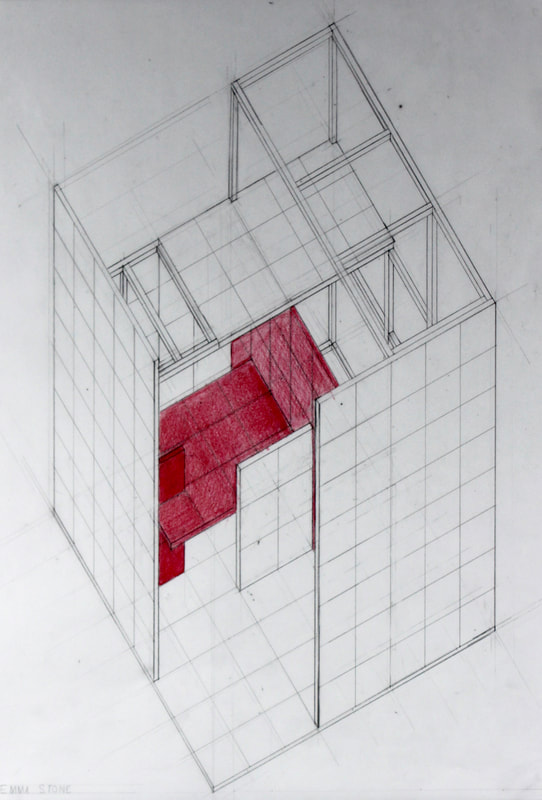
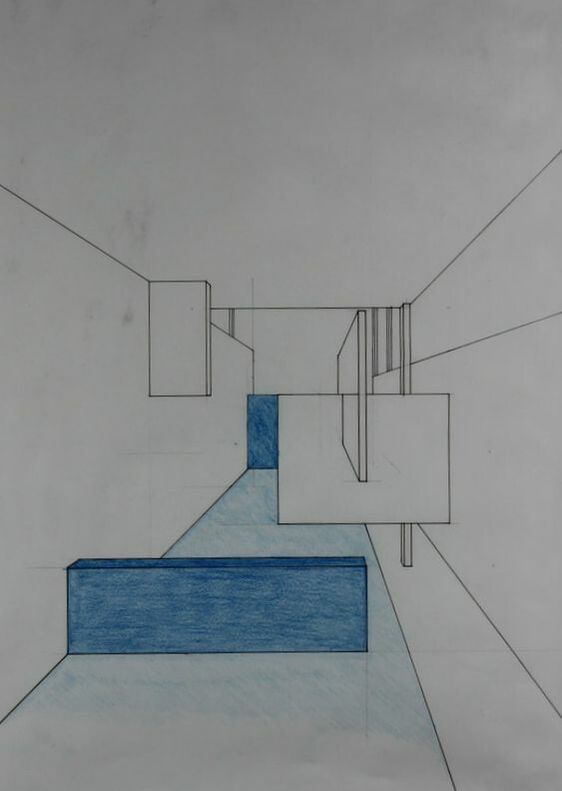
Insert your 3 plane drawing and plane study models as shown below. Click each photo, then select the caption tool. Insert a basic caption for each photo to help viewers know what they are looking at.
Include a brief description of your 3 planes study exercise here. Target about a paragraph.
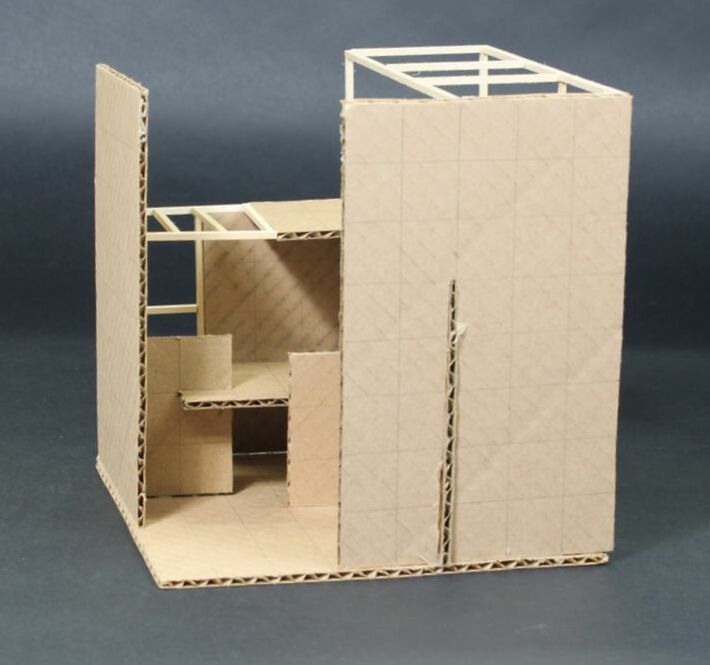
Insert your final cube drawing and model as shown below. Try and get the drawing and model close to the same size. Click each photo, then select the caption tool. Insert a basic caption for each photo to help viewers know what they are looking at.
Insert a divider (Build>Structure>Divider) to separate Project 01 from Project 02.
Use the title tool to create a title for Project 02.
Project 02: A Forest Cabin
Write a brief description about the project and your design objectives. Remember your audience is anyone anywhere in the world. Set up your work so that from this point forward, everyone will have an understanding of what it is you are doing.
Drag the Spacer tool in to create a gap between your intro and your research. You do not need to adjust the size of the spacer. Leave it at its default height.
Research
After you create your Research title, drag the Embed Code tool over. Embed your Padlet document below. See Canvas>Project 02 for instructions. Above your Padlet, place your research drawing on the right and text explaining your research on the left.
|
Describe your research process including what you made and discovered. Explain the contents of both your drawing and Padlet. Describe how you are interpreting and understanding all the topics included in the research. What have you learned and what information is useful? Provide enough description to have your text be close to the same size as your drawing to the right. Align text full --->
|
Drag the Spacer tool in to create a gap between your research and your concept design. You do not need to adjust the size of the spacer. Leave it at its default height.
Use the Title and Image tools to provide information about your site and cabin arrival as shown below. Images used on your webpage MUST BE ROYALTY FREE. If the images you originally selected are not royalty free, find new ones that are a close match to your originals. Doing a Google image search, click on "Tools" in the search toolbar, click on "Usage Rights", and select "Creative Commons licenses". Any image in the search results can be used on your page.
You do NOT need to write a description for this part. Let the images speak for themselves and engage the viewer's imagination!
You do NOT need to write a description for this part. Let the images speak for themselves and engage the viewer's imagination!
Concept Design
Insert a slideshow of your conceptual sketches and models that you used to develop your final design. Make sure you only include work that is relevant to the end result. Arrange the images in your slideshow to illustrate the PROCESS from the beginning to your fully developed idea. Include captions for each image to help the viewer understand what it is they are looking at.
Include a written description of your concept design process. Discuss the ideas behind your project and how you developed those ideas. Highlight decisions you made and changes or editing that occurred. Target about a paragraph for your writing. Arrange your slideshow and text in a way that highlights the images and your work as well as integrates with the information above and below. Remember, this webpage is a design exercise.
Include a written description of your concept design process. Discuss the ideas behind your project and how you developed those ideas. Highlight decisions you made and changes or editing that occurred. Target about a paragraph for your writing. Arrange your slideshow and text in a way that highlights the images and your work as well as integrates with the information above and below. Remember, this webpage is a design exercise.
Final Design
Insert a slideshow of your final AutoCad drawings and model. Present the drawings first and the model last. Arrange the drawings in your slideshow in the following order:
Include a written description of your final design. Describe the design in terms of its form, space, and materials. Talk about the decisions you made to address the biome and project element. Target about a paragraph for your writing.
- Plans (first then second and so on)
- FRONT elevation
- SIDE elevations
- REAR elevation
Include a written description of your final design. Describe the design in terms of its form, space, and materials. Talk about the decisions you made to address the biome and project element. Target about a paragraph for your writing.
